Azbil Corporation Installation
MagneW FLEX+/PLUS+ Electromagnetic Flowmeter Detector 2-43
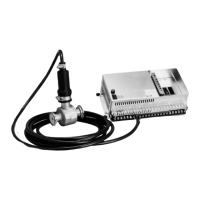
2.6 : Installing a Union / Hose / Clamp Detector
2.6.1: Installation of Union and Hose assemblies basic
installation method
Direction of installation
Match the ow direction of the uid to be measured to that of the ow direction
mark on the electromagnetic owmeter. If they cannot be matched, the direction can
be changed on the terminal box or the converter. Refer to the section “Direction of
terminal box / converter”.
Position of the detector
Position the detector so that the center of the pipe aligns with that of the measuring
pipe of the electromagnetic owmeter. Be sure to fasten the electromagnetic
owmeter on a stand.
Pipe connection
For union assembly, mount the union joint nuts (supplied by the customer) on
the process pipe. Connect the pipe by screwing it into the connection hole of the
electromagnetic owmeter using the union joint nuts. For hose assembly, screw in the
hose, and fasten it with a fastening band, etc. (supplied by the customer).
Nut tightening (union assembly)
Use a torque wrench to tighten the union joint nuts. Do not tighten them fully to the
specied fastening torque one at a time. Instead, tighten the upstream and downstream
joint nuts alternately little by little over three or four turns. For the fastening torque,
see Table 2-9.
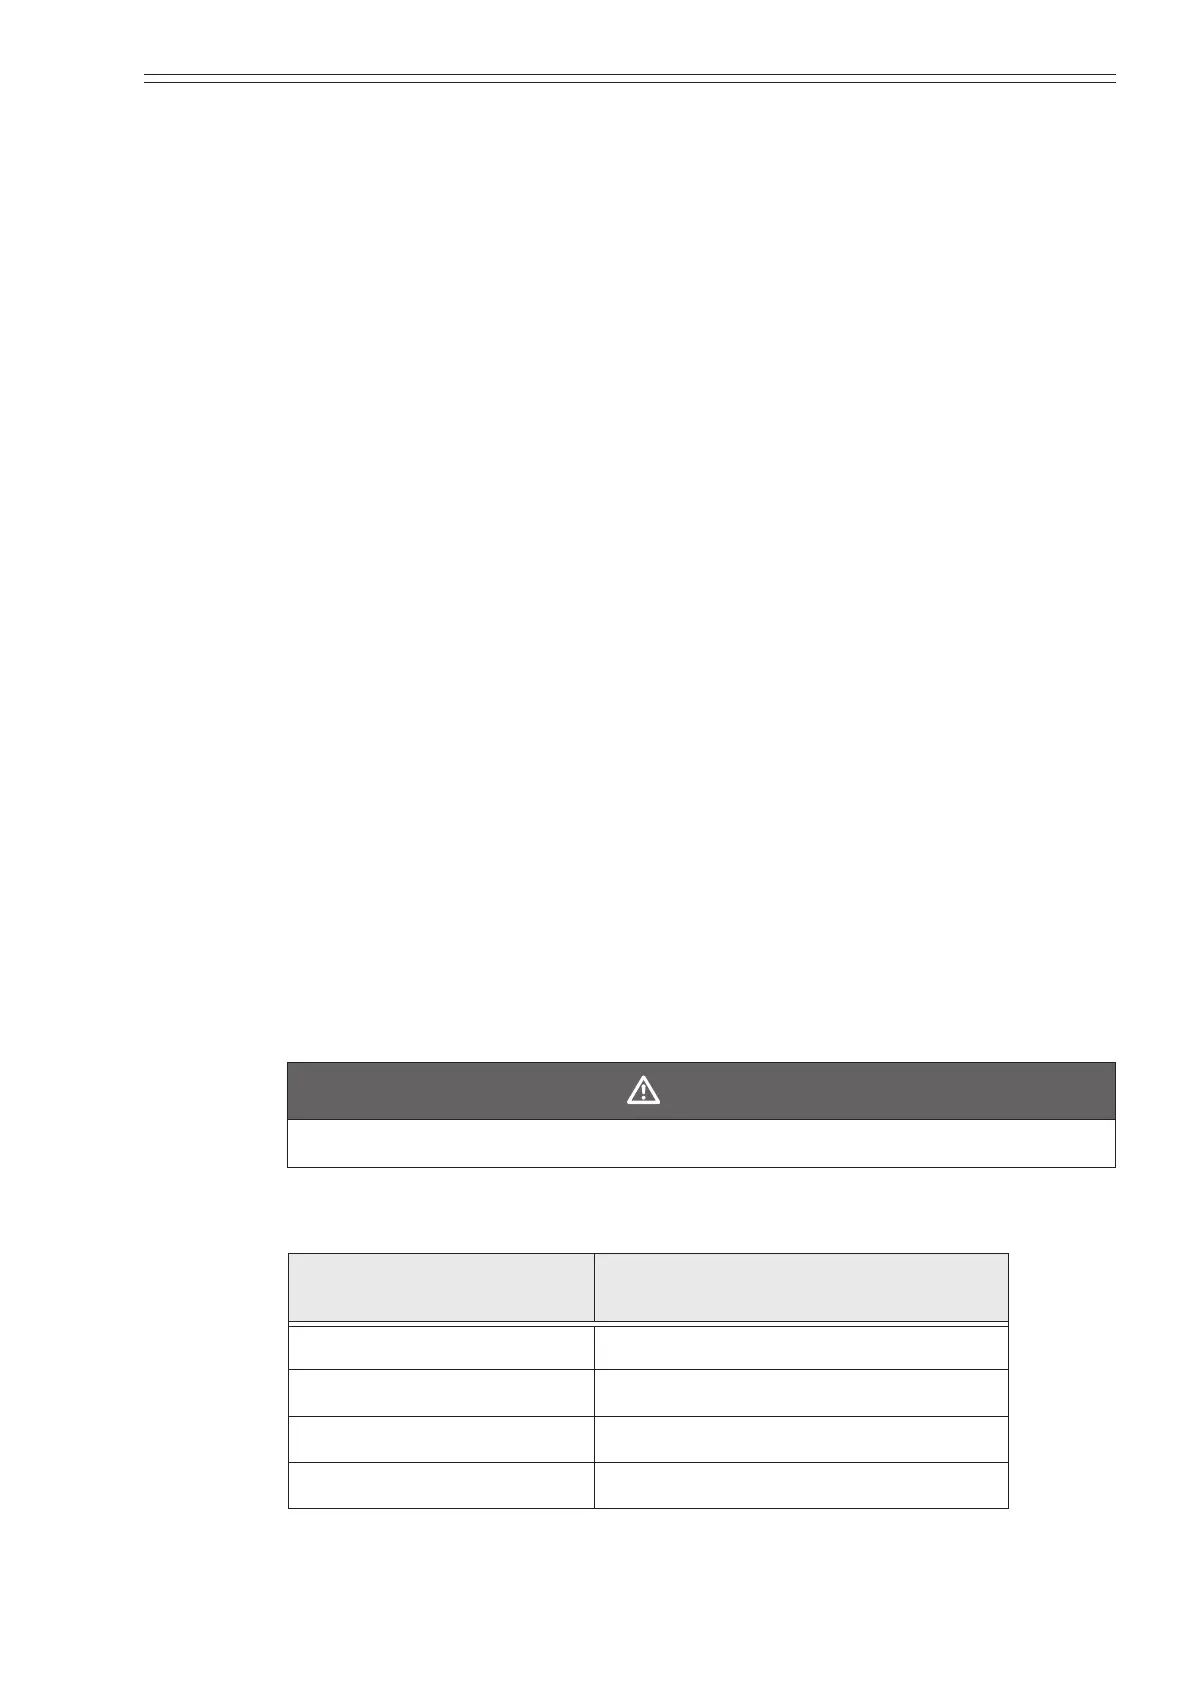
CAUTION
Fasten the detector using the specied fastening torque to prevent leakage.
Table 2-9 Fastening torque
Nominal detector bore
mm (inch)
Fastening torque
N•m (ft•lb)
2.5 (0.1) Max. 12 (8.9)
5 (0.2) Max. 12 (8.9)
10 (3/8) Max. 18 (13.3)
15 (1/2) Max. 18 (13.3)
 Loading...