117R5905752 /16 DP2K C
E Power input 12 VDC, 1.5A
F RS232 port (sub-D)
G Ethernet port (RJ45)
CAUTION: For more information about the use of the Communicator Touch Panel, consult its user
guide.
8.2 Installing the touch panel interface
Required tools
• 17 mm wrench.
• 10 mm wrench.
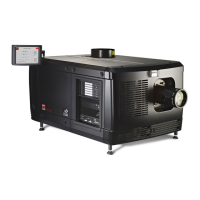
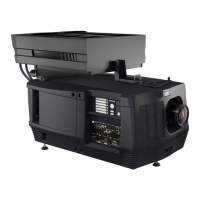
How to install the touch panel interface upon the DP2K-xxC?
1. Assemble the mounting plate and the swivel arm together as illustrated. First place the nut (N) upon the
rod of the mounting plate, then add the lock washer (L), then fasten the mounting plate and the swivel arm
together. When the arm is mounted, turn nut (N) against the arm to secure the position.
Image 8–3 Assemble swivel arm
2. Slide a washer (M) over the base of the swivel arm and Insert the base of the swivel arm into the mounting
hole at the top of the DP2K-xxCas illustrated.
Image 8–4 Mount swivel arm
3. Place the touch panel interface upon the mounting plate of the swivel arm and fasten the two wing nuts
(W) as illustrated.
Communicator touch panel
 Loading...
