1 689 989 223 2016-12-15| Robert Bosch GmbH
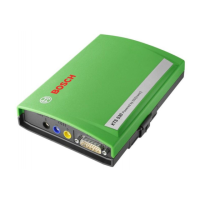
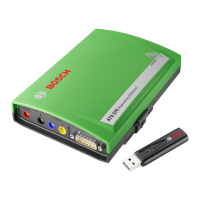
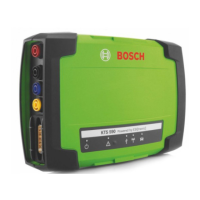
| 22 | KTS 560 / 590 (KTS 5a Series) | Initial commissioningen
4. Initial commissioning
i We recommend to configure KTS 560 / 590 during
the ESI[tronic] 2.0 software installation (see
sec.4.1). Alternatively KTS 560 / 590 can also be
configured as described in sec. 4.2.
4.1 ESI[tronic] 2.0 software installation
1. Install ESI[tronic] 2.0.
2. License ESI[tronic] 2.0.
i ESI[tronic] 2.0 licensing is performed by way of a
file or online. Information on licensing can be found
in the ESI[tronic] 2.0 Online Help.
i At the first start of ESI[tronic] 2.0 or if KTS 560 / 590
has not been configured yet in the DDC, an informa-
tion is automatically called up in ESI[tronic] 2.0 in
order to configure KTS 560 / 590. For this purpose,
heed and follow the instructions on the screen. After-
wards a configuration is no longer required.
4.2 Firmware update and KTS 560 / 590
activation
The DDC (Diagnostic Device Configuration) software
is used for configuration, activation and the testing of
KTS modules. During the initial commissioning of the
KTS 560 / 590, a firmware update must be performed
first.
! The voltage supply to the KTS 560 / 590 and
the USB link between the PC/laptop and the
KTS 560 / 590 must not be interrupted during the
firmware update.
1. Start ESI[tronic] 2.0 ("Start >> All Programs >>
Bosch ESI[tronic] 2.0 >> ESI[tronic] 2.0").
2. Select " (Main menu) >> Hardware settings >>
KTS 5xx, KTS 6xx".
3. Select <Start configuration>.
Module Configuration is started.
4. Heed and follow the instructions on the screen.
Firmware update is performed.
The USB, Bluetooth and diagnosis LEDs flash al-
ternately.
With KTS 560 / 590, there is a short acoustic sig-
nal following the firmware update.
5. Configure type of connection.
Type of connection is configured.
6. Close Module Configuration with <Finish>.
" KTS 560 / 590 is activated and ready for operation.
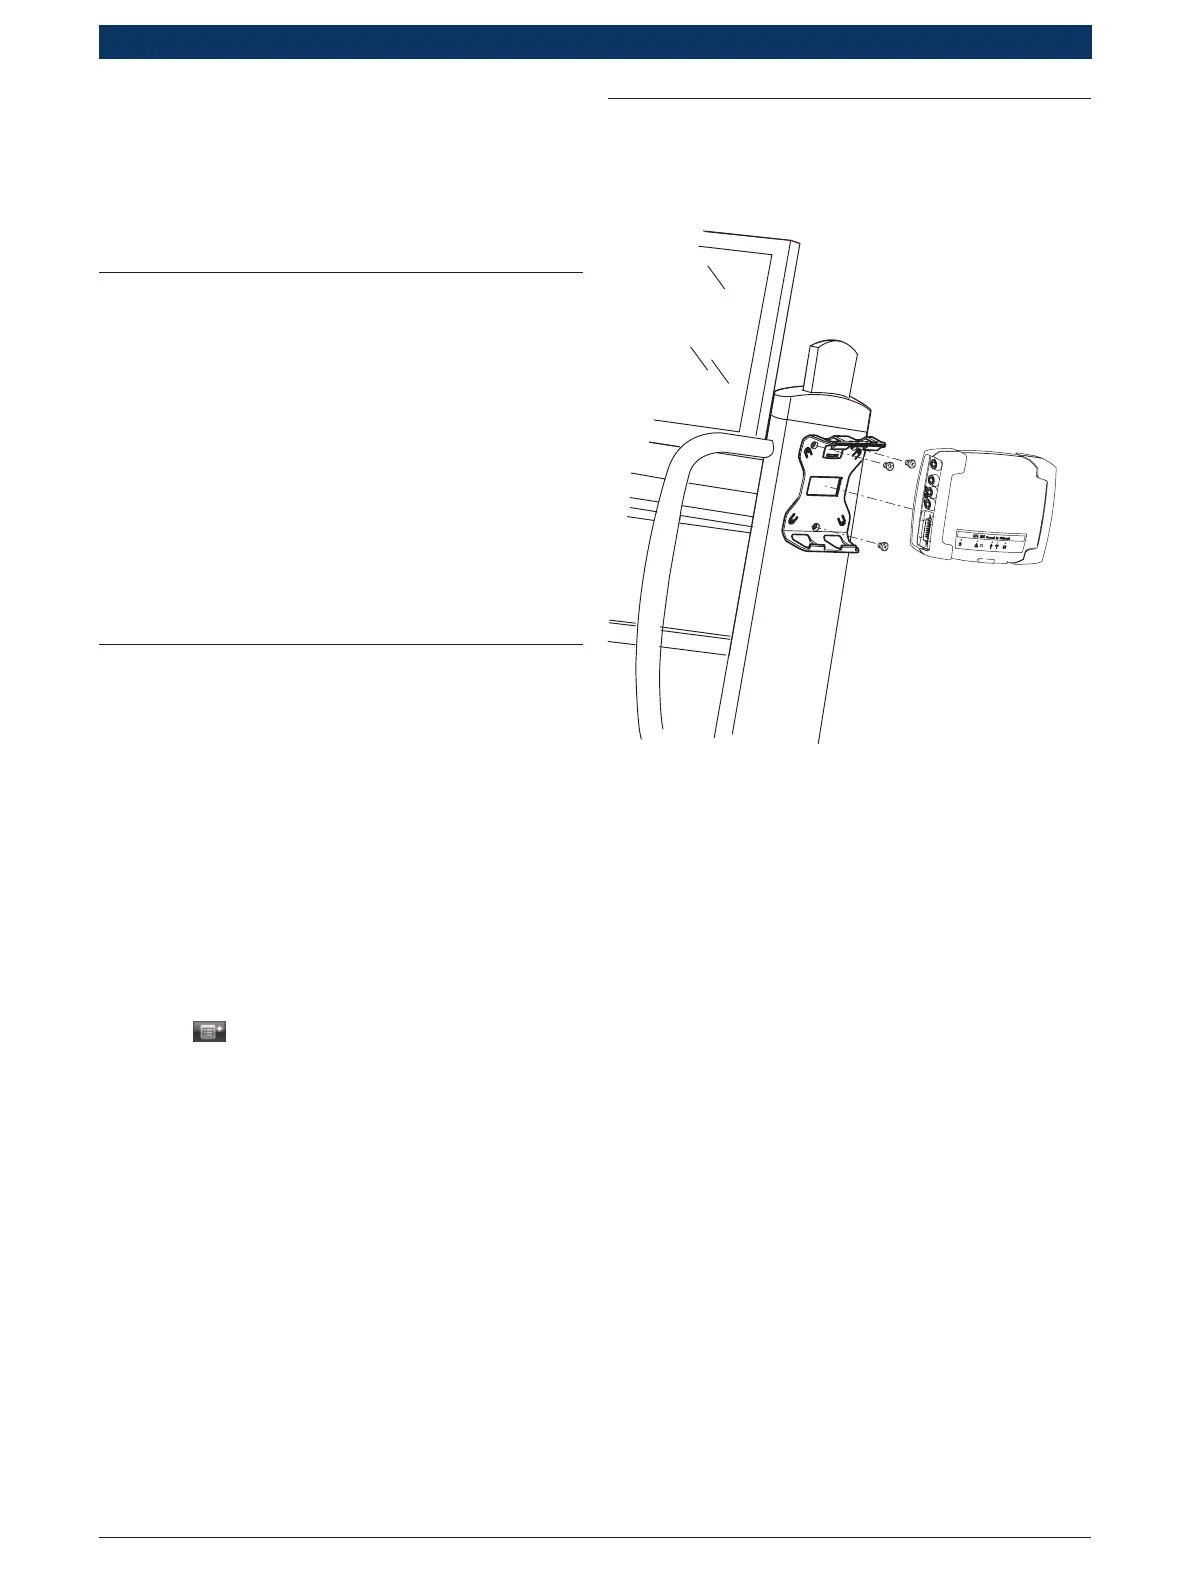
4.3 Fitting the mounting bracket
The mounting bracket included with the scope of
delivery allows the fastening and releasing of the
KTS 560 / 590 on the Bosch trolley.
459963-15_Ko
Fig. 7: Fitting the mounting bracket
1. Using the oval-head screws included with the deliv-
ery, fasten the mounting bracket to the trolley (fig.
7).
2. Push KTS 560 / 590 into the mounting bracket in the
proper orientation.
 Loading...