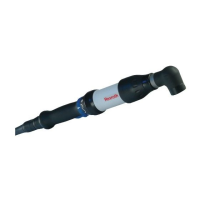
3 608 870 A47 Tightening Technology | Bosch Rexroth AG 61/263
Nexo cordless Wi-Fi nutrunner | 3 608 870 A47/2017-05
1. Clamp the mounting aid into a vise or similar.
2. Mount the angle head into the mounting aid (see the instruction leaflet for the mounting aid).
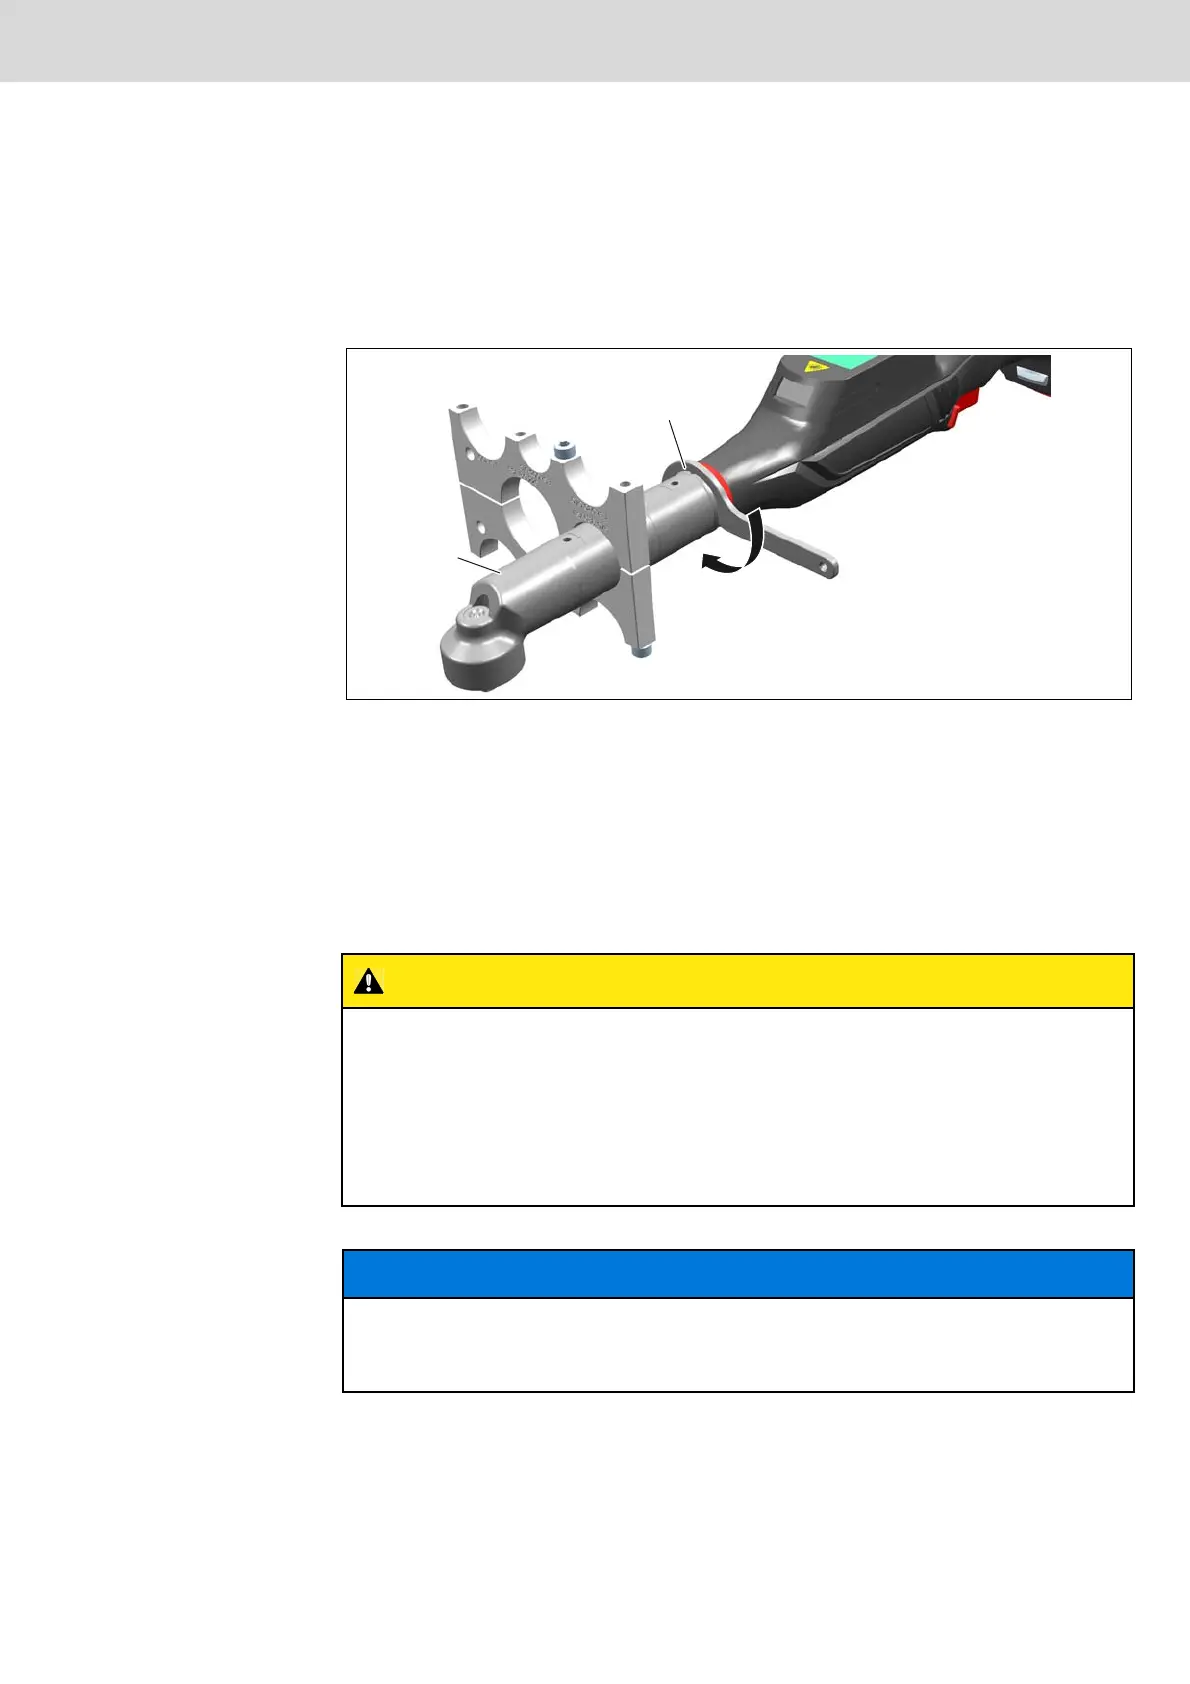
3. Hook the hook spanner into an opening of the counter nut and rotate it in the direction of arrow A
(left hand thread) to loosen the counter nut 3 (see figure 4–3).
4. Rotate the nutrunner 5 in the direction of arrow B until you have reached the desired working angle,
however not more than once by 360° (see figure 4–3).
Fig. 4–4: Tightening the counter nut
5. Lock the angle screw head 1 in position by turning the counter nut 3 in the direction of arrow C (see
figure 4–4).
6. Retighten the counter nut 3 (see figure 4–4).
4.4 Attaching the torque support
Install a torque support at the hand-held nutrunner to be able to tighten nuts using higher torques.
CAUTION
Risk caused by missing torque support in case of high torques!
When hand-held nutrunners are used for making screwed connections with high torques, the devel-
oping forces may cause injuries, especially to joints.
Recommendation: Right-angle nutrunners require the installation and use of a torque support
when torques exceed 40 Nm.
Recommendation: Pistol grip nutrunners require the installation and use of a torque support
when torques exceed 10 Nm.
Also observe country-specific and/or company-specific regulations.
NOTE
Damage due to improper assembly!
Damage to the hand-held nutrunner.
Only install the torque support in the clamping area (A) intended for this purpose.

 Loading...