5. OPERATION
22
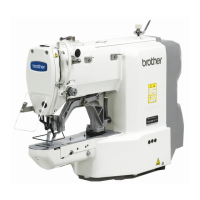
KE-484C
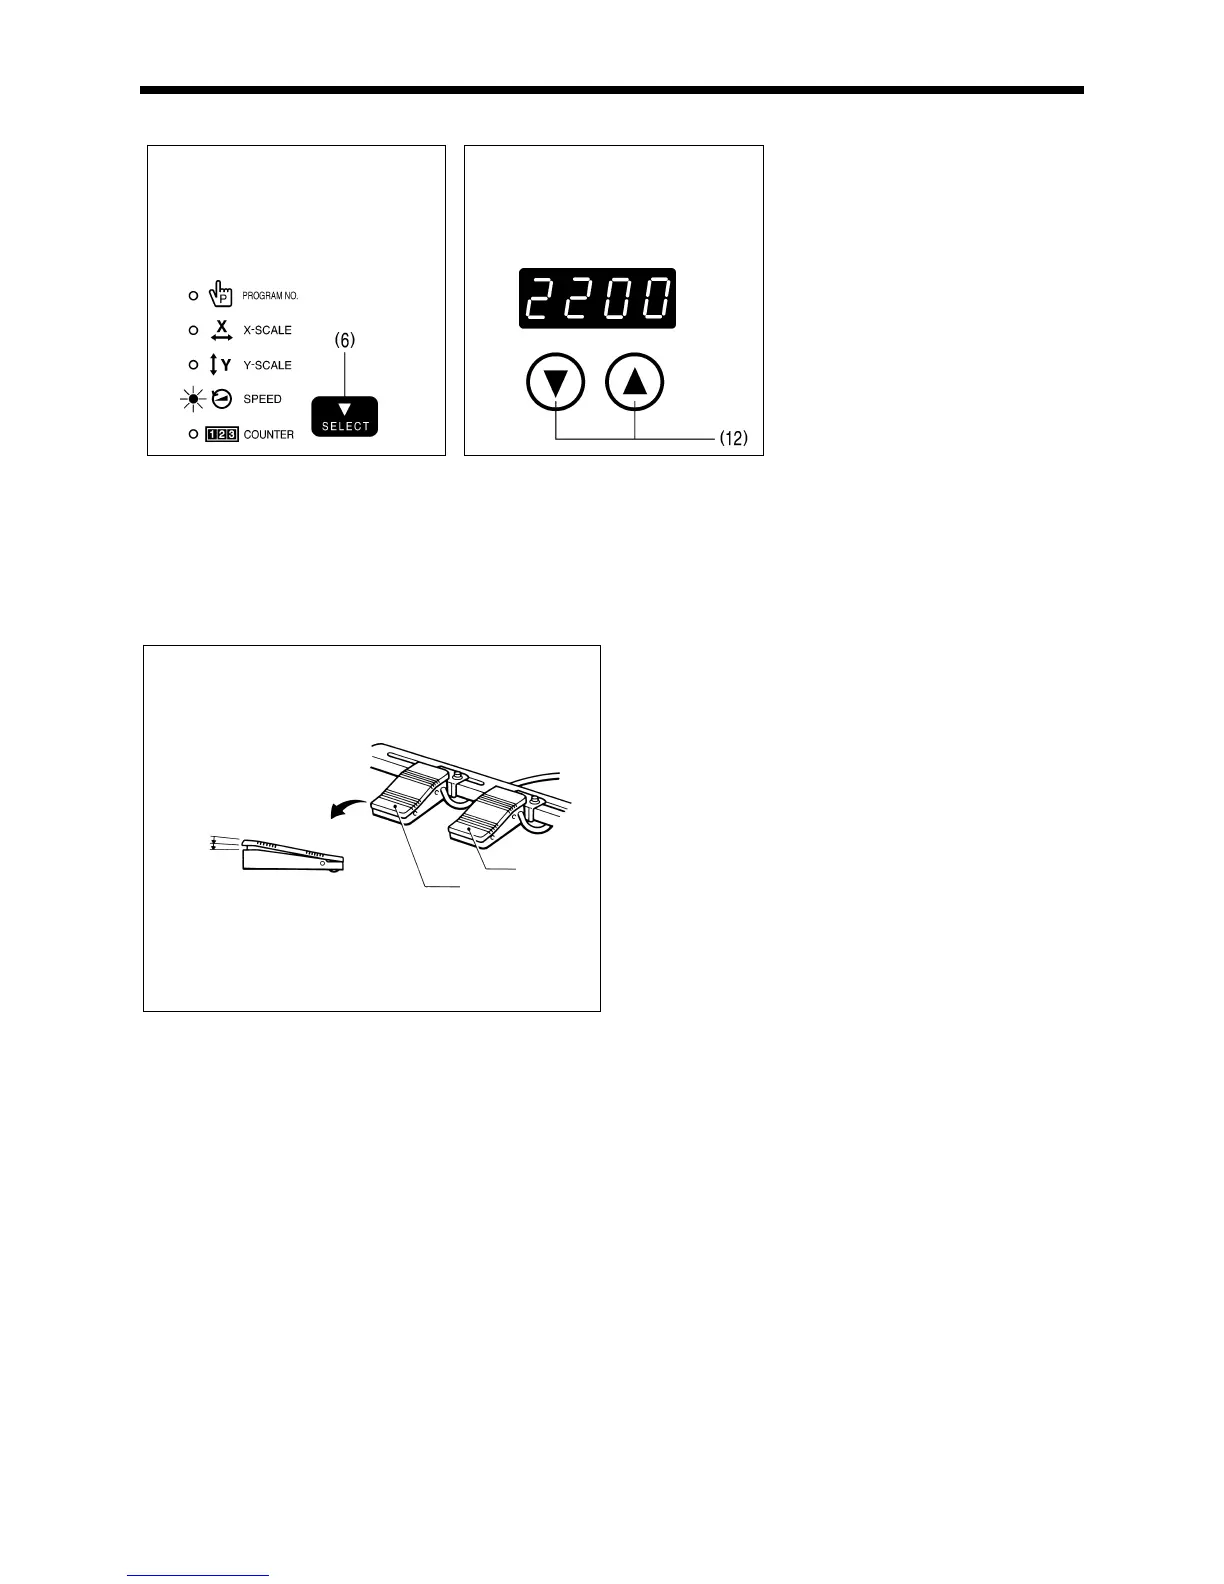
5-2-3. Setting the sewing speed
1
Press the SELECT switch (6)
until the SPEED indicator il-
luminates.
2
Press the DISPLAY SET
switches (12) until the desired
speed setting is flashing in the
display window.
Note:
Be sure to check the sewing pattern (refer to page 24) after setting has been completed to make sure that the needle hole does not
go out of the area circumscribed by the work clamp.
5-3. Operating the foot switch
When the work clamp switch (left side) is depressed to step 1,
the work clamps on both sides are lowered.
The work clamp lowering pattern can be set to a variety of
different patterns. (Refer to “14. SETTING THE WORK CLAMP
MODE”.
When the start switch (right side) is depressed, sewing starts.
2520Q 3166Q
0330Q
Start switch
Work clamp switch
1st step
2nd step
 Loading...