14-33
3. Controlling the Appearance of the Geometry
Window
This section provides information about how to control the appearance of the screen by
scrolling or zooming, and by showing or hiding axes and the grid.
Important!
Settings you configure on the Geometry mode Setup screen are applied in the Geometry
mode only. Even if another mode has settings of the same name, the Geometry mode
settings will not affect them. Conversely, changing setting with the same name in another
mode will not affect the Geometry mode settings.
k Displaying the Axes and Grid
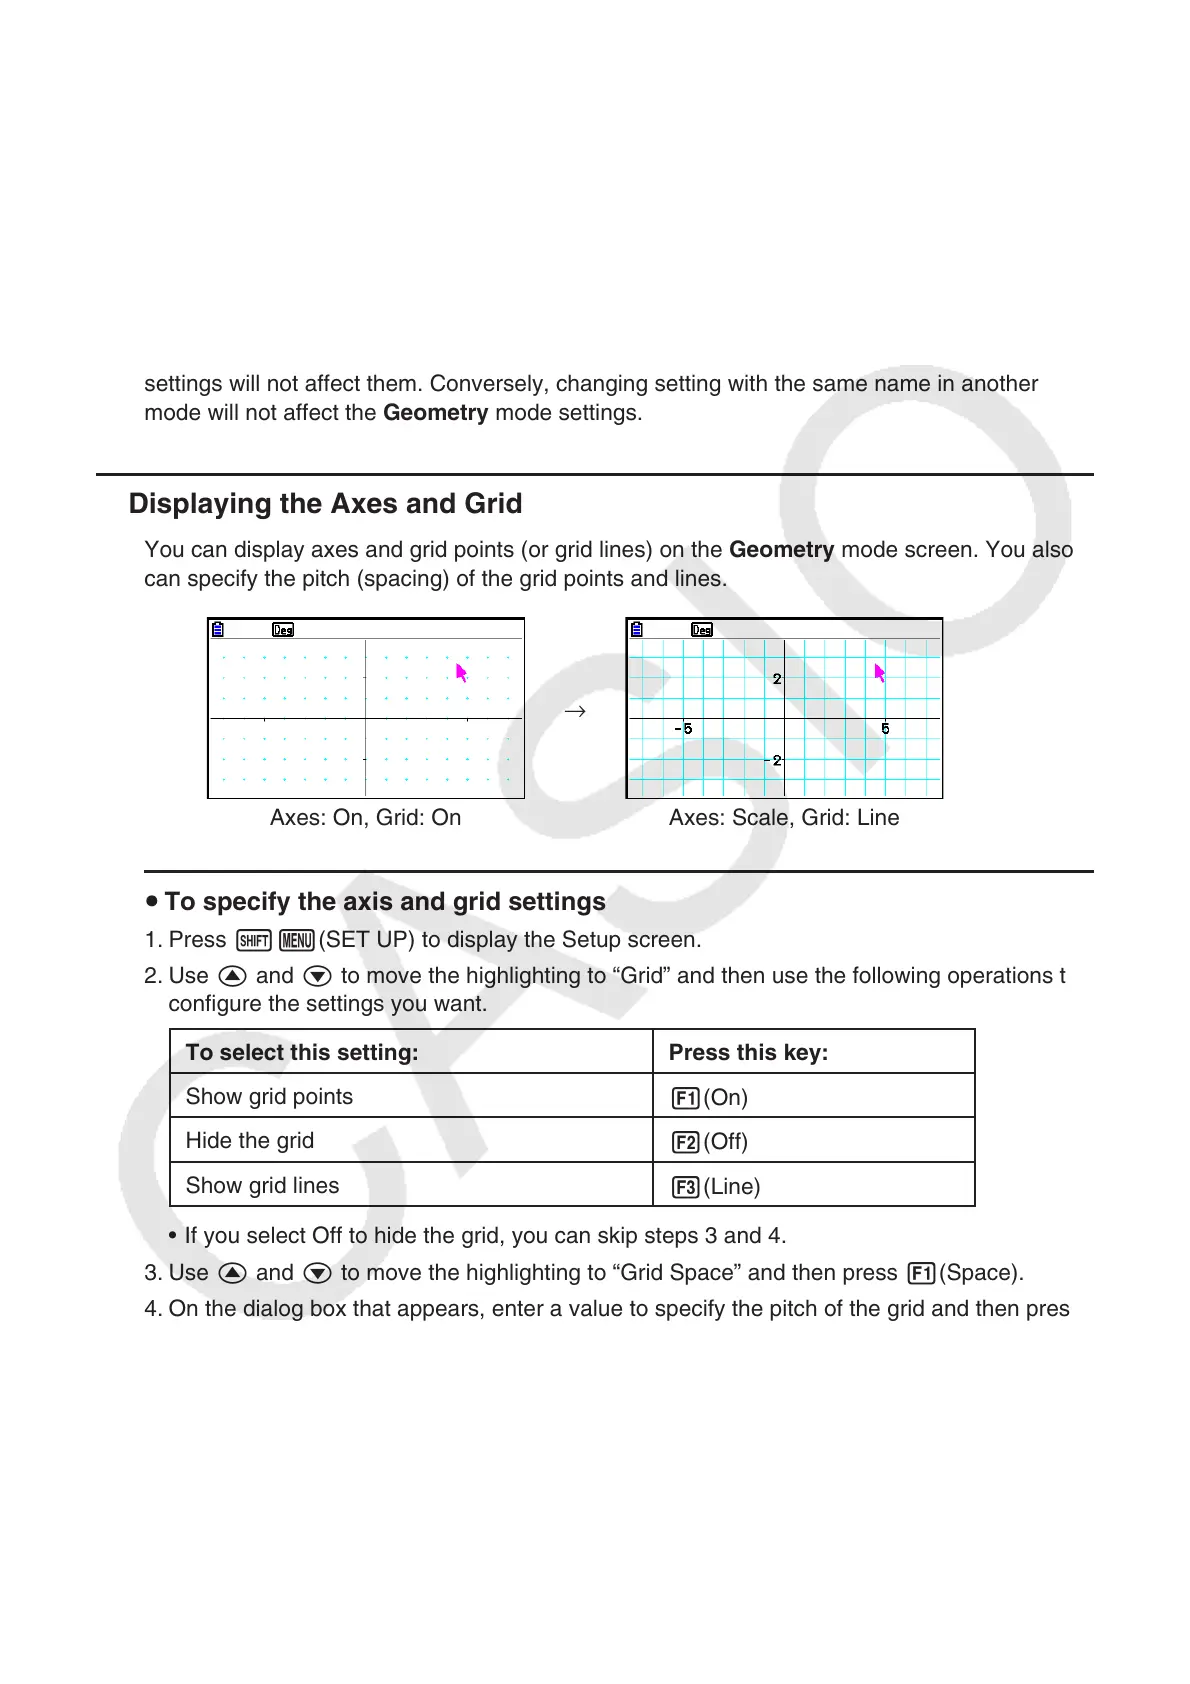
You can display axes and grid points (or grid lines) on the Geometry mode screen. You also
can specify the pitch (spacing) of the grid points and lines.
→
Axes: On, Grid: On Axes: Scale, Grid: Line
u To specify the axis and grid settings
1. Press !m(SET UP) to display the Setup screen.
2. Use f and c to move the highlighting to “Grid” and then use the following operations to
configure the settings you want.
To select this setting: Press this key:
Show grid points
1(On)
Hide the grid
2(Off)
Show grid lines
3(Line)
• If you select Off to hide the grid, you can skip steps 3 and 4.
3. Use f and c to move the highlighting to “Grid Space” and then press 1(Space).
4. On the dialog box that appears, enter a value to specify the pitch of the grid and then press
w.
• You can specify a value from 0.01 to 1000, in increments of 0.01.
 Loading...