5.1.4 Changing a Text Value
If the selected parameter is a text value, change the text
value by using the [
▲
]/[
▼
] keys.
[
▲
] increases the value, and [
▼
] decreases the value. Place
the cursor on the value to be saved and press [OK].
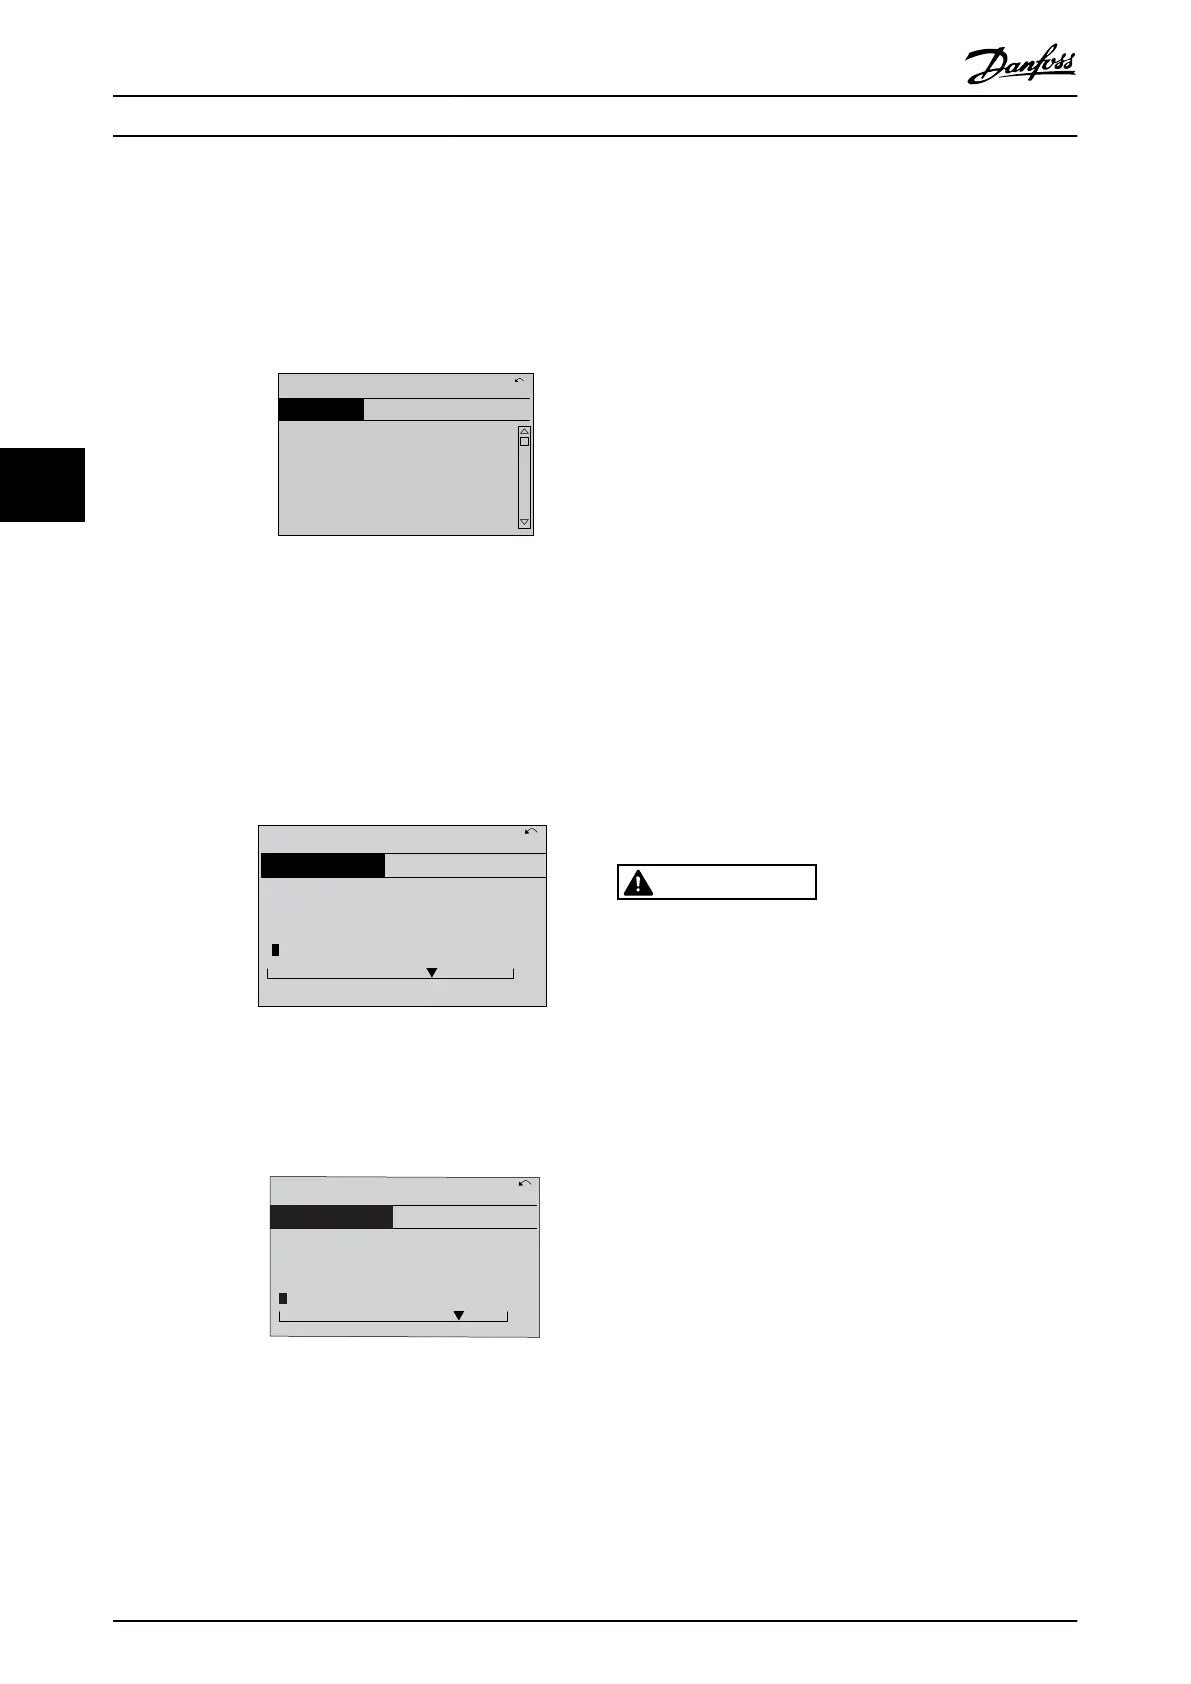
130BP068.10
740RPM
0 -01 Language
[0] English
10.64 A 1 [1]
0-0
*
Basic Settings
Illustration 5.13 Display Example
5.1.5 Changing a Group of Numeric Data
Values
If the selected parameter represents a numeric data value,
change the selected data value pressing the [◄] and [►]
navigation keys as well as [
▲
] and [
▼
] keys. Press [◄] and
[►] to move the cursor horizontally.
130BP069.10
1- 6*
113 RPM 1.78 A 1(1)
Load depen. setting
1 - 60 Low speed load
compensation
100%
Illustration 5.14 Display Example
Press [
▲
]/[
▼
] to change the data value. [
▲
] enlarges the
data value, and [
▼
] reduces the data value. Place the
cursor on the value to be saved and press [OK].
130BP070.10
1 - 60 Low speed load
compensation
1 0%
Load depen. setting 1- 6*
729RPM 6.21A 1(1)
6
Illustration 5.15 Display Example
5.1.6 Changing of Data Value, Step-by-Step
Certain parameters can be changed step-by-step or
infinitely variably. This method applies to 300-10 Active
Filter Nominal Voltage.
The parameters are changed both as a group of numeric
data values and as numeric data values infinitely variably.
5.1.7 Read-out and Programming of
Indexed Parameters
Parameters are indexed when placed in a rolling stack.
15-30 Alarm Log: Error Code to 15-32 Alarm Log: Time
contain a fault log which can be read out. Select a
parameter, press [OK], and use the up/down navigation
keys to scroll through the value log.
Use 3-10 Preset Reference as another example:
Select the parameter, press [OK], and press [
▲
]/[
▼
] to scroll
through the indexed values. To change the parameter
value, select the indexed value and press [OK]. Change the
value by using [
▲
]/[
▼
]. Press [OK] to accept the new
setting. Press [Cancel] to abort. Press [Back] to leave the
parameter.
5.1.8
Quick Transfer of Parameter Settings
with the LCP
Once the set-up is complete, store (back up) the parameter
settings in the LCP or on a PC via MCT 10 Set-up software
tool.
WARNING
Stop operation before performing any of these
operations.
Data storage in LCP
1.
Go to 0-50 LCP Copy
2. Press [OK]
3.
Select [1] All to LCP
4. Press [OK]
All parameter settings are now stored in the GLCP
indicated by the progress bar. When 100% is reached,
press [OK].
The GLCP can now be connected to another frequency
converter and the parameter settings copied to this
frequency converter.
Data transfer from LCP to frequency converter
1.
Go to 0-50 LCP Copy
2. Press [OK]
3.
Select [2] All from LCP
4. Press [OK]
The parameter settings stored in the GLCP are now
transferred to the frequency converter indicated by the
progress bar. When 100% is reached, press [OK].
User Interface
Operating Instructions
46 Danfoss A/S © Rev. 2014-07-29 All rights reserved. MG37A202
55
 Loading...