Prerequisites
1. Follow the procedure in Before working inside your computer.
2. Remove the SD card.
3. Remove the base cover.
4. Remove the M.2 2230 solid state drive or M.2 2280 solid state drive (whichever applicable).
5. Remove the wireless card.
6. Remove the plastic display assembly or aluminum display assembly (whichever applicable).
7. Remove the I/O board.
About this task
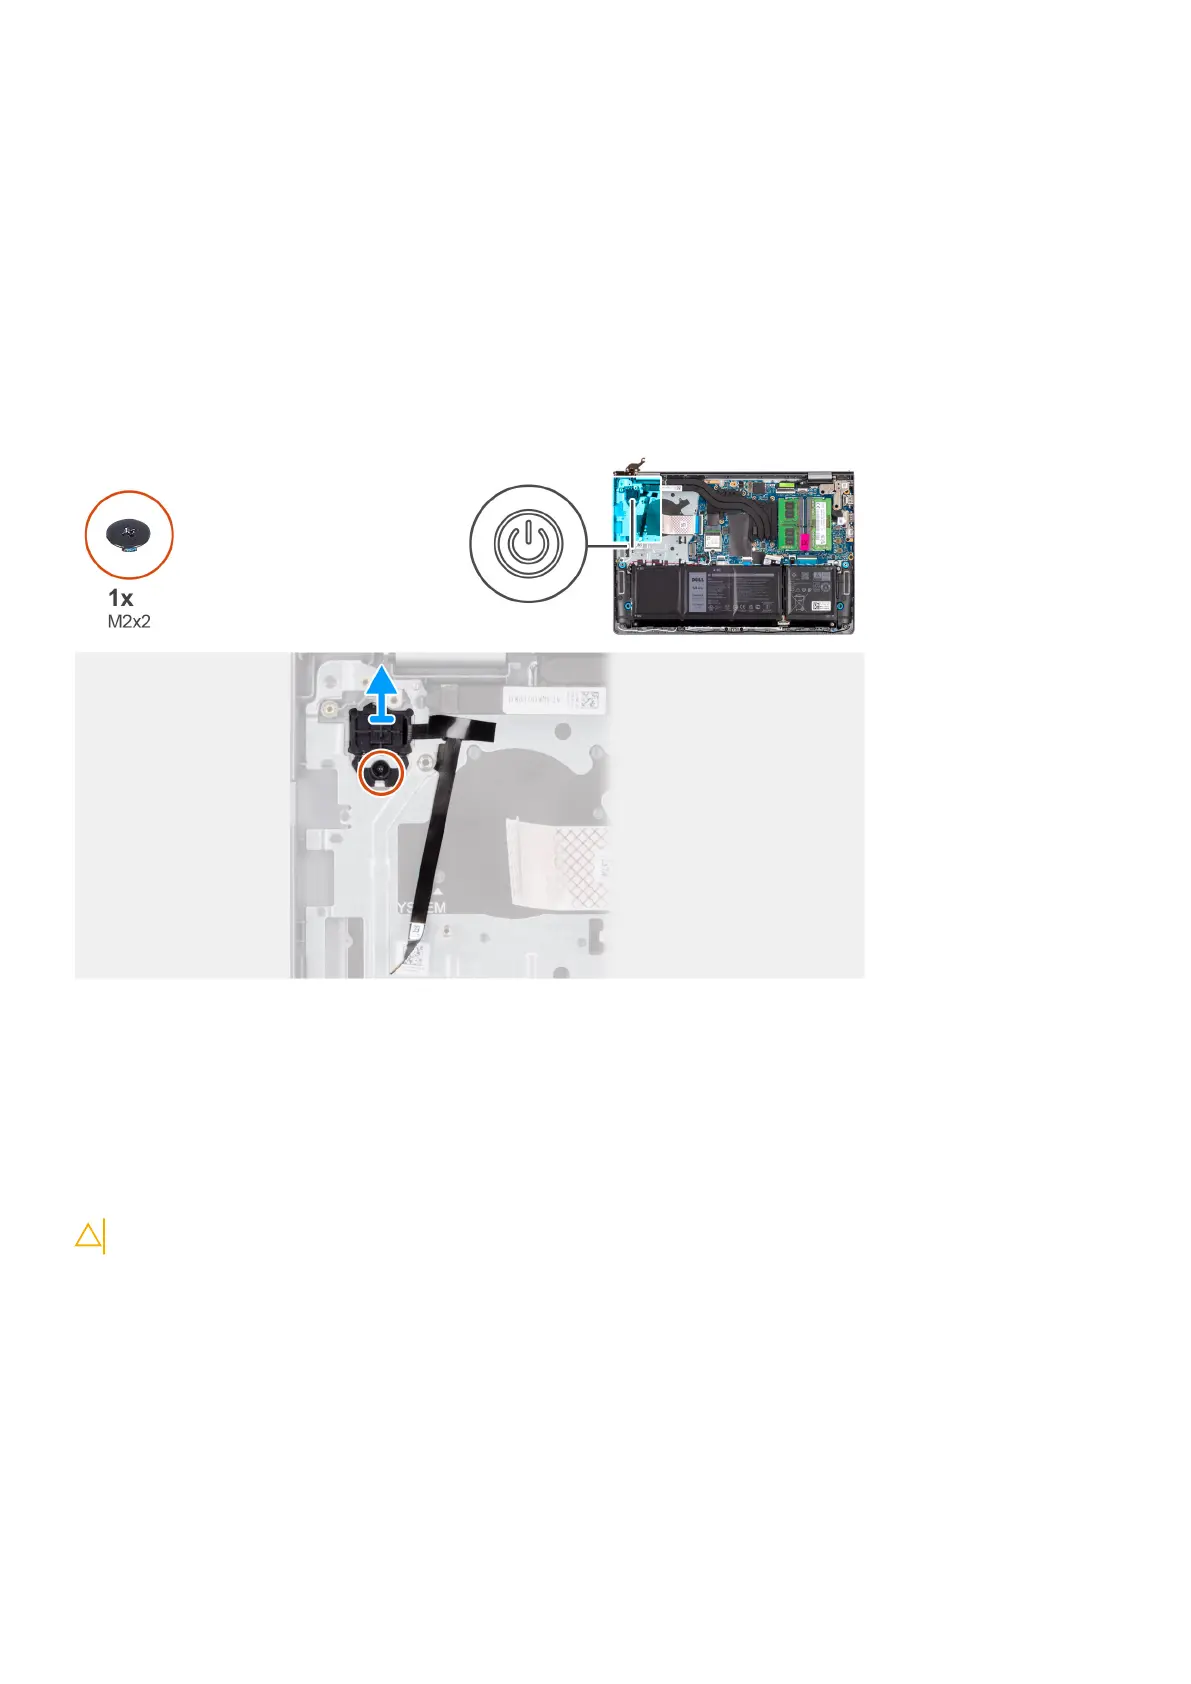
The following image indicates the location of the power button with optional fingerprint reader and provides a visual
representation of the removal procedure.
Steps
1. Remove the (M2x2) screw that secures the power button to the palmrest and keyboard assembly.
2. Peel the fingerprint reader Flexible Flat cable from the palmrest and keyboard assembly.
3. Lift the power button with fingerprint reader, along with its cable, off the palmrest and keyboard assembly.
Installing the power button with optional fingerprint reader
CAUTION: The information in this section is intended for authorized service technicians only.
Prerequisites
If you are replacing a component, remove the existing component before performing the installation process.
About this task
The following images indicate the location of the power button with optional fingerprint reader and provides a visual
representation of the installation procedure.
Removing and installing Field Replaceable Units (FRUs)
129

 Loading...