85
Wireless Network Projection
b
Select the Network menu and press [Enter].
k
To prevent the SSID or IP address from being displayed on the standby
a
To access your wireless utility software, double-click the network icon
screen, set the SSID Display setting or the IP Address Display setting on the Windows taskbar.
to Off.
b
When connecting in Advanced connection mode, select the network
l
When you have finished selecting settings, select Complete and then name (SSID) of the network the projector is connecting to.
follow the on-screen instructions to save your settings and exit the
menus.
c
Click Connect.
m
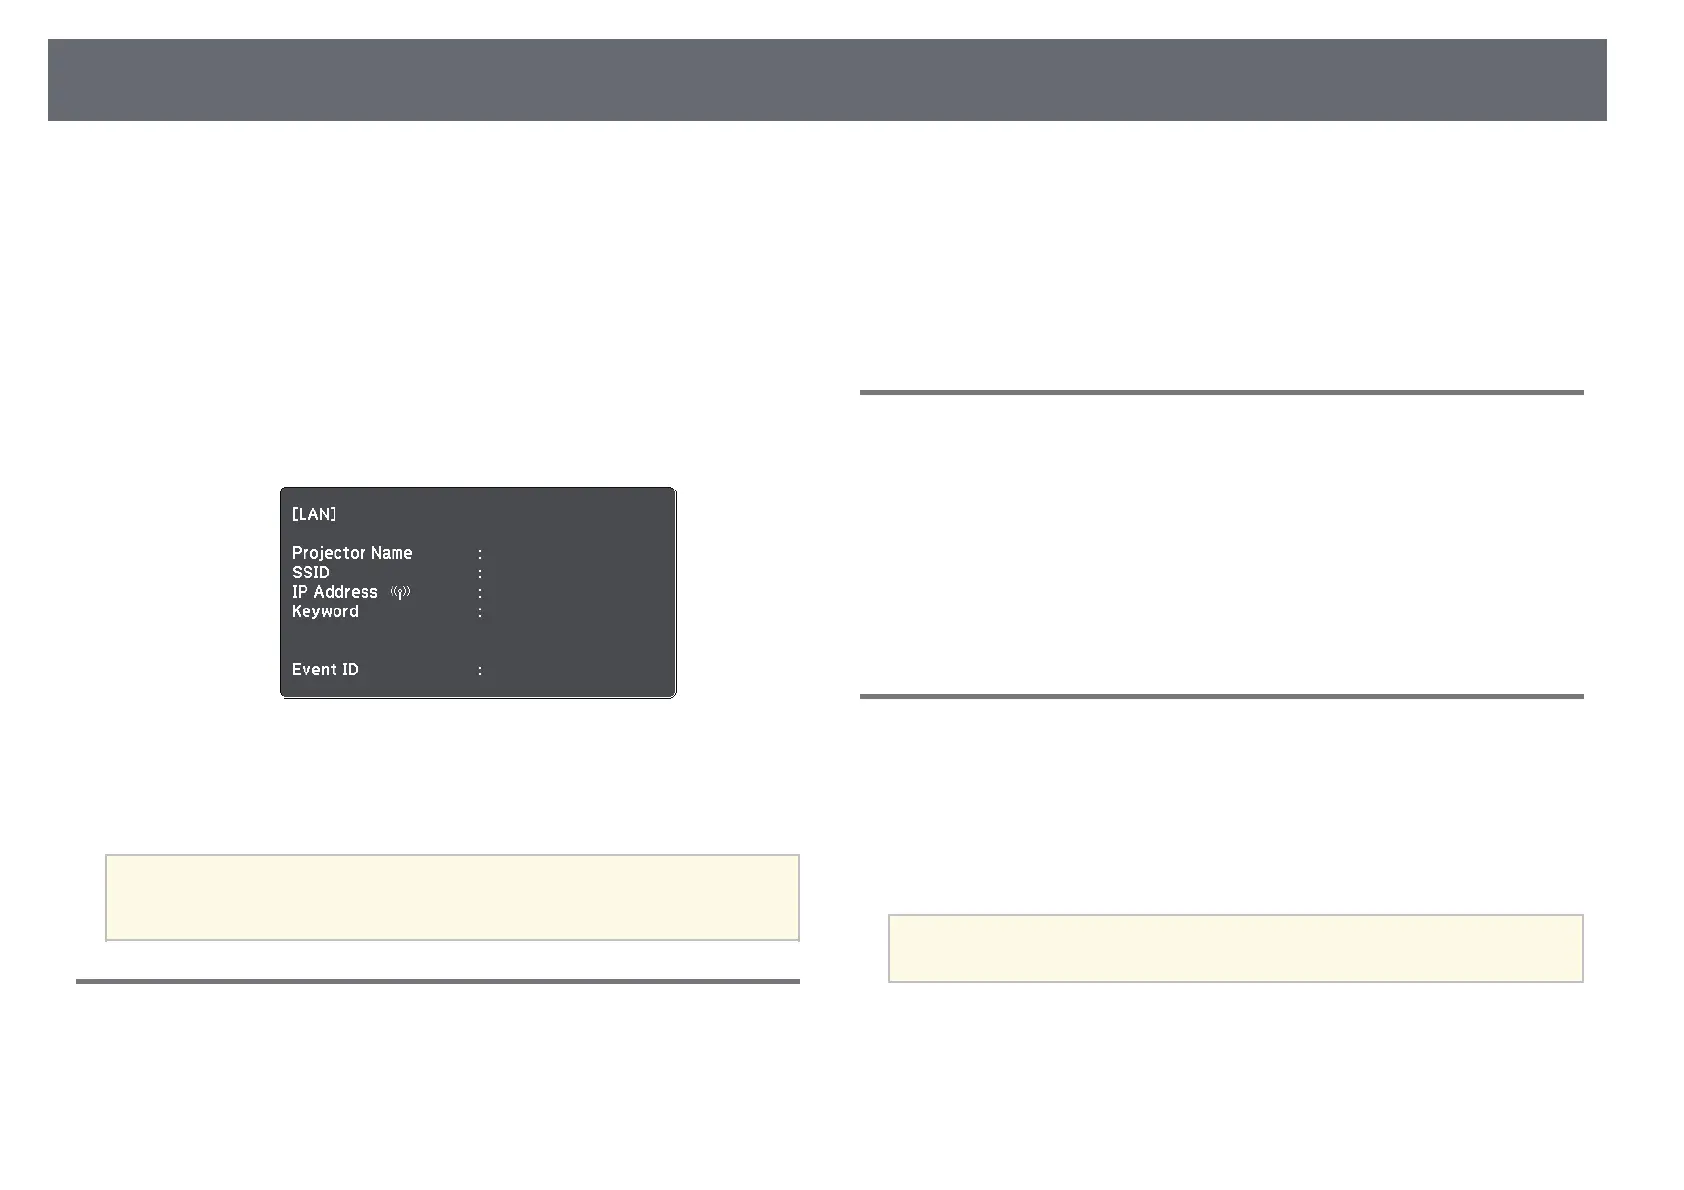
Press the [LAN] button on the remote control.
Selecting Wireless Network Settings in OS X
The wireless network settings are complete when you see the correct IP
address on the LAN standby screen.
Before connecting to the projector, select the correct wireless network in OS
X.
a
Click the AirPort icon on the menu bar at the top of the screen.
b
When connecting in Advanced connection mode, make sure AirPort is
turned on and select the network name (SSID) of the network the
projector is connecting to.
Setting Up Wireless Network Security
You can set up security for your projector to use on a wireless network. Set up
When you have finished making wireless settings for your projector, you need
one of the following security options to match the settings used on your
to select the wireless network on your computer. Then start the network
network:
software to send images to your projector through a wireless network.
• WPA2-PSK security
If you use the EasyMP Network Projection software, make sure you
• WPA/WPA2-PSK security
select the connection mode that matches the projector's connection
a
mode you selected.
Contact your network administrator for guidance on entering the
correct information.
a
Selecting Wireless Network Settings in Windows
a
Press the [Menu] button on the control panel or remote control.
Before connecting to the projector, select the correct wireless network on your
computer.
 Loading...