110
9. When you are finished, press Esc.
Note: You can fine tune the corrected results. Use Quick Corner to adjust the tilt of the image and
then use Point Correction for fine tuning. Select Quick Corner or Point Correction at the screen
in step 5.
Note: To save the current image shape, select Save Memory. You can save up to three image positions
in the projector's memory.
Parent topic: Image Shape
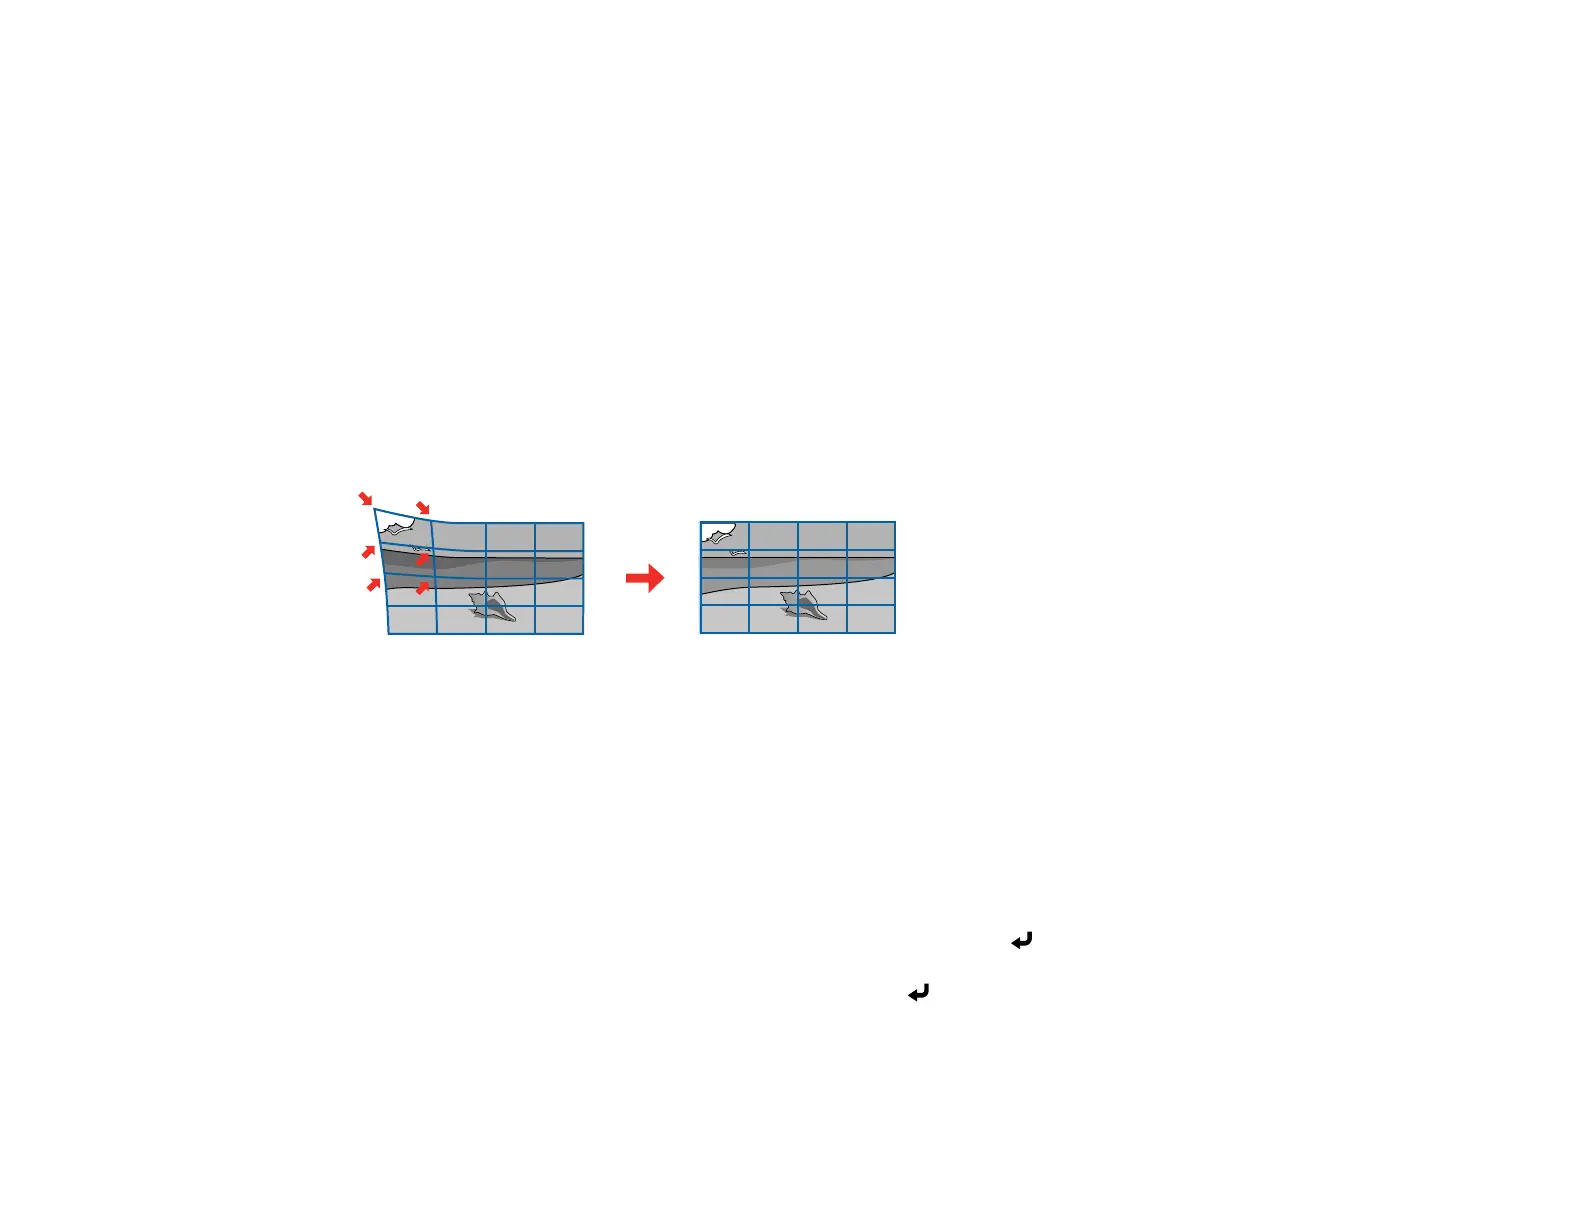
Correcting Image Shape with Point Correction
You can use the projector's Point Correction feature to fine-tune the image shape using points on a grid.
This is useful for adjusting overlapping areas in multiple projected images that do not line up correctly.
1. Turn on the projector and display an image.
2. Press the Menu button.
Note: You can also open the Geometry Correction screen using the Keystone button on the remote
control. If you press the Keystone button on the remote control, select Point Correction and skip to
step 4.
3. Select Installation > Geometry Correction > Point Correction.
Note: If you see a confirmation message, select Yes and press Enter.
4. Select the Point Correction setting again and press Enter.
Note: For fine tuning, select Quick Corner to roughly correct the shape and size of an image and
then select Point Correction to adjust them more precisely
 Loading...