28
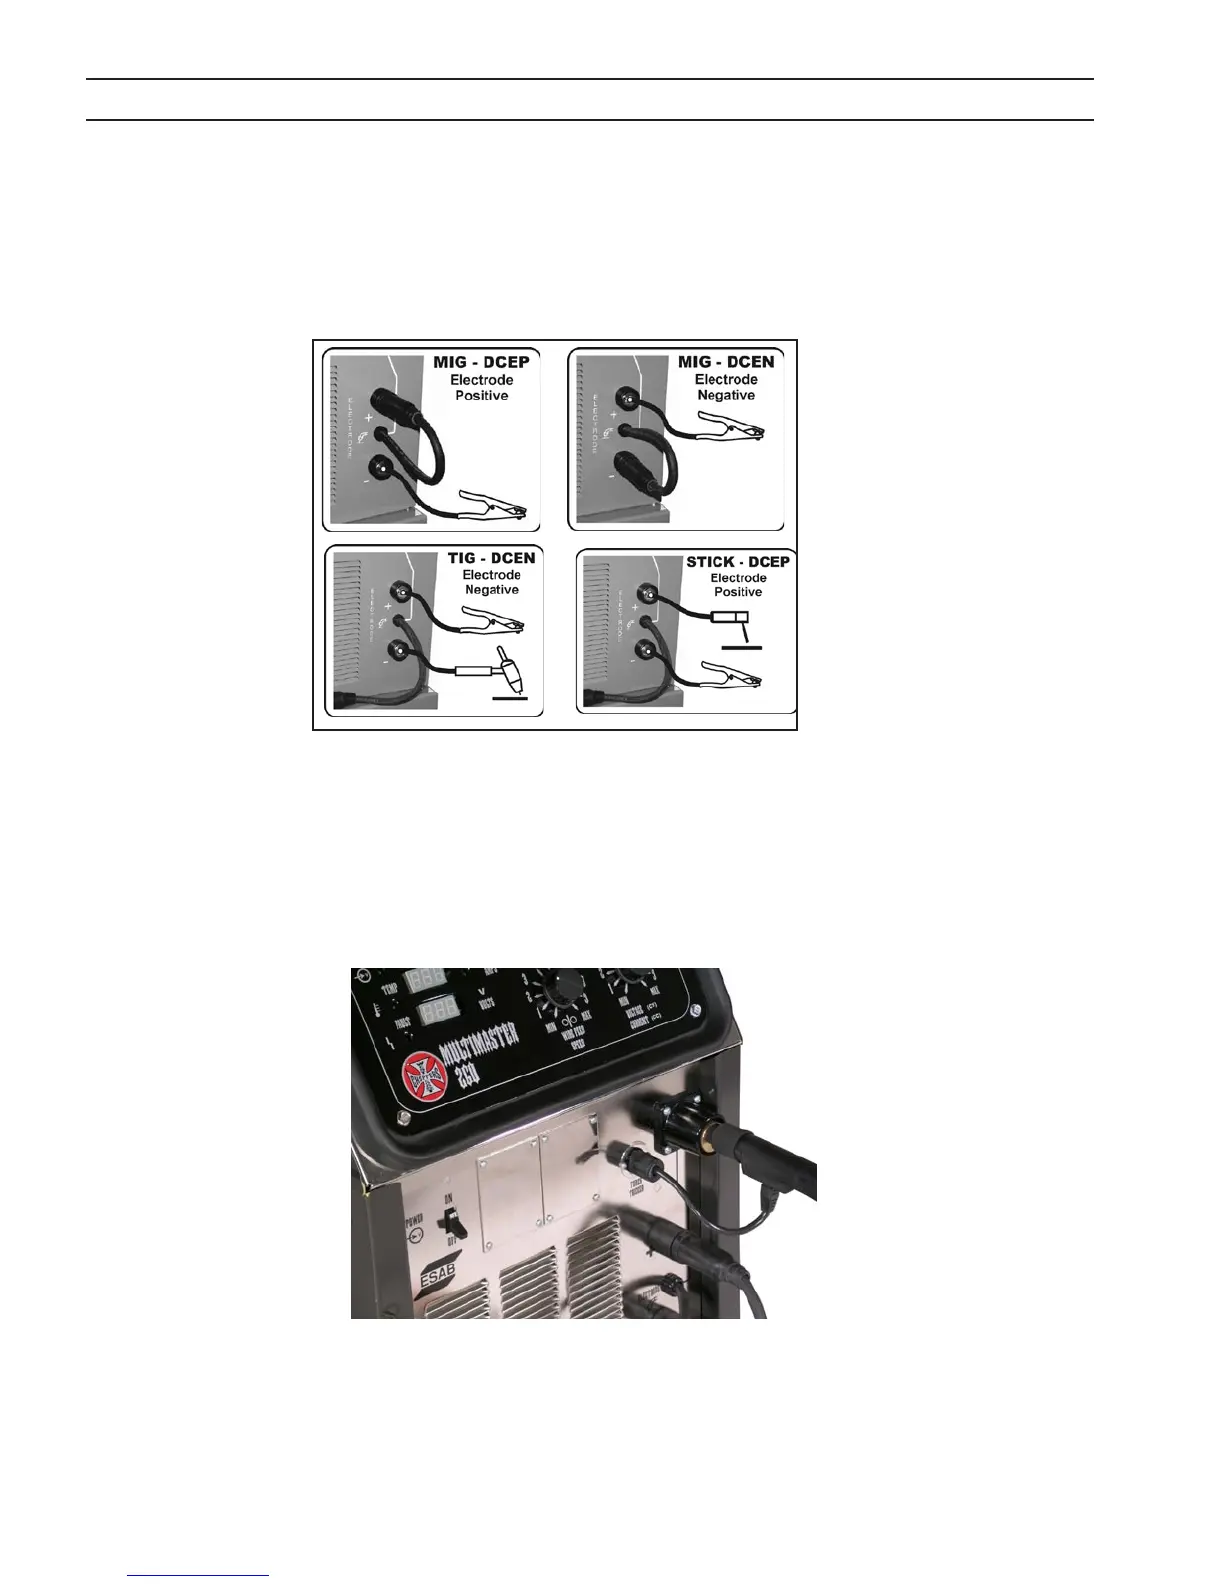
Figure 5 - Polarity Set-up
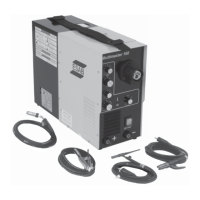
3.5 SECONDARY OUTPUT CONNEC TIONS (Figure 5)
The Multimaster 260 Welding System is completely self-contained so that the front panel gun/torch connections are in-
ternally connected to the welding polarity (DCEP or DCEN) via the secondary output terminals depending on the welding
process being used.
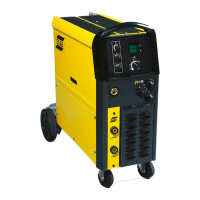
3.6 TORCH CONNECTIONS (Figure 6)
The torch (GUNMASTER 250), which is supplied as standard equipment with the Migmaster 250 System, is provided with a
euro-type adapter which directly connects to the torch tting mounted on the front panel. Line up matching holes, push on
and tighten locking collar. As shipped from the factory, the euro or common connector type torches are set-up for D.C.R.P.
welding polarity (see sections 3.3 or 4.1.3). To connect the spool-on-gun torch (ST-23A) see Section 4.2.2.
Figure 6 - Gun Connector
SECTION 3 INSTALLATION
 Loading...