5 Scan
330
Scan
5
Next
Allows you to move to the lower directory.
Note • This button is available when a folder is selected.
[Add to Address Book] Screen
This screen allows you to register the save destination specified in [Browse], in the Address
Book.
1
Select [Add to Address Book].
2
Select [Save].
Address
To change the address number, select [Edit] and then the desired number.
Name
To change the recipient name, enter a new name with the keyboard displayed by selecting
[Name].
Note • The recipient name may not be displayed depending on the settings.
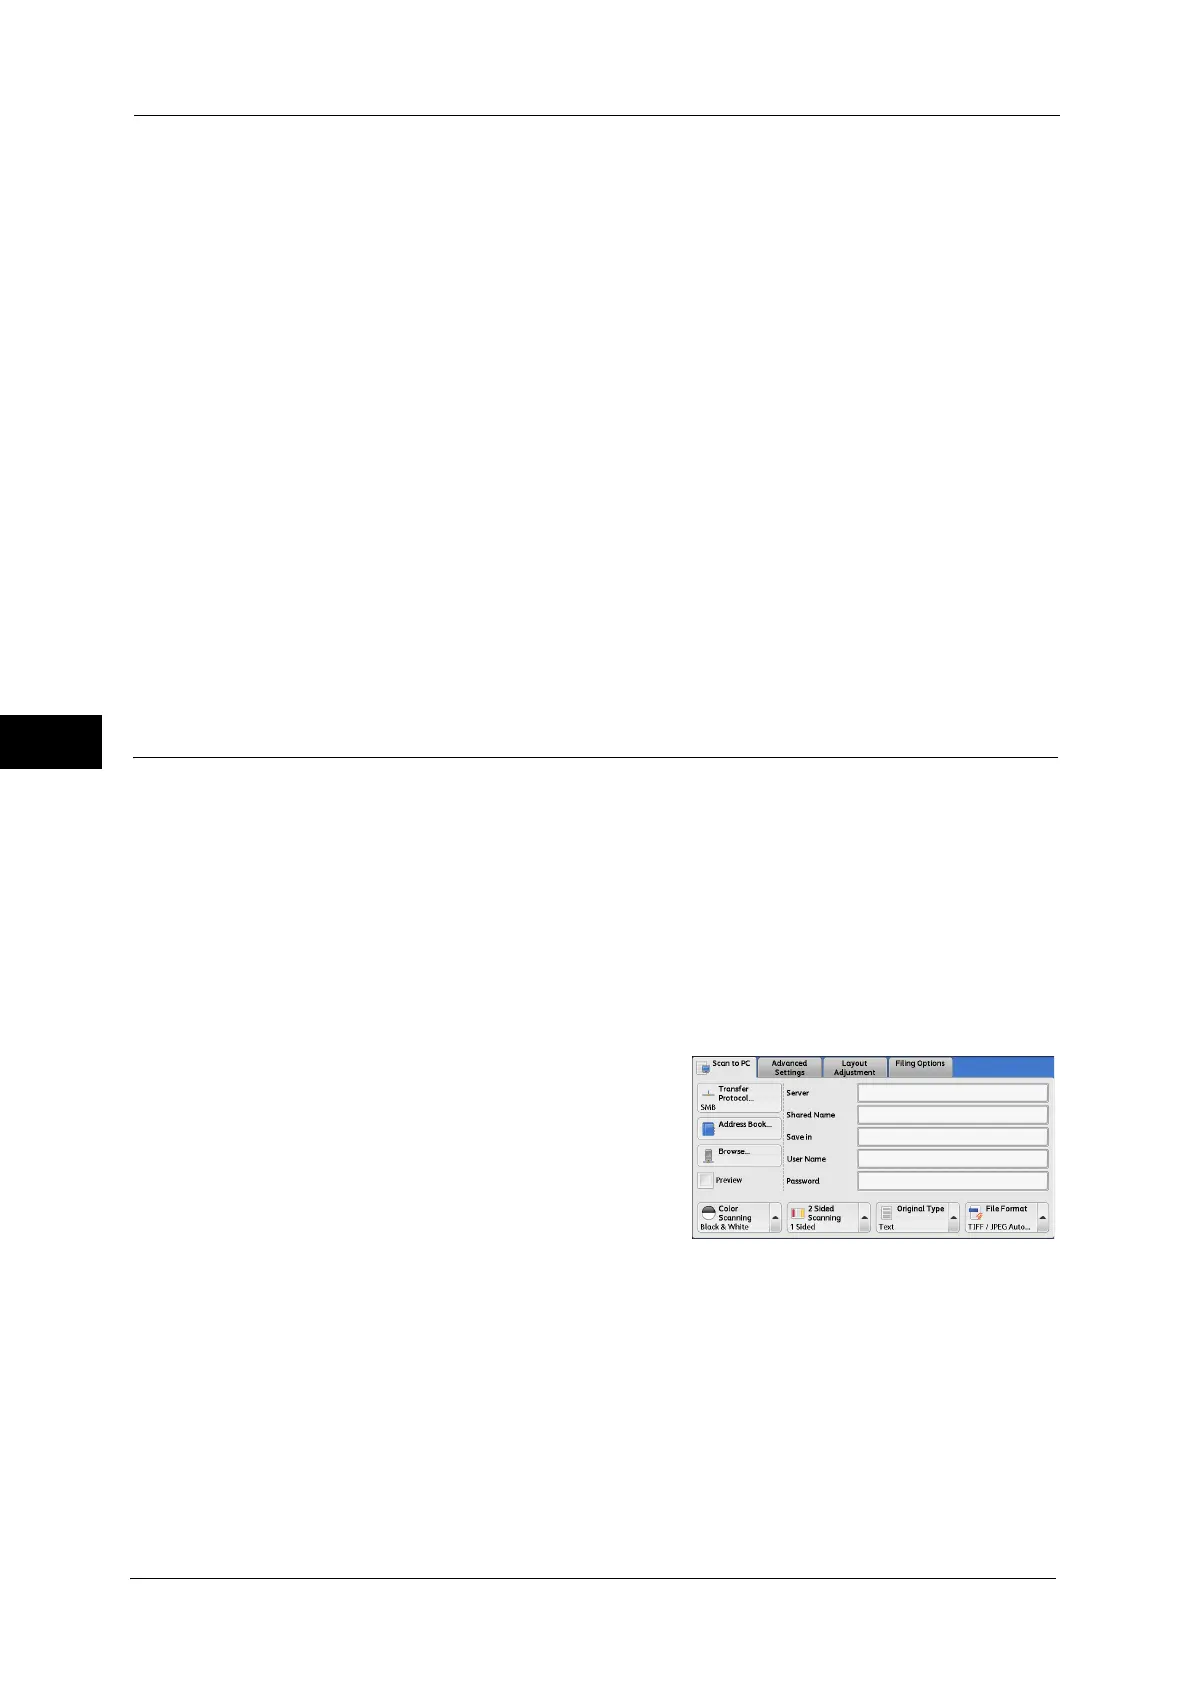
Specifying a Destination (Specifying a Destination PC Using the Screen
Keyboard)
Enter information in the fields provided for the selected protocol, to specify a forwarding
destination.
Important • When using the Scan to My Folder feature in computer environment earlier than Windows 98/
Windows NT
®
, a destination user name in the earlier format (domain name\user name) will not be
determined automatically.
Before scanning, change the user name with which you can log in correctly.
Note • When you select [Login to Remote Accounts] for [Login Type] and select [Enabled] for [Scan to My
Folder] using CentreWare Internet Services, the scanned document can be transferred to a different
destination. You can select [Enabled] for [Scan to My Folder] only when [Login to Remote Accounts]
and [SMB] are selected for [Login Type] and [Transfer Protocol] respectively. For information on
configuration procedure, refer to the help of CentreWare Internet Services.
1
Select the item to be set.
Note • You can also select [Address Book] to enter
information.
• Fields displayed on the screen vary
depending on the selected protocol.
2
Enter information using the keyboard displayed on the screen.
For information on how to enter characters, refer to "Entering Text" (P.89).
Note • To delete characters, select [Backspace].
Server
This option is displayed when you select [FTP] or [SMB] in [Transfer Protocol]. Enter a server
name or IP address. When the save location is in the DFS namespace on Windows, enter a
domain name or server name. Up to 64 characters are allowed.
The following are examples:
 Loading...

