5.1 Overview of the Menus 85
Setting Example:
Changing the Energy Saver Setting
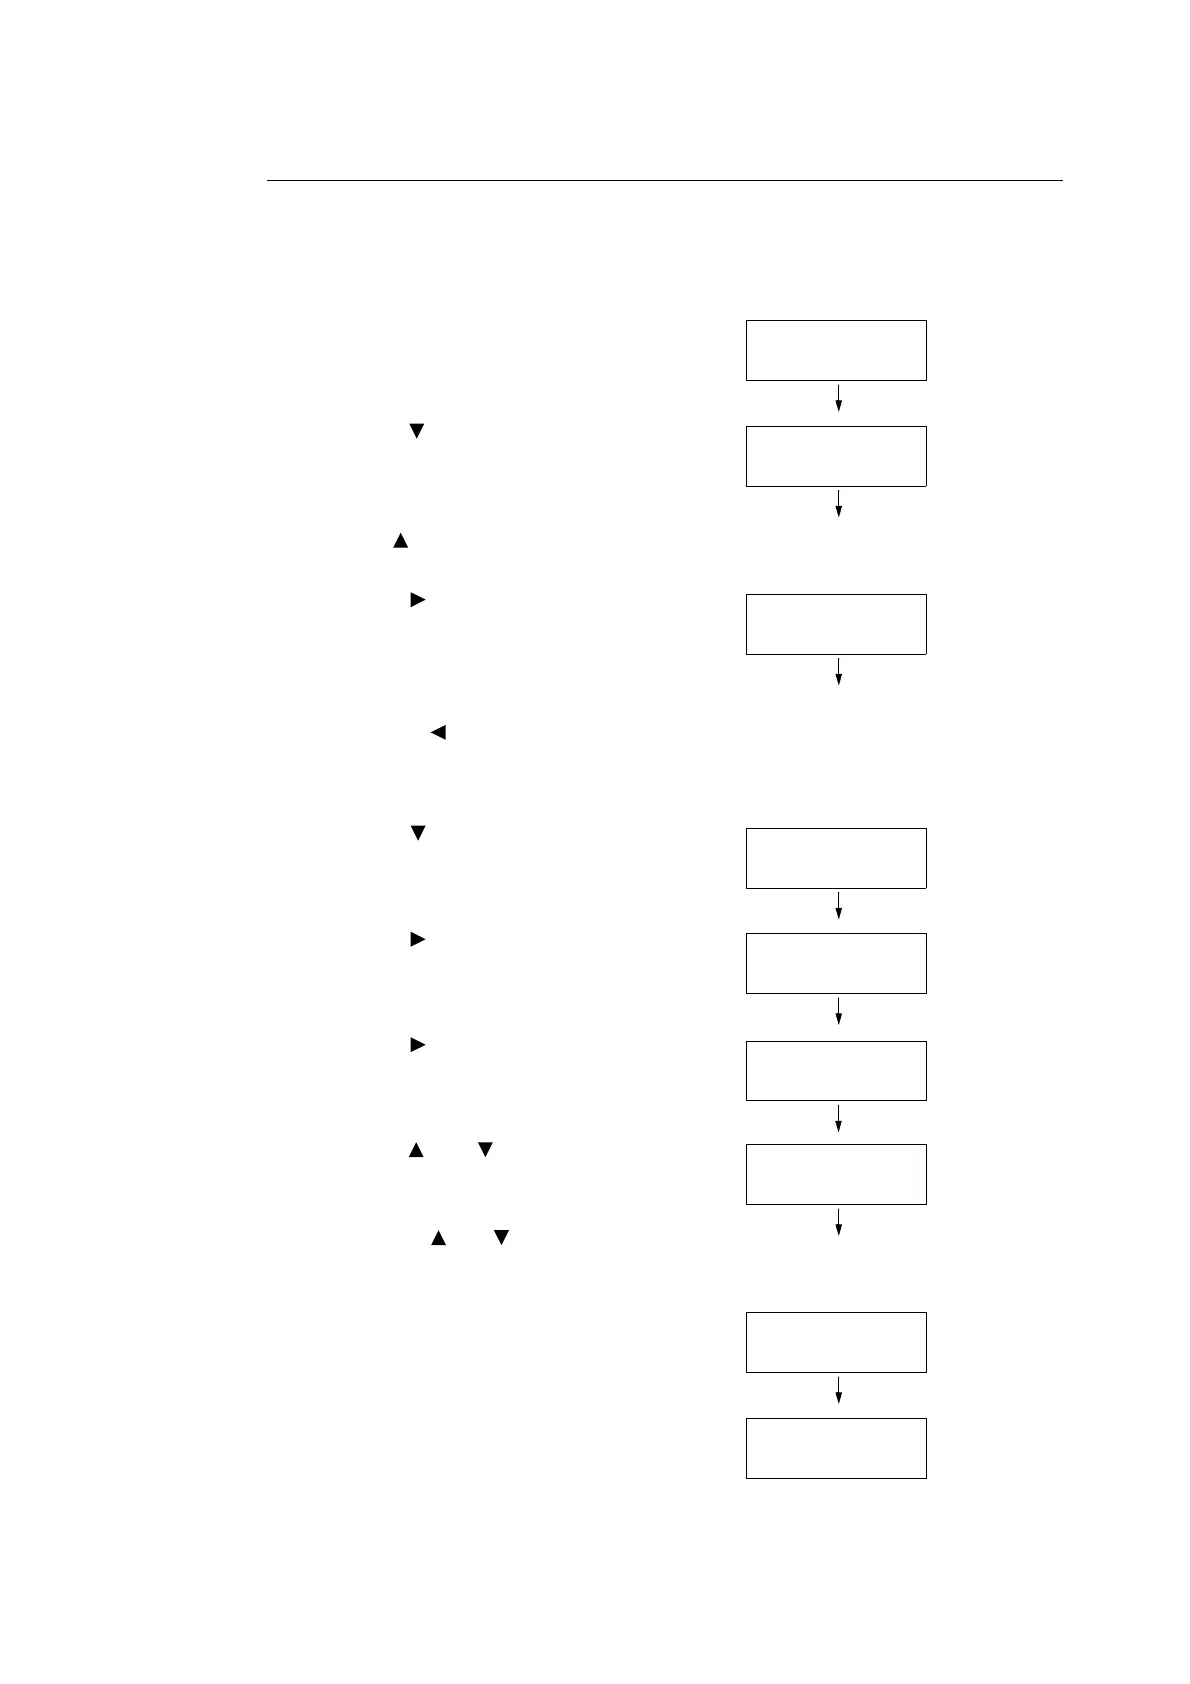
Use the following procedure to set a value with the control panel.
In this example, we will set [Low Power Timer] (an interval at which the printer switches to
the Low Power mode) to [60 Minutes].
1. Press the <Menu> button to display the
menu screen.
2. Press the < > button until [Admin Menu] is
displayed.
Note
• If you went past the desired item, return to the item by
pressing the < > button.
3. Press the < > or <Eject/Set> button to
accept the selection.
Move on to the lower hierarchy.
Note
• To deselect an desired item or return to the previous
screen, press the < > button.
• Press the <Menu> button to re-start from the
beginning.
4. Press the < > button until [System
Settings] is displayed.
5. Press the < > or <Eject/Set> button to
accept the selection.
[Low Power Timer] is displayed.
6. Press the < > or <Eject/Set> button to
accept the selection.
The current set value appears.
7. Press the < > or < > button to display [60
Minutes].
Note
• Holding down the < > or < > button scrolls through
the options.
8. Press the <Eject/Set> button to accept the
value.
9. The setting is now complete.
Press the <Menu> button to return to the
[Ready to Print] screen.
Menu
Report / List
Menu
Admin Menu
Admin Menu
Wired Network
Admin Menu
System Settings
System Settings
Low Power Timer
Low Power Timer
2 Minutes*
Low Power Timer
60 Minutes
Low Power Timer
60 Minutes*
Ready to Print

 Loading...