English (GB)
6
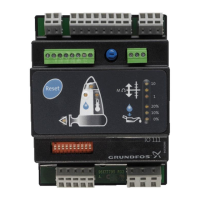
2.3 Connection of LC 107 one-pump controller
Description (see also figs 1, 2 and 3 on page 95):
The pump is controlled by the liquid level in the pit.
• When the lower level pickup, pos. 1, registers liquid, the pump
is started.
• When the level pickup, pos. 1, does not register any liquid, the
stop delay (can be set) is activated. After expiration of the stop
delay, the pump is stopped.
• The upper level pickup, pos. 2, activates the high-level alarm.
Connection (see also figs 1, 2 and 3 on page 95):
These figures show the electrical connections and pneumatic
tube connections to be made when connecting the LC 107.
The operating voltage and frequency are marked on the controller
nameplate. Make sure that the controller is suitable for the
electricity supply on which it will be used.
All cables/wires must be fitted through the Pg cable entries and
gaskets (IP65).
Maximum back-up fuse is stated on the controller nameplate.
If required according to local regulations, an external mains
switch must be installed.
Note: If the PTC resistance/thermal switch of the motor is
connected, the factory-fitted short-circuit jumper must be
removed (terminals T11-T21).
Single-phase motors must be connected to an external operating
capacitor and in certain cases also to a starting capacitor.
Further details can be found in the installation and operating
instructions for the pump in question.
Note the following when installing pneumatic tubes and level
pickups:
• All pneumatic tubes and connections must be completely
airtight.
• To avoid liquid pockets in the pneumatic tubes, the tubes must
always be installed sloping downwards away from the LC 107
towards the level pickup.
• The length of each pneumatic tube must not exceed
20 metres.
• The pneumatic tubes must not be extended by means of joints
as these involve the risk of leaks.
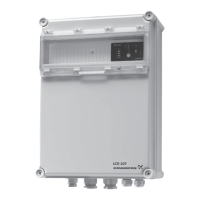
2.4 Connection of LCD 107 two-pump controller
Description (see also figs 4, 5 and 6 on page 96):
The pumps are controlled by the liquid level in the pit.
• When the level pickup, pos. 1, registers liquid, the first pump is
started.
• When the level pickup, pos. 2, registers liquid, the next pump
is started.
• When the level pickup, pos. 1, does not register any liquid, the
stop delay (can be set) is activated. After expiration of the stop
delay, both pumps are stopped.
• The pumps operate alternately.
• The level pickup, pos. 3, activates the high-level alarm.
Connection (see also figs 4, 5 and 6 on page 96):
These figures show the electrical connections and pneumatic
tube connections to be made when connecting the LCD 107.
The operating voltage and frequency are marked on the controller
nameplate. Make sure that the controller is suitable for the
electricity supply on which it will be used.
All cables/wires must be fitted through the Pg cable entries and
gaskets (IP65).
Maximum back-up fuse is stated on the controller nameplate.
If required according to local regulations, an external mains
switch must be installed.
Note: If the PTC resistance/thermal switch of the motors are
connected, the factory-fitted short-circuit jumpers must be
removed (terminals T11-T21 and T12-T22).
Single-phase motors must be connected to an external operating
capacitor and in certain cases also to a starting capacitor.
Further details can be found in the installation and operating
instructions for the pump in question.
Note the following when installing pneumatic tubes and level
pickups:
• All pneumatic tubes and connections must be completely
airtight.
• To avoid liquid pockets in the pneumatic tubes, the tubes must
always be installed sloping downwards away from the
LCD 107 towards the level pickup.
• The length of each pneumatic tube must not exceed
20 metres.
• The pneumatic tubes must not be extended by means of joints
as these involve the risk of leaks.
Warning
LC 107 must be connected in accordance with the
rules and standards in force for the application in
question.
Warning
LCD 107 must be connected in accordance with the
rules and standards in force for the application in
question.
 Loading...