EXCEL 50 MMI - USER GUIDE
EN2B-0222GE51 R0216 54
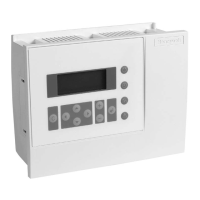
Fig. 75. Manually setting the state/value of digital output data-points
Confirm the displayed value with ENTER, or change the state/value using the
PLUS or MINUS keys and confirm.
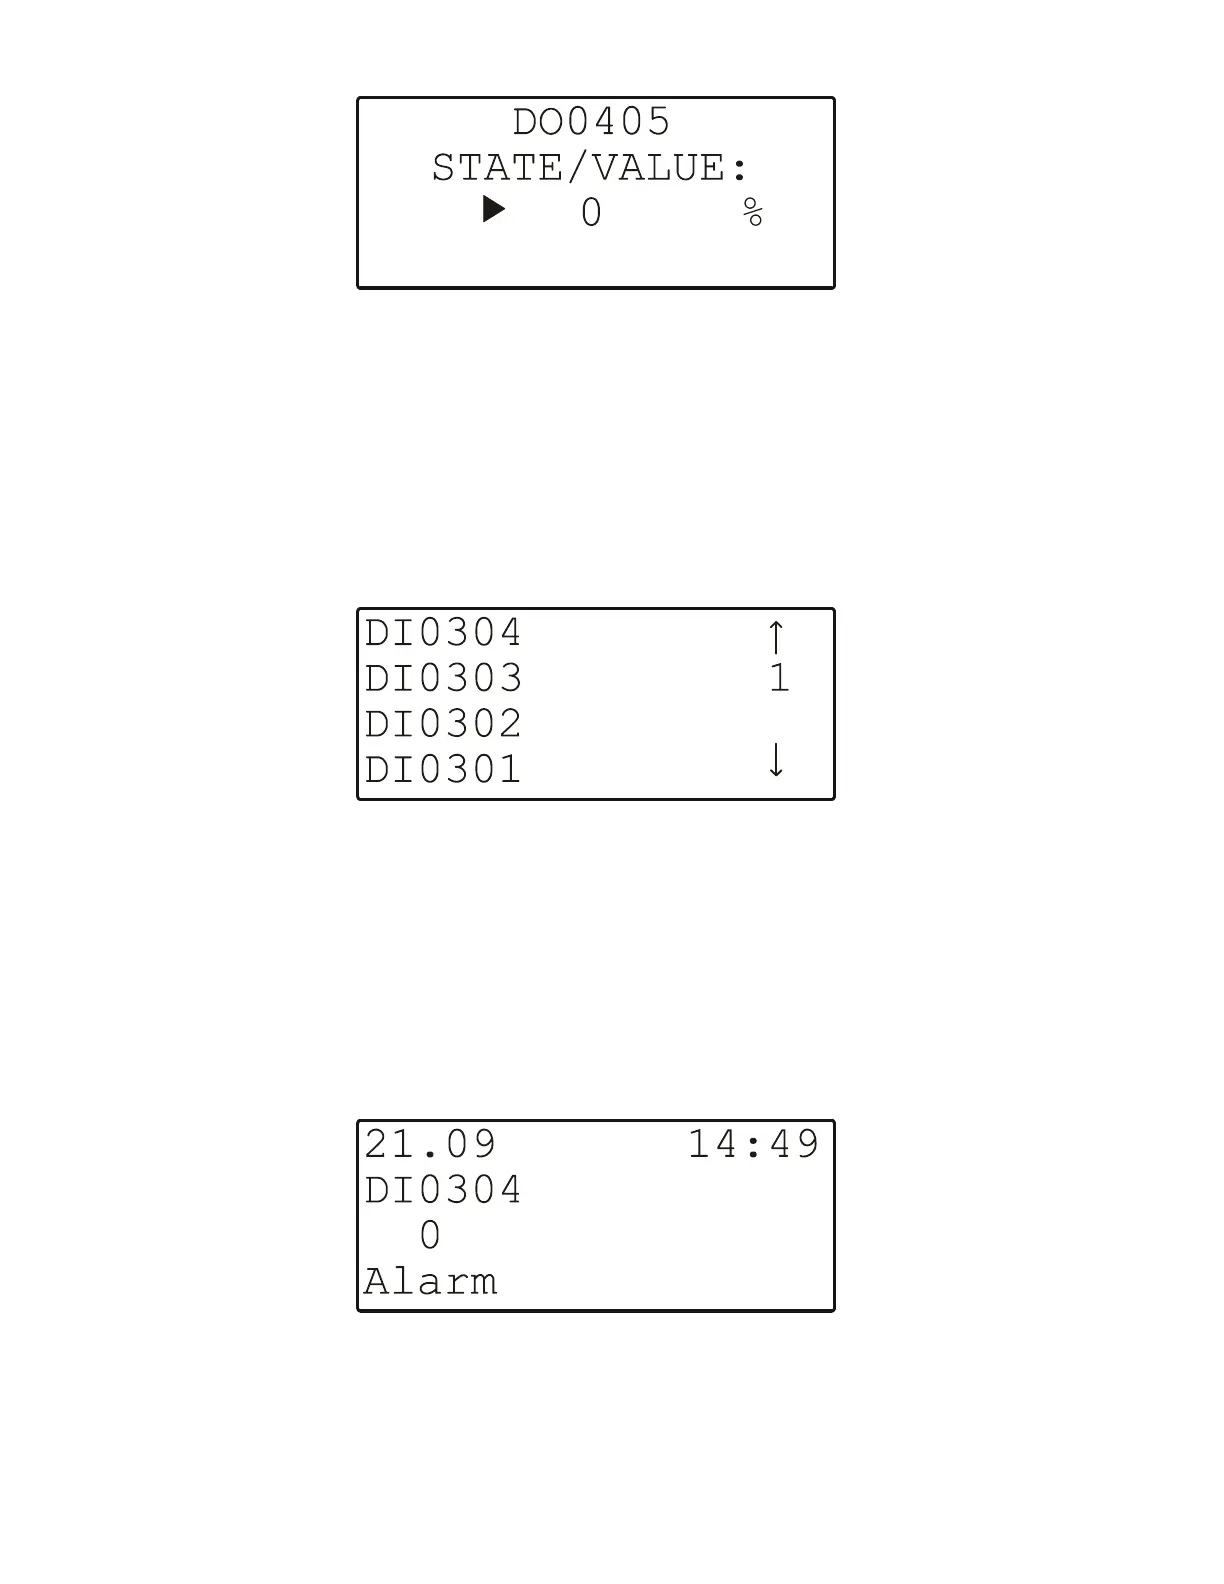
If "Alarm History" has been selected, a listbox similar to the one shown in Fig. 76
will be displayed showing all points in alarm as well as any system alarms (max.
100 entries):
Fig. 76. Alarm history
NOTE: Alarms are generated for changes of state/value on inputs, which allows
shorting and opening the inputs at the switches and/or sensors and then
checking the alarm buffer to verify the wiring.
To display an alarm, use the ARROW keys to move the cursor to the default data-
point's name from the list box and confirm. A screen similar to Fig. 77 will appear.
Fig. 77. Displaying an alarm
 Loading...