EasyManuals Logo
Home>HP>Measuring Instruments>8753D Option 011

HP 8753D Option 011 User Manual

HP 8753D Option 011
398 pages
To Next Page IconTo Next Page
To Previous Page IconTo Previous Page
Page #345 background imageLoading...
Page #345 background image
Front
P
anel
Assembly
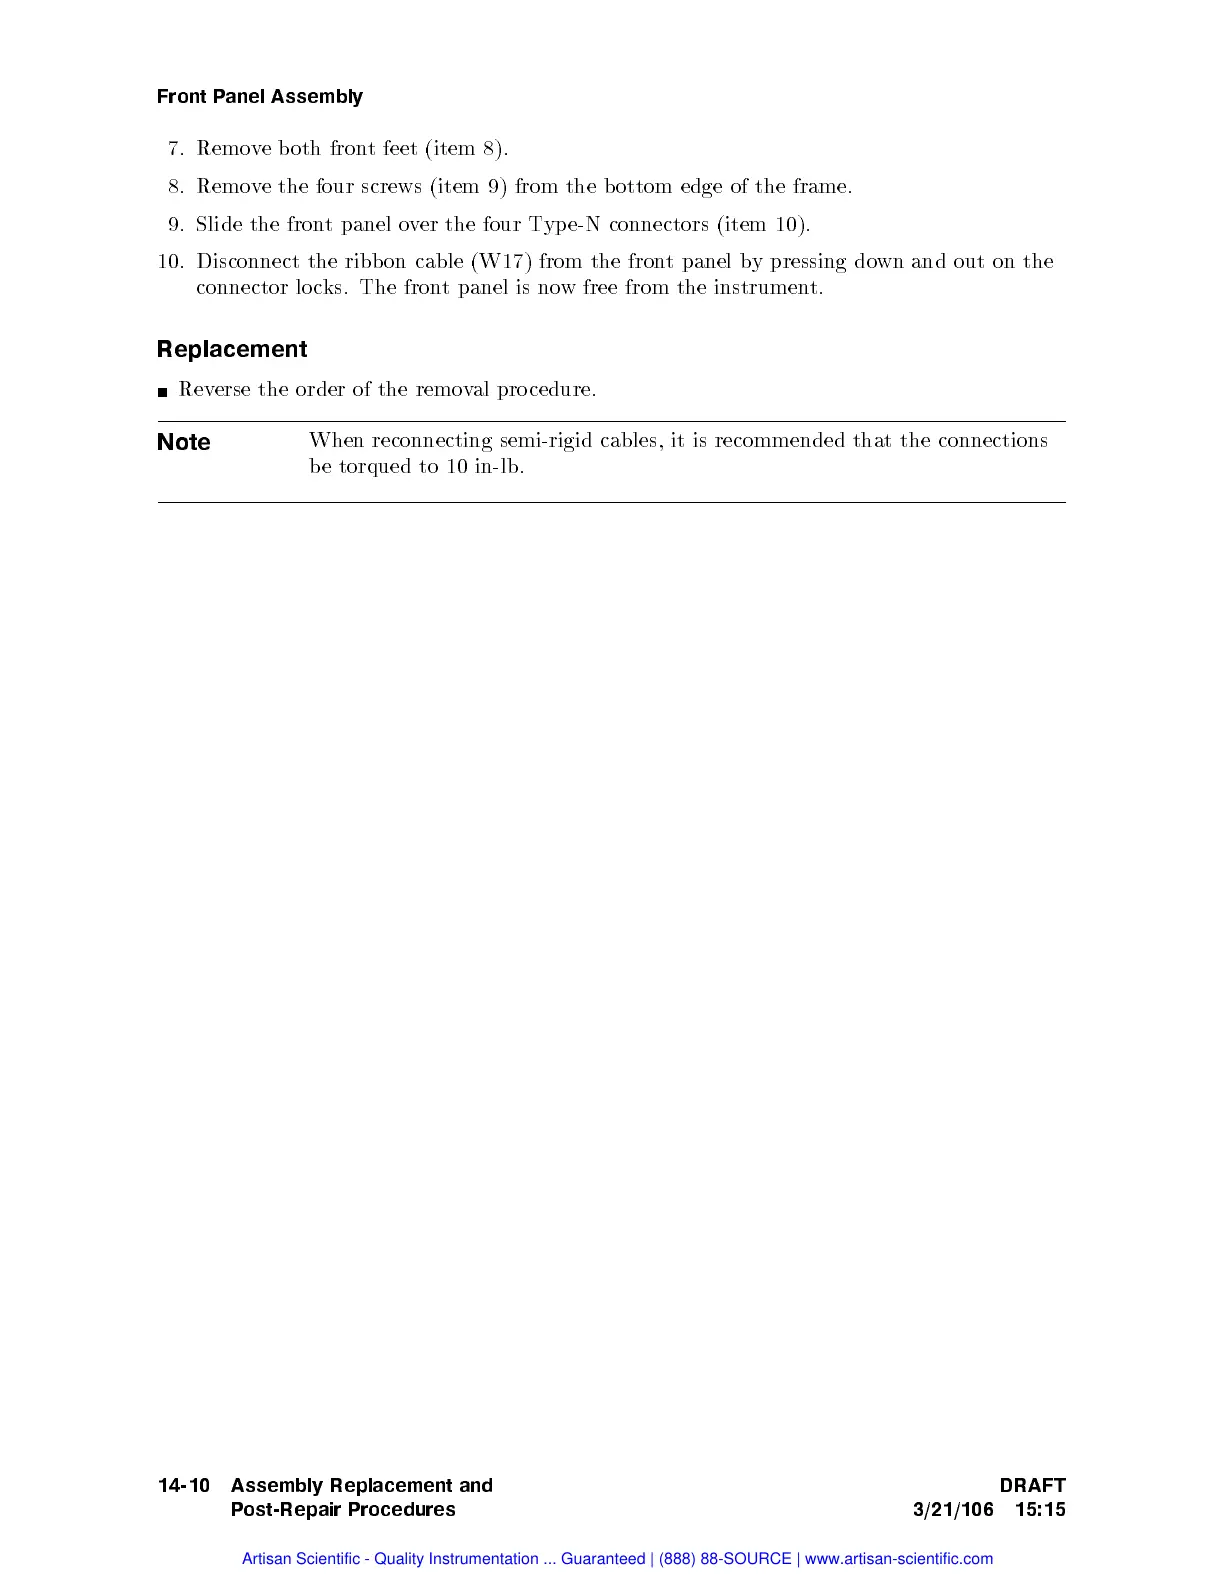
7.
Remo
v
e
b
oth
fron
t
feet
(item
8).
8.
Remov
e the
four screws
(item 9)
from the
bottom
edge of
the
frame.
9. Slide
the fron
t panel
o
v
er
the
four
T
yp
e-N
connectors
(item
10).
10.
Disconnect
the
ribb
on cable
(W17) from
the fron
tpanel
by
pressing do
wn and
out
on
the
connector
lo c
ks. The
front
panel
is
no
w
free
from
the
instrumen
t.
Replacement
Rev
erse the
order of
the remo
val
pro
cedure.
Note
When reconnecting
semi-rigid cables,
it
is
recommended
that
the
connections
b
e
torqued
to
10
in-lb.
14-10 Assembly Replacement and
Post-Repair Procedures
DRAFT
3/21/106 15:15
Artisan Scientific - Quality Instrumentation ... Guaranteed | (888) 88-SOURCE | www.artisan-scientific.com

Table of Contents

Questions and Answers:

Question and Answer IconNeed help?

Do you have a question about the HP 8753D Option 011 and is the answer not in the manual?

HP 8753D Option 011 Specifications

General IconGeneral
BrandHP
Model8753D Option 011
CategoryMeasuring Instruments
LanguageEnglish

Related product manuals