2. Turn off the server and all attached devices; then, disconnect all power cords
and external cables.
3. Unlock and remove the side cover (see “Removing the side cover” on page
145).
4. Remove the lower bezel (see “Removing the lower bezel” on page 147).
5. Remove the simple-swap hard disk drives that are installed in the hard disk
drive cage (see “Removing a simple-swap hard disk drive” on page 163).
6. Remove the hard disk drive fan assembly from the hard disk drive cage (see
“Removing the hard disk drive fan assembly” on page 189).
7. Disconnect the power cable from the simple-swap backplate.
8. Disconnect the signal cable from the system board.
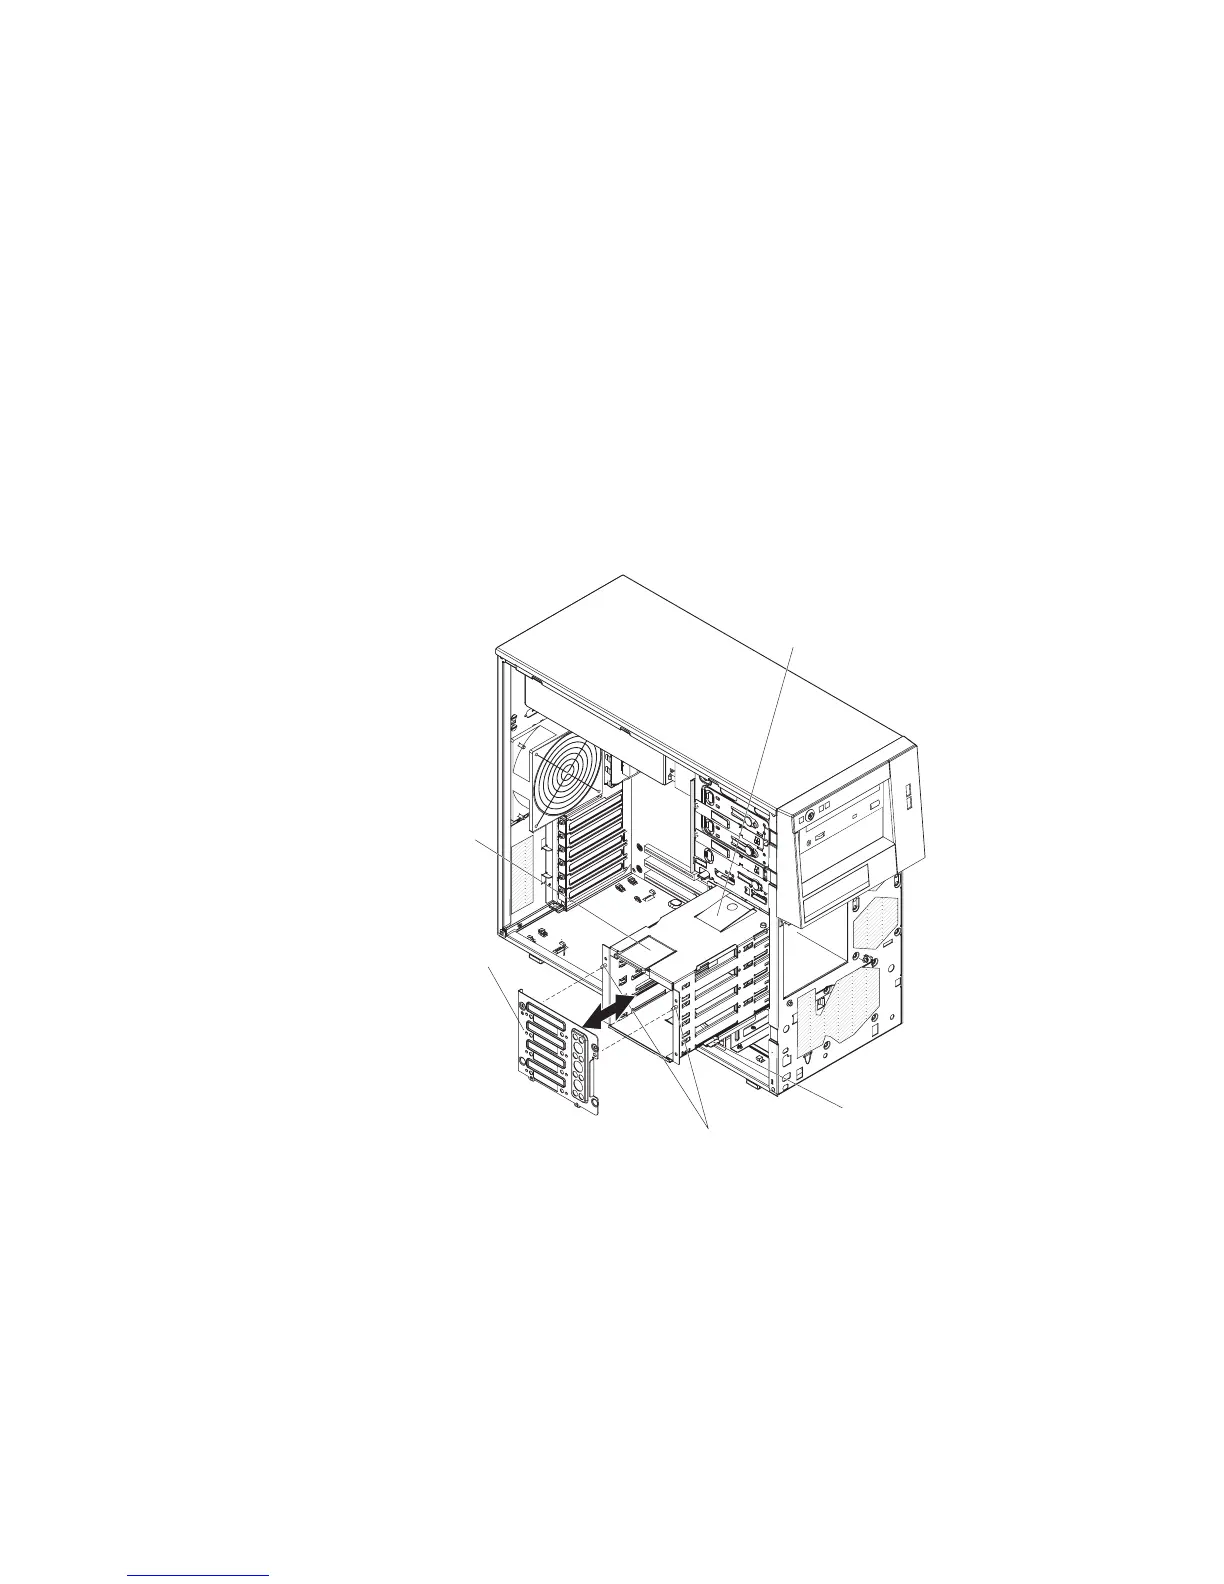
9. Press and hold the drive cage release tab; then, rotate the drive cage out of
the chassis until the retaining tab on top of the cage locks into place.
10. Lift up on the retaining latch at the top of the drive cage; then, tilt the top of the
simple-swap backplate away from the drive cage until it is clear of the locating
pins.
Retaining tab
Drive cage
release tab
Retaining
latch
Locating pins
Simple-swap
backplate
11. Lift the simple-swap backplate out of the lower lip on the drive cage and set it
aside.
12. If you are instructed to return the simple-swap backplate, follow all packaging
instructions, and use any packaging materials for shipping that are supplied to
you.
Installing the simple-swap backplate
This procedure applies only to server models with the simple-swap SATA backplate
installed on the back of the hard disk drive cage.
To install the simple-swap backplate, complete the following steps.
Chapter 5. Removing and replacing server components 193
 Loading...