2
1
ACCESSORIES AND INSTALLATION
Installation and Connection (Continued) ■
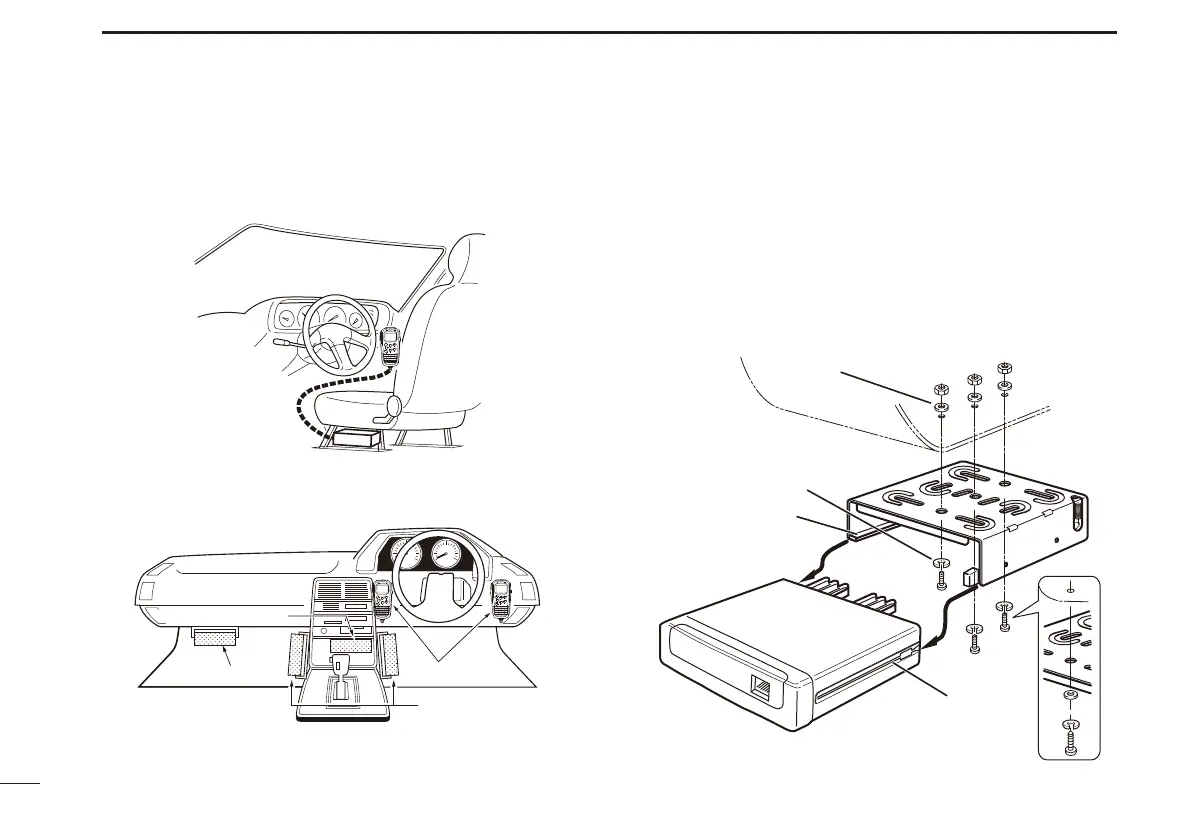
Installation methods D
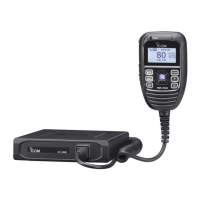
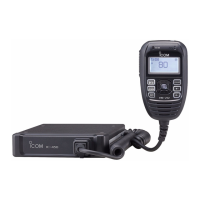
<Sample 1: IC-440N is installed under the driver’s seat.>
<Sample 2: IC-440N is installed under the dash box or on the
center console.>
Microphone
Main unit
Main unit
Main unit
Using the mounting bracket D
Drill 3 holes where you want to install the mounting bracket. q
• Approximately 5.5–6 mm when using nuts;
approximately 2–3 mm when using self-tapping screws.
Use the supplied screws, nuts and washers to attach the w
mounting bracket, and tighten them fi rmly.
e
Insert the mounting bracket’s rail to the transceiver’s slot,
then slide the transceiver to attach to the mounting bracket.
Flat washer
Spring washer
When using
self-tapping screws
Slot
Rail
 Loading...