3.4 Registration and selection of the DR Detector
84
3.4.2 Registration with AeroDR
Battery Charger2
To register the DR Detector in the AeroDR Battery
Charger2, follow the procedure below.
1
Make sure that all the devices in the destina-
tion exposure room are usable.
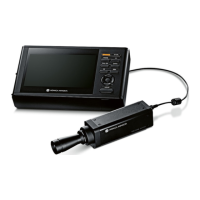
2
Insert the DR Detector into AeroDR Bat-
tery Charger2 in the destination exposure
room.
• Registration process will start.
Exposure
side
3
Once the registration is completed, a
buzzer will sound on the AeroDR Battery
Charger2, and the LED (green) will change
from slow ashing to lit.
LED (green)
4
Conrm that the DR Detector icon is dis-
played on the image processing control-
ler.
HINT
•••••••••••••••••••••••••••••••••••••
• Charging will also start when the DR Detector is in-
serted into the AeroDR Battery Charger2, and the
AeroDR Battery Charger2 LED (blue) will light or ash.
•••••••••••••••••••••••••••••••••••••••••••••••••••••
3.4.3 Registration with the
wired cable
To register the DR Detector by connecting the wired
cable to the wired connection connector, follow the
procedures below.
1
Make sure that all the devices in the desti-
nation exposure room are usable.
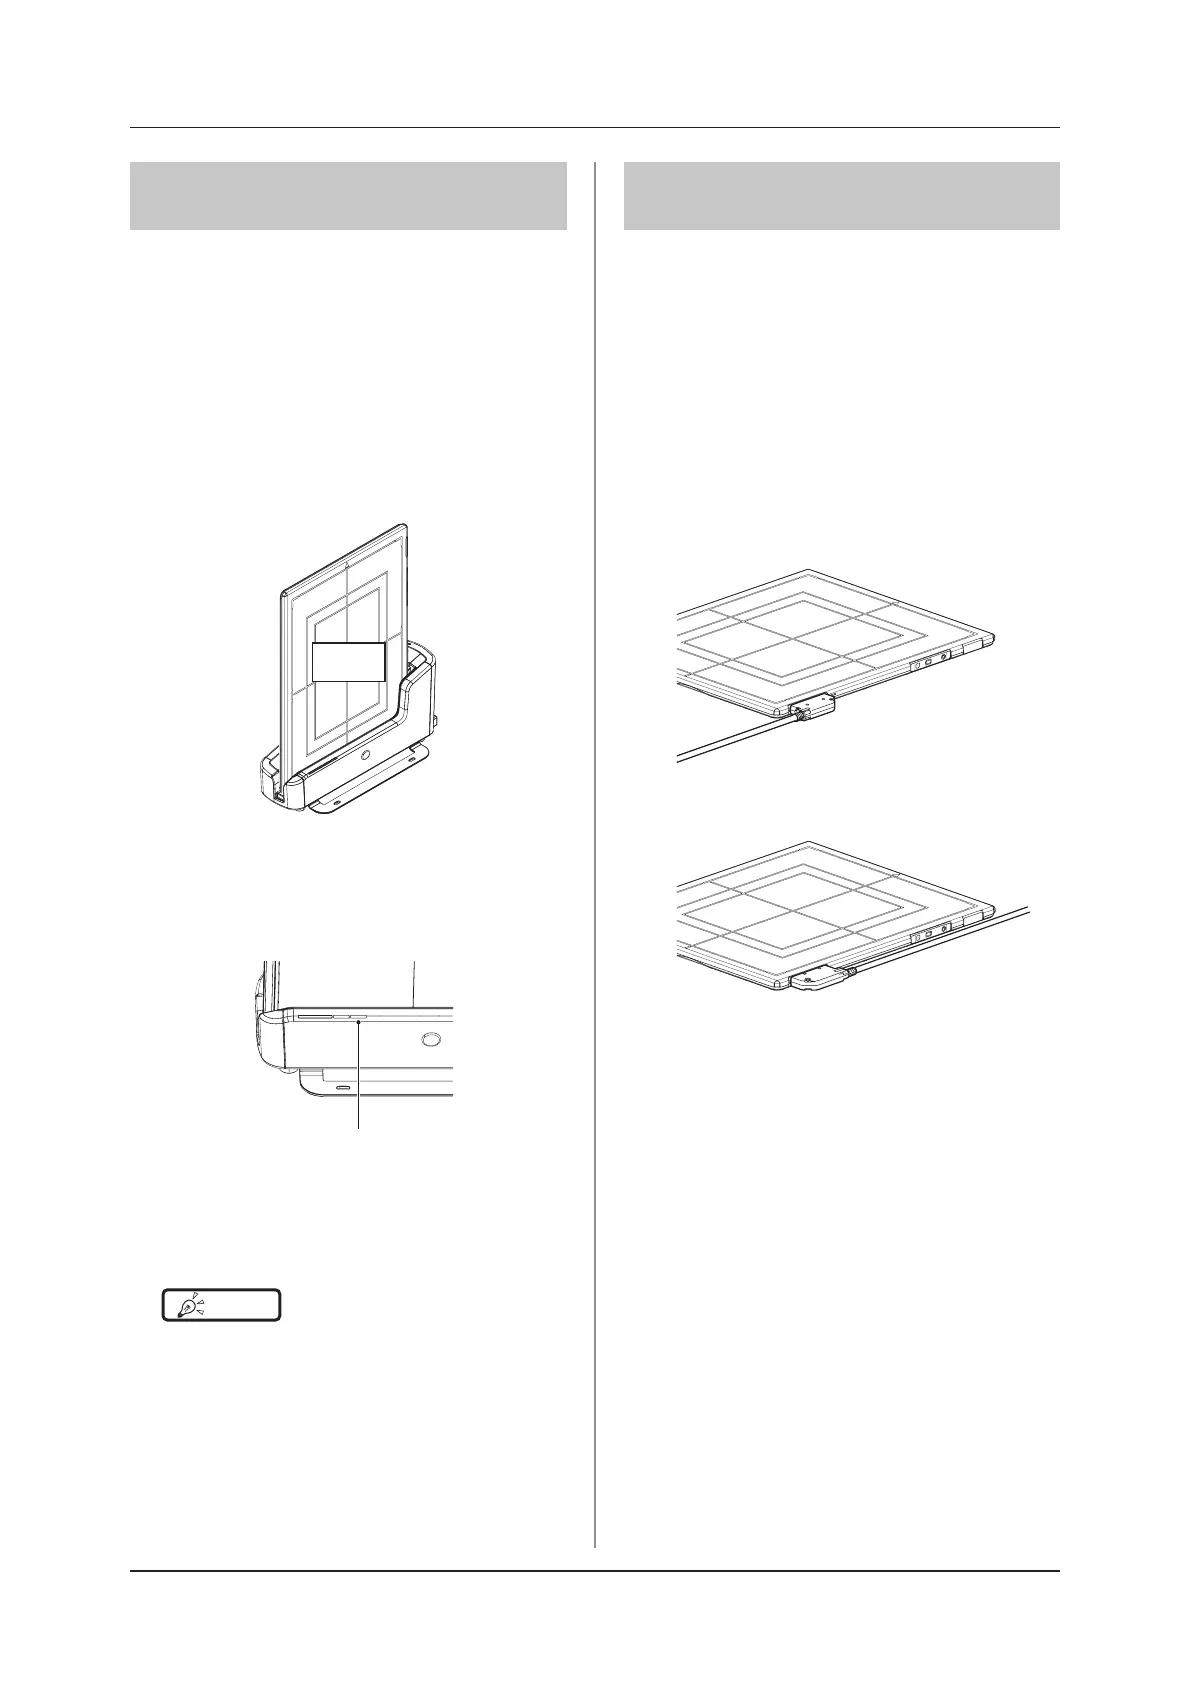
2
Securely connect the wired cable to the
wired connection connector on the DR
Detector.
• Registration process will start.
or
3
Conrm that the DR Detector icon is dis-
played on the image processing control-
ler.
 Loading...