4–3
The Main Controls
The front panel controls are divided into four main groups
of buttons and knobs: the System Setup and menu
controls, CHANNELS, TIMEBASE + TRIGGER and ZOOM +
MATH.
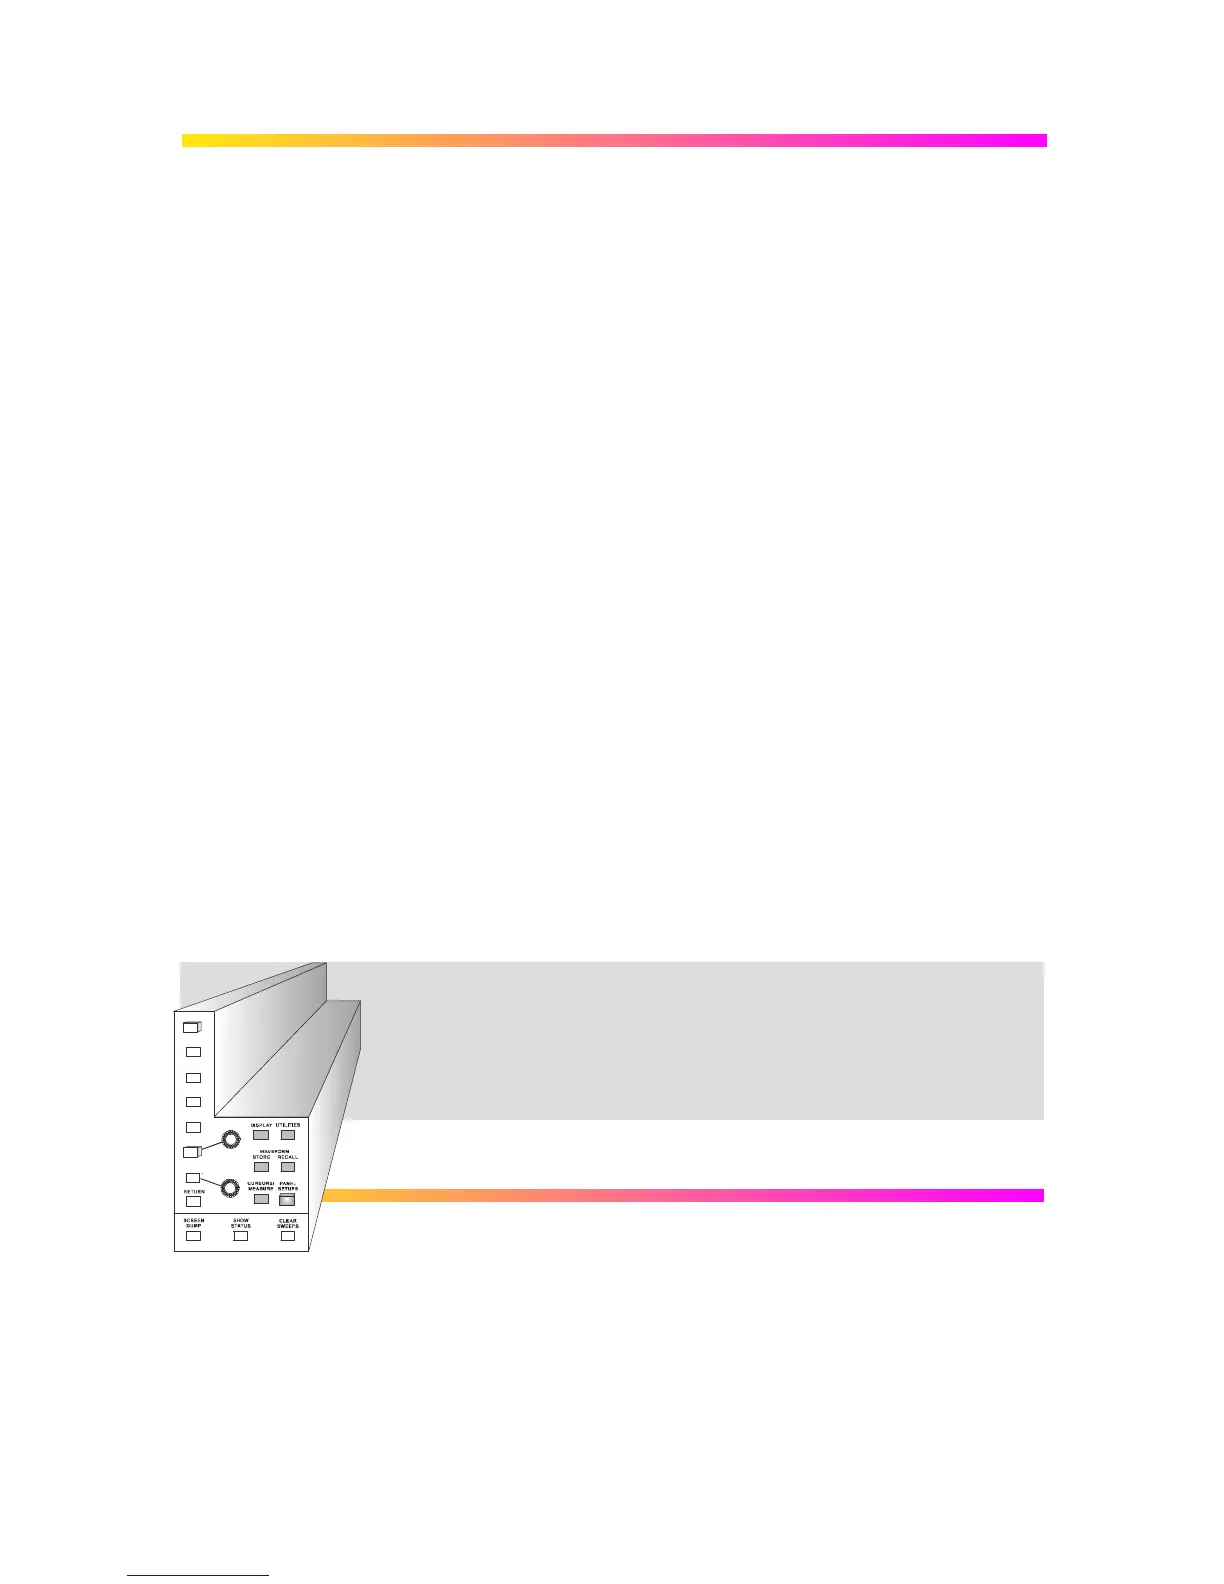
System Setup Dark-gray, menu-entry buttons, also represented in the other
groups of controls, provide access to the main on-screen menus
and the acquisition, processing and display modes of the
instrument.
The SCREEN DUMP, SHOW STATUS and CLEAR SWEEPS
buttons, respectively: copy or print the screen display, show on-
screen summaries of the scope’s status, and restart operations that
require several acquisitions. See page 4–6.
Menu Buttons & Knobs The seven untitled buttons vertically aligned beside the screen,
RETURN and the two linked rotary knobs enable on-screen menu
selection. See following pages.
CHANNELS This group offers selection of displayed traces and adjustment of
vertical sensitivity and offset. See Chapter 5.
AUTO SETUP This singular blue button automatically adjusts the scope to acquire
and display signals on the input channels. See Chapter 6.
TIMEBASE + TRIGGER These controls allow direct adjustment of time/division, trigger level
and delay, as well as access to the “TIMEBASE” and “TRIGGER”
menu groups. See Chapters 6, 7 and 8.
ZOOM + MATH And this group controls trace selection, movement, definition, and
expansion with Zoom and Math functions. See Chapters 9 and 10.
See also “Getting Started”, Part 2 of the
Hands-On Guide, for more on the front-panel
and a complete run-through of the controls…
 Loading...