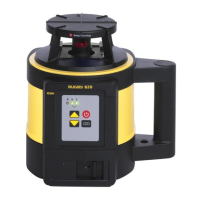
Rugby 870/880, Accuracy Adjustment
54
10 Accuracy Adjustment
About • It is the responsibility of the user to follow operating instructions and to periodi-
cally check the accuracy of the laser and work as it progresses.
• The Rugby is adjusted to the defined accuracy specification at the factory. It is
recommended to check the laser for accuracy upon receipt and periodically there-
after to ensure accuracy is maintained. If the laser requires adjustment, contact
your nearest authorised service centre or adjust the laser using the procedures
described in this chapter.
• Only enter the accuracy adjustment mode when you plan to change the accuracy.
Accuracy adjustments should only be performed by a qualified individual that
understands basic adjustment principles.
• It is recommended to perform this procedure with two people on a relatively flat
surface.
10.1 Checking the Level Accuracy
Checking the level
accuracy step-by-
step
Step Description
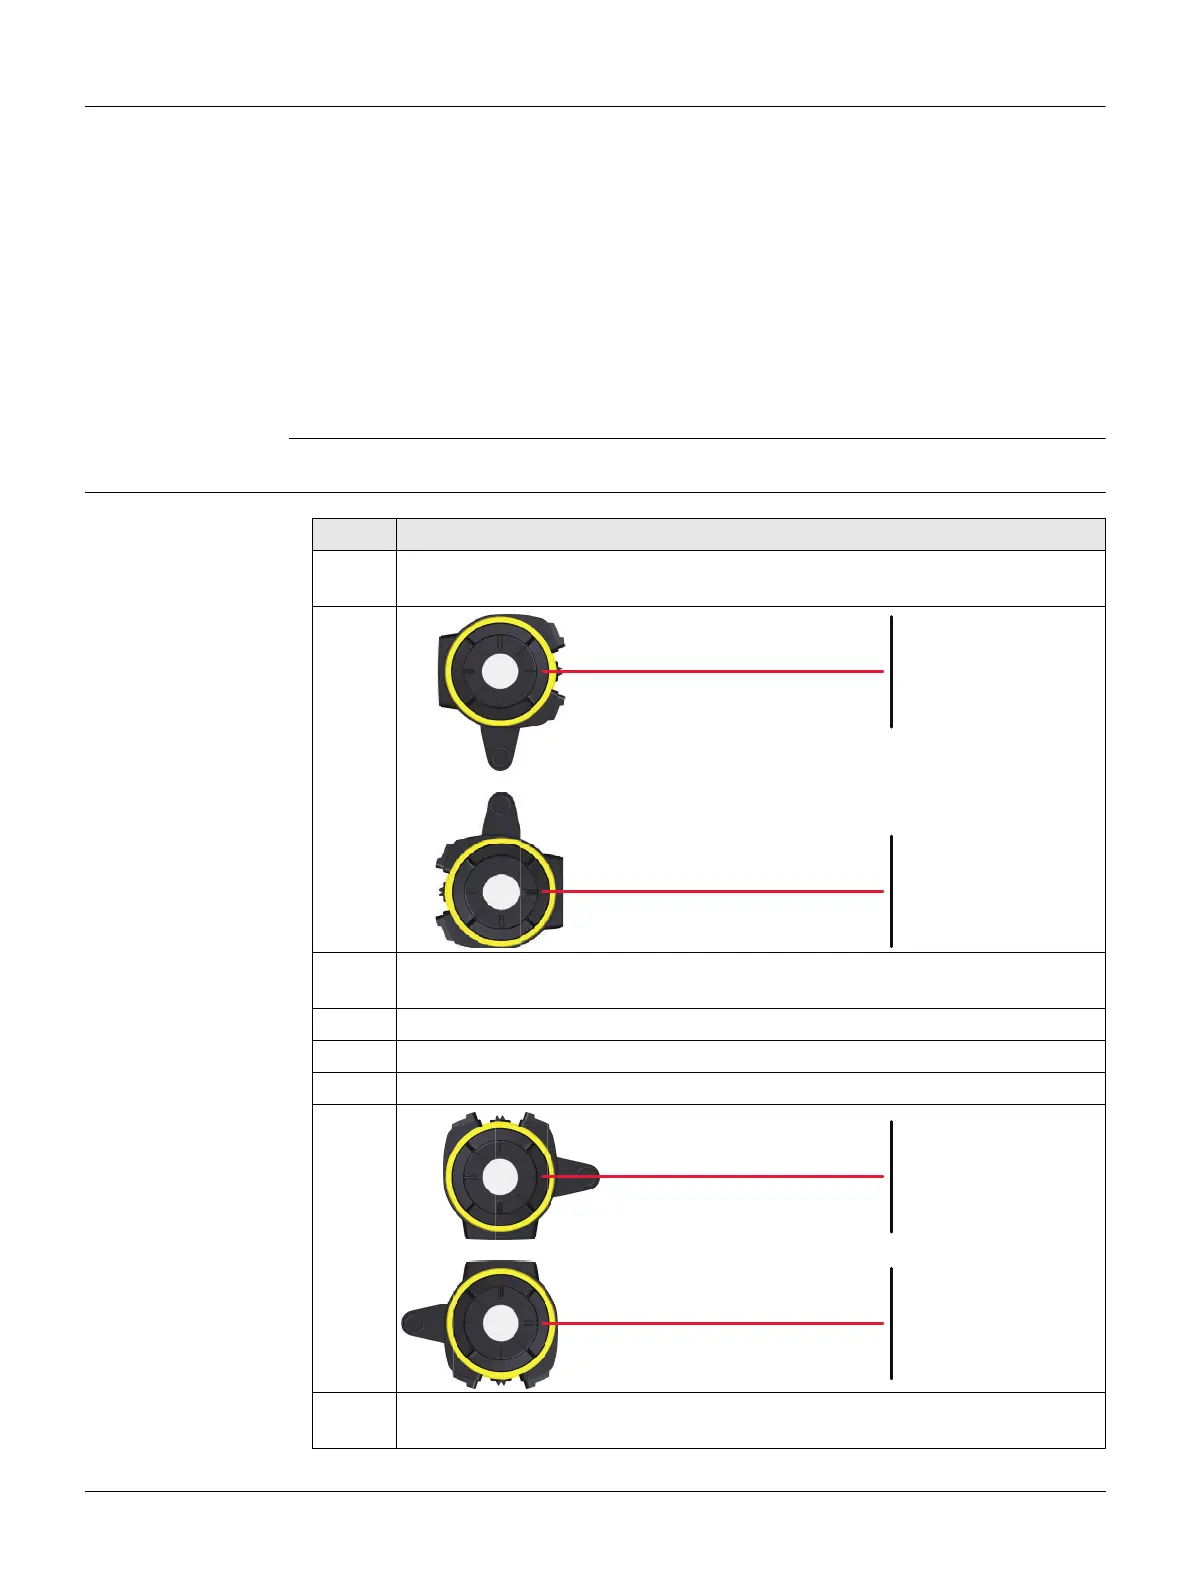
1. Place the Rugby on a flat, level surface or tripod approximately 30 m (100 ft)
from a wall.
2. Align the first axis so that it is square to a wall. Allow the Rugby to self-level
completely (approximately 1 minute after the Rugby begins to rotate).
3. Mark the position of the beam.
4. Rotate the laser 180° and allow it to self-level.
5. Mark the opposite side of the first axis.
6. Align the second axis of the Rugby by rotating it 90° so that this axis is
square to the wall. Allow the Rugby to self-level completely.
007840 001
30 m (100 ft)
30 m (100 ft)
X+
X—
007841_001
30 m (100 ft)
30 m (100 ft)
Y+
Y—

 Loading...