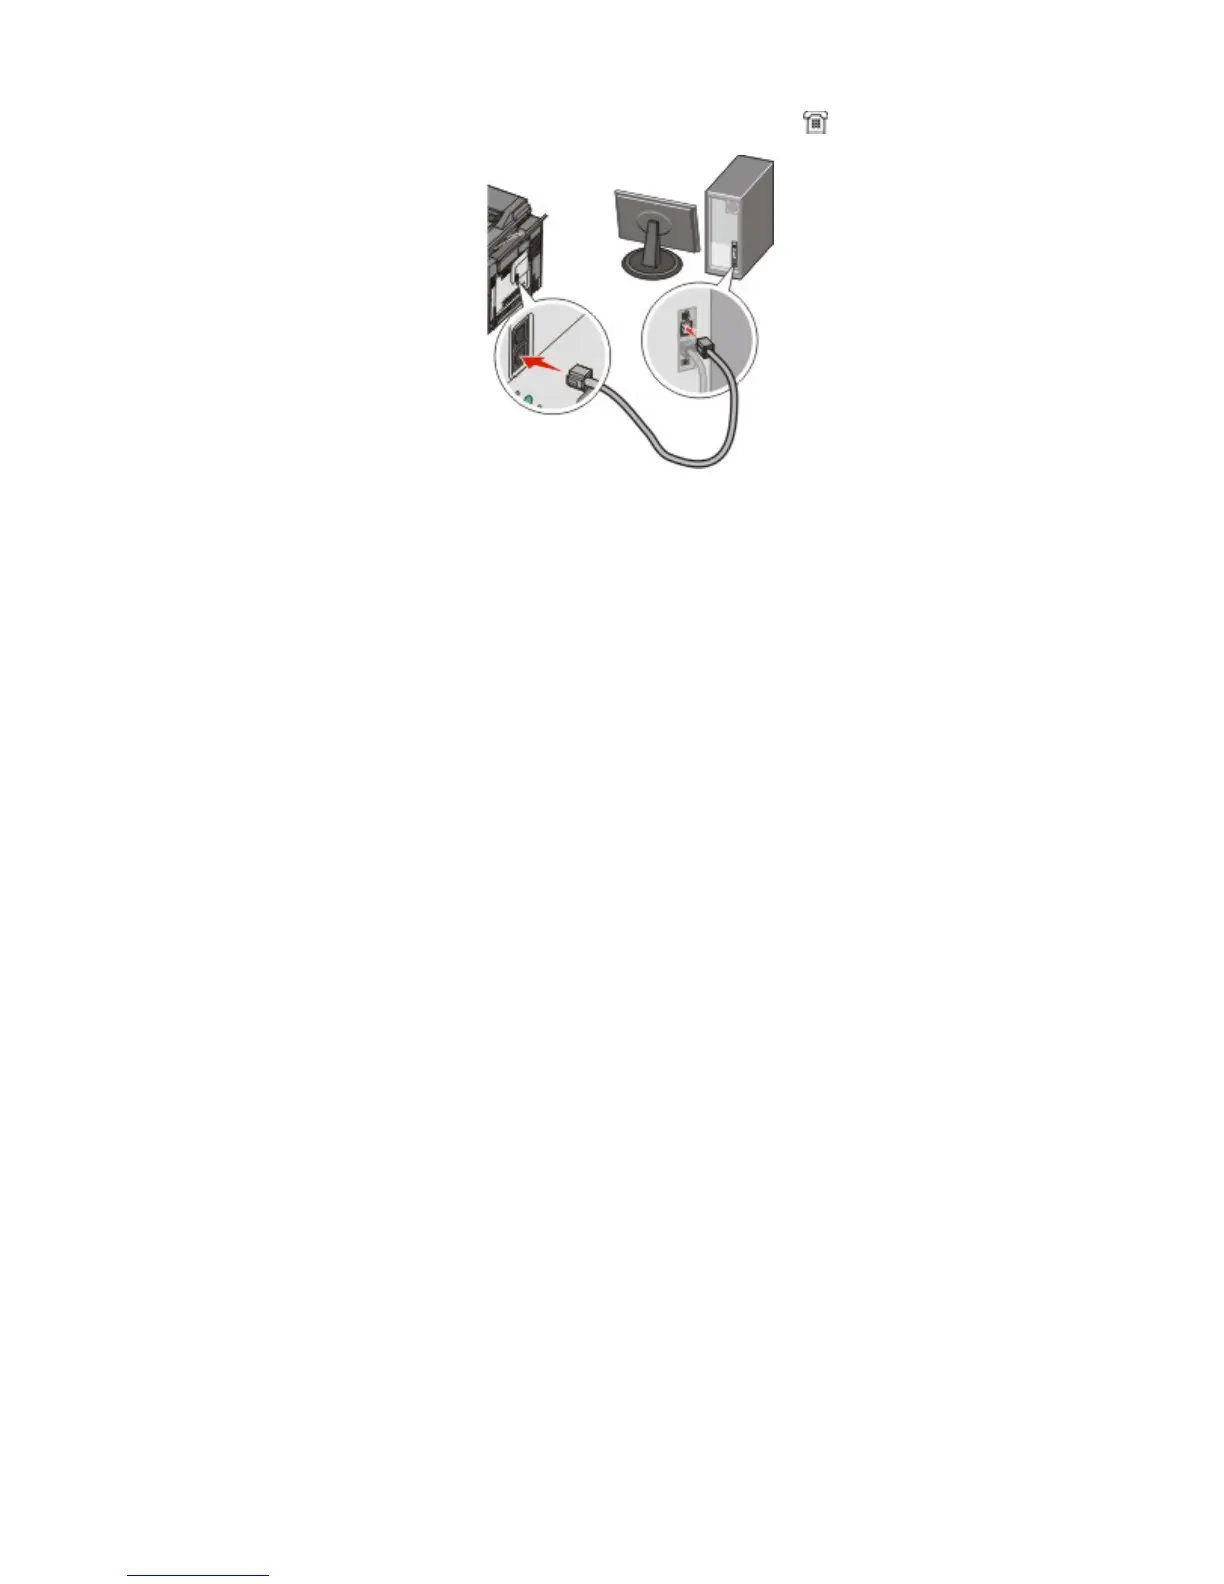
5 Connect a third telephone cord from the computer modem to the EXT port of the printer.
Setting the outgoing fax name and number
To have the designated fax name and fax number printed on outgoing faxes:
1 Type the printer IP address into the address field of your Web browser.
Note: If you do not know the IP address of the printer, then print a network setup page and locate the address
in the TCP/IP section.
2 Click Settings.
3 Click Fax Settings.
4 Click Analog Fax Setup.
5 Click inside the Station Name box, and then enter the name to be printed on all outgoing faxes.
6 Click inside the Station Number box, and then enter the printer fax number.
7 Click Submit.
Setting the date and time
You can set the date and time so that they are printed on every fax you send. If there is a power failure, you may have
to reset the date and time. To set the date and time:
1 Type the printer IP address into the address field of your Web browser.
Note: If you do not know the IP address of the printer, then print a network setup page and locate the address
in the TCP/IP section.
2 Click Settings.
3 Click Set Date and Time.
4 Click inside the Set Date & Time box, and then enter the current date and time.
5 Click Submit.
Faxing
87

 Loading...