4 - 4 Accutorr 7 Operator’s Manual
6. Select to save the configuration and exit the menu.
Admitting a Patient
To admit a patient, follow this procedure:
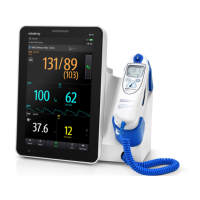
1. Connect the barcode scanner to the USB connector on the monitor.
2. Aim the scanner at the clinician barcode and press the scan button at the barcode
scanner. The clinician ID will populate the [Clinician ID] field in the [Patient
Demographics] menu.
3. Aim the scanner at the patient barcode and press the scan button on the barcode
scanner. The pop-up menu that opens depends on if [Patient Demographics] or
[ADT Database] is selected at the [Scanner Setup>>] menu.
4. Select [Ok] to admit the patient.
4.1.3 Admitting a Patient from [Patient List]
Admit a Patient from [Local Patient List]
1. Press [Patient List] QuickKey, and then [Local Patient List] screen displays.
2. Select the page key (for example ), and then use the up or down arrow
beside the key to turn to another page, or select [Scroll] and then use the up or
down arrow beside the key to select the desired patient.
3. Select [Admit] to access [Patient Demographics] menu.
4. Select [Ok]. If necessary, you can modify patient information and then select [Ok].
In [Local Patient List], you also can:
■ Select [Add New], and then [Patient Demographics] menu displays. Input patient
information and then select [Ok] to admit the patient.
■ Select [Delete] to remove currently selected patient from the monitor.
■ Select [Delete All] to remove all the patients from the monitor.
• When a patient’s demographics are deleted, the corresponding patient data
is also deleted from the monitor.
• You cannot delete the patient currently being monitored.
Admitting a Patient from [ADT Database]
When the monitor is connected to ADT database through the eGateway, the monitor
can obtain patient information from the ADT database.
1. Access the [ADT Database] screen by either way.
◆ Select [Patient List] QuickKey → [ADT Database] tab.
 Loading...