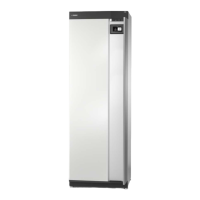
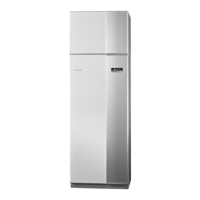
Transport
VVM S320 should be transported and stored vertically in a
dry place.
However, the VVM S320 can be carefully laid on its back
when being moved into a building.
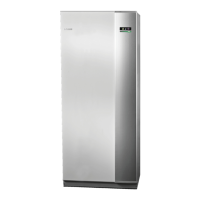
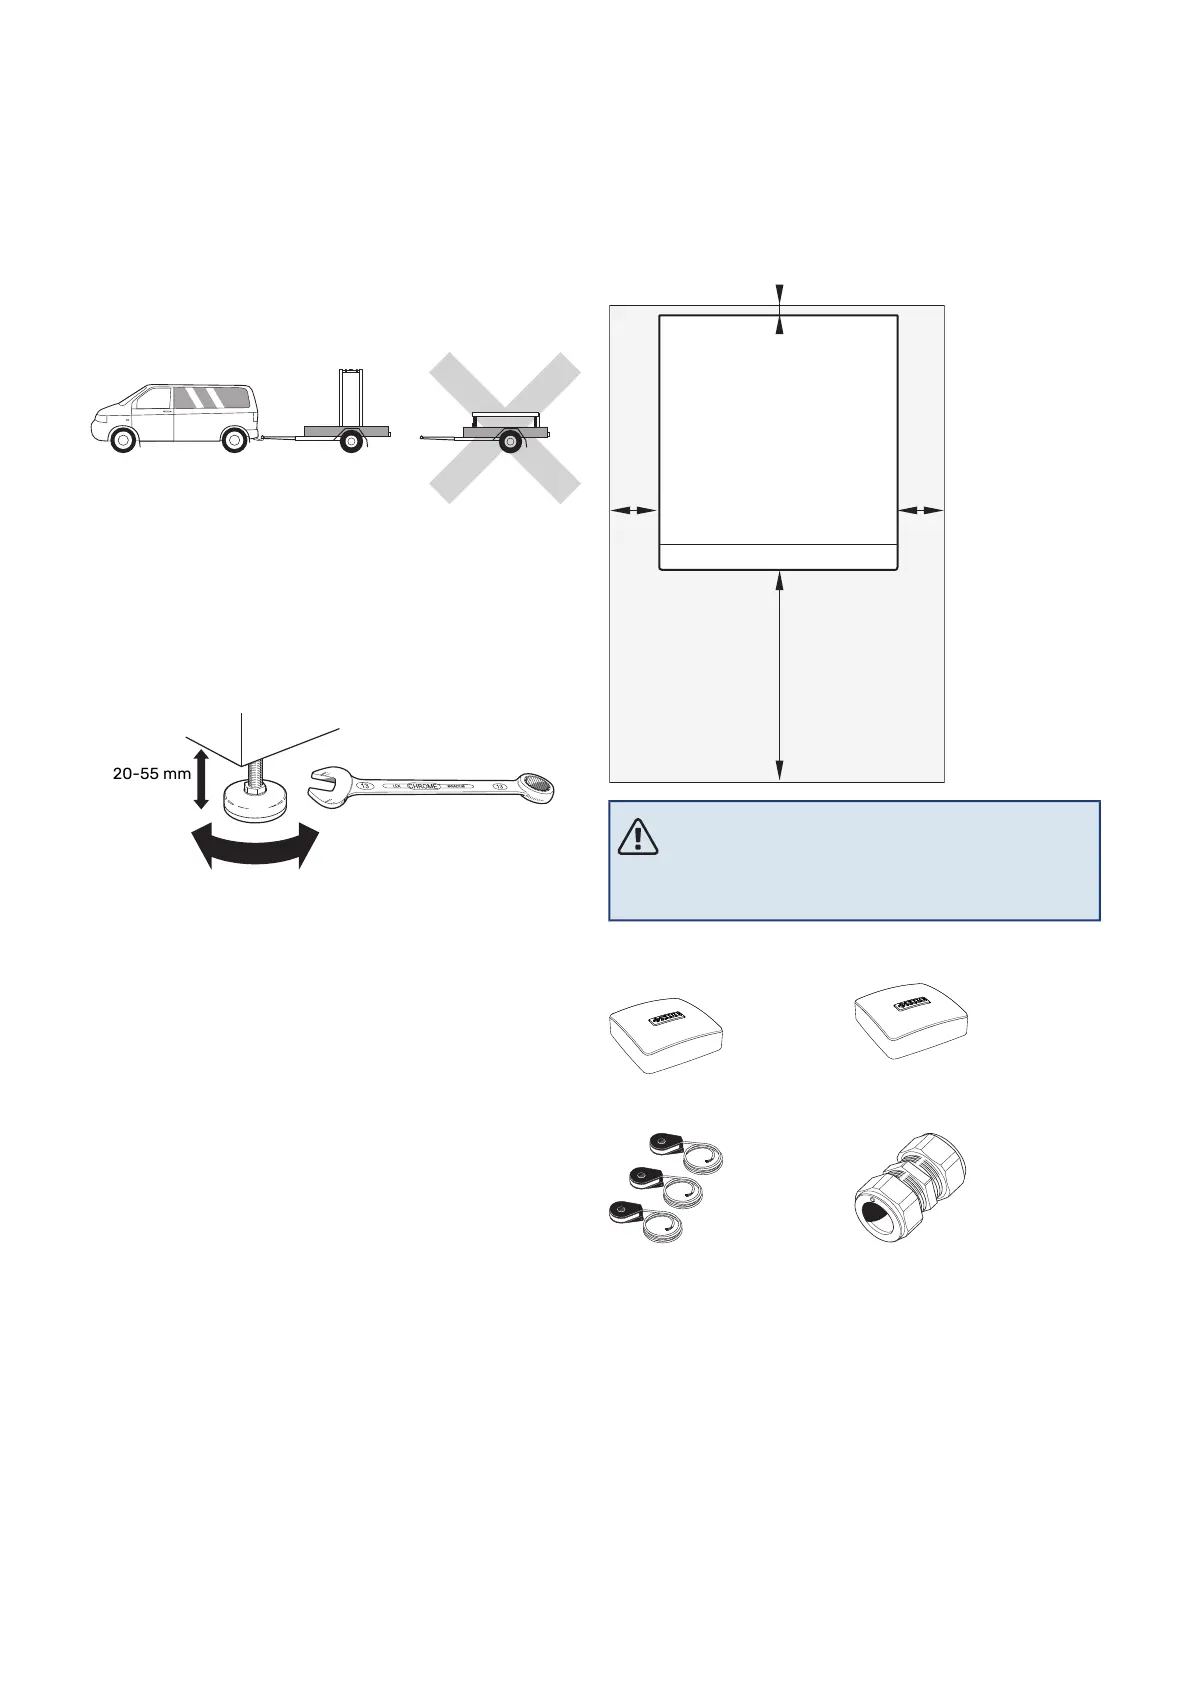
Assembly
• Place VVM S320 on a solid foundation indoors that can
take its weight. Use the product's adjustable feet to obtain
a horizontal and stable set-up.
Use the product’s adjustable feet to attain a horizontal
and stable set-up.
30 - 50 mm
30 - 50 mm
15 - 40 mm
• The space where VVM S320 is located must be frost-free.
• Because water can emerge from the safety valve, the area
where VVM S320 is located must be provided with floor
drainage.
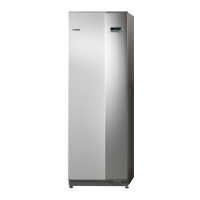
INSTALLATION AREA
Leave a free space of 800 mm in front of the product. All
service on VVM S320 can be carried out from the front.
NOTE
Leave 10 – 25 mm free space between VVM S320
and the wall behind for routing cables and pipes.
Supplied components
Room sensor
Outside sensor
Compression ring coupling*
*Only applies to Germany, Austria,
Switzerland and Italy. This compres-
sion ring coupling must be used in-
stead for the factory-fitted plug, if
you want to connect hot water circu-
lation to XL5.
Current sensor*
*Only to 3X400V
LOCATION
The kit of supplied items is placed on top of the product.
7Chapter 2 | Delivery and handlingNIBE VVM S320
Delivery and handling
 Loading...