50
3
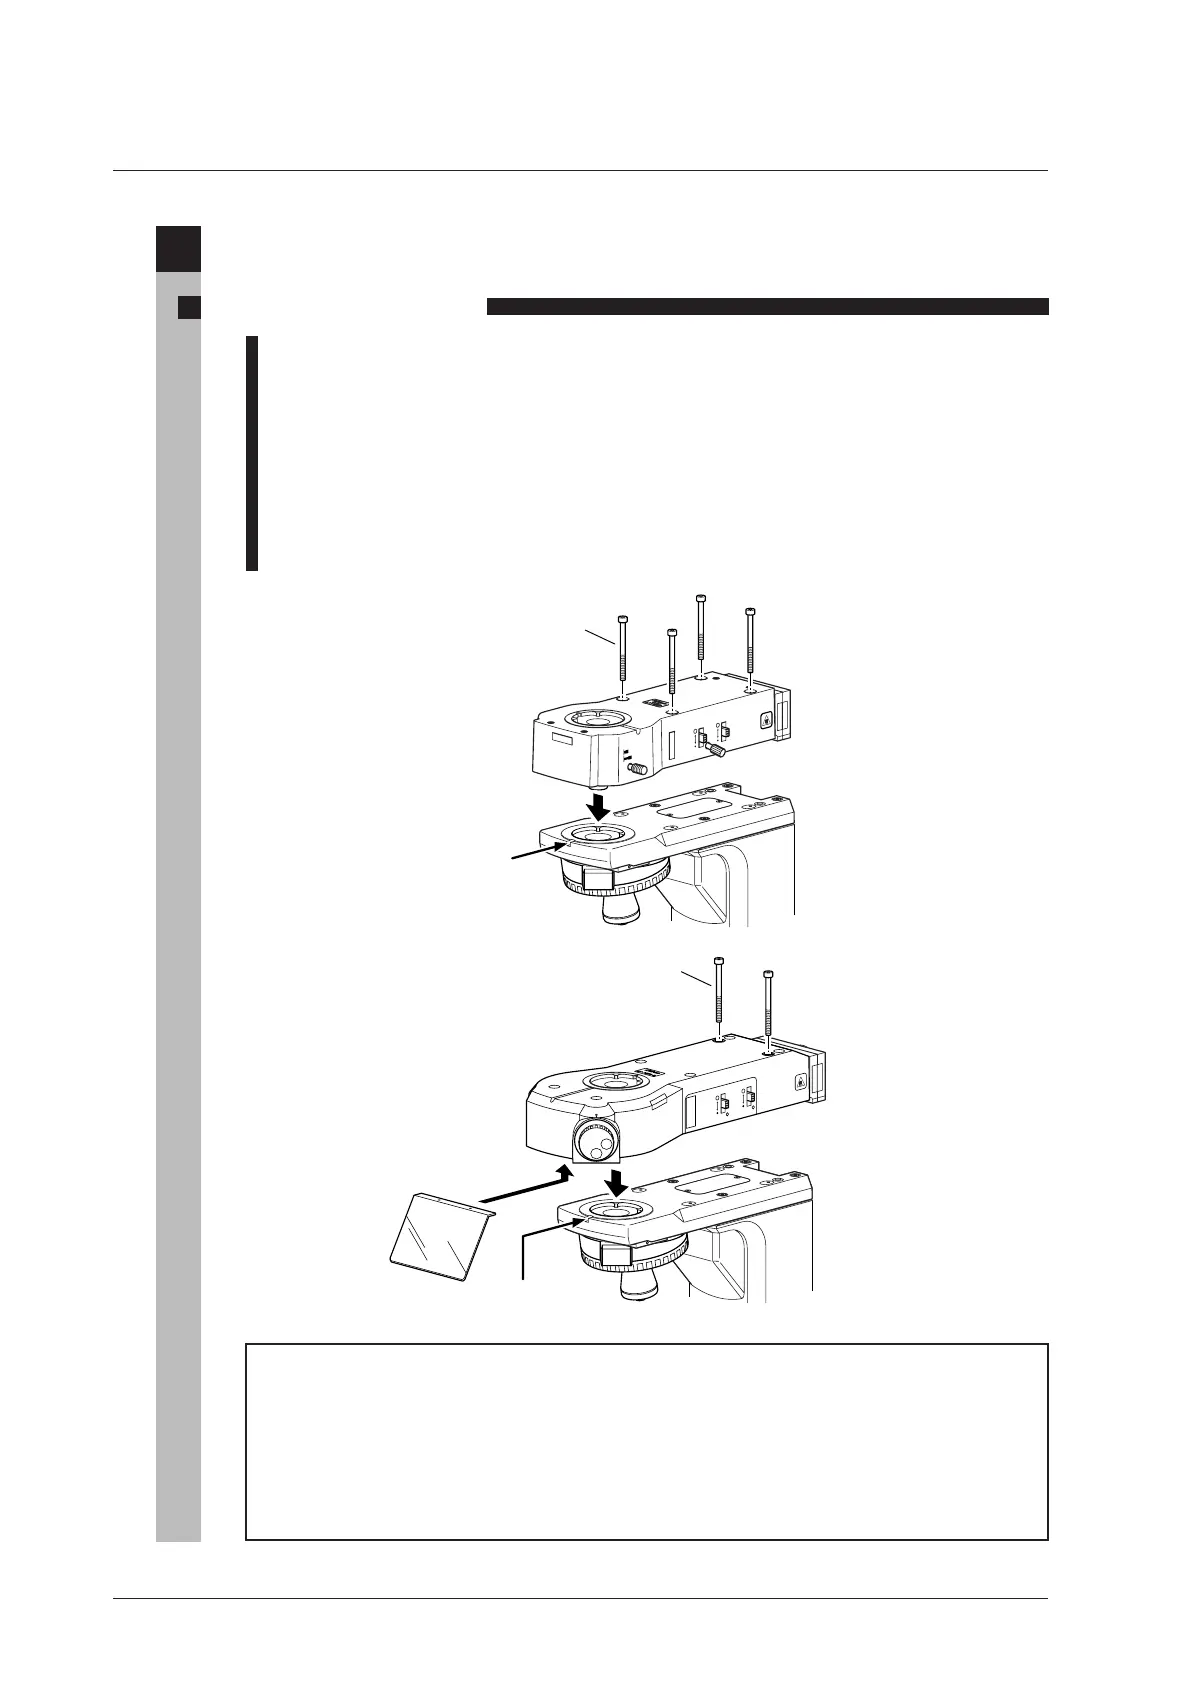
Attaching the Illuminator
1. Illuminator main unit
1 Loosen sufficiently the illuminator clamp screw on the front of the microscope arm using the
hexagonal screwdriver.
2 Mount the illuminator onto the microscope arm and fix it by tightening the illuminator clamp
screw.
3 Secure the illuminator on the microscope arm. Do this by tightening the hex screws supplied
with the illuminator (four screws for LV-UEPI, or two screws for LV-UEPI2) using the
hexagonal wrench.
4 Cover the bolt holes with the protective stickers supplied with the illuminator.
5 For the LV-UEPI2, attach the ultraviolet light shield to the front bottom of the illuminator
using the two screws supplied.
Ultraviolet light shield
* Harmful light or strong light may be emitted from objectives with some excitation
methods. Be sure to attach the ultraviolet light shield to the LV-UEPI2.
* Be sure to use the attached screws to fix the ultraviolet light shield. If other screws are
used or only screws are attached without the light shield, malfunctions occur at the inner
mechanism.
F
.
STOP A
.
STOP
BF
DF
Hex screws (x4)
Illuminator
clamp screw
A
.
STOP
F
.
STOP
J
A
P
A
N
FL1
S
FL2
BF
DF
Ultraviolet light shield
(To be secured
with two screws)
Hex screws (x2)
Illuminator
clamp screw
For the LV-UEPI
For the LV-UEPI2

 Loading...