2.27
GENERAL INFORMATION
2
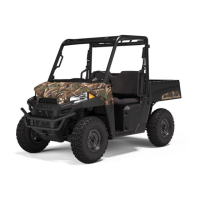
Radiator
1. Check radiator (A) air passages for restrictions or damage.
2. Carefully straighten any bent radiator fins.
3. Remove any obstructions with compressed air or low
pressure water.
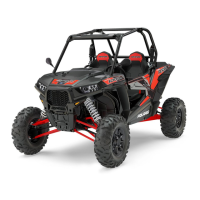
Coolant Drain / Radiator Removal
1. Remove the front bumper. Remove three bolts that secure
the bumper to the bottom of the frame. Remove six screws
(both sides) that secure the wheel well panel to the frame.
Remove two bolts that secure the top bumper to the frame.
Remove the darts that attach the plastic to the bumper.
2. Remove two mounting screws that secure the top of the
radiator to the frame. Remove the radiator cap. Pull the
radiator out of the frame at an angle.
NOTE: If you have trouble reaching the top radiator
bolts, remove four screws from the top front of the
hood liner. Prop the front of the hood up 1.5 inches
(38.10 mm) to help remove the top bolts that secure
the radiator to the frame.
3. Remove the drain plug and drain the coolant from the
radiator. Drain the coolant into a suitable container and
properly dispose of the coolant.
4. Remove the outlet radiator hose, inlet radiator hose, surge
tank hose, and overflow hose from the radiator.
5. Remove the radiator.
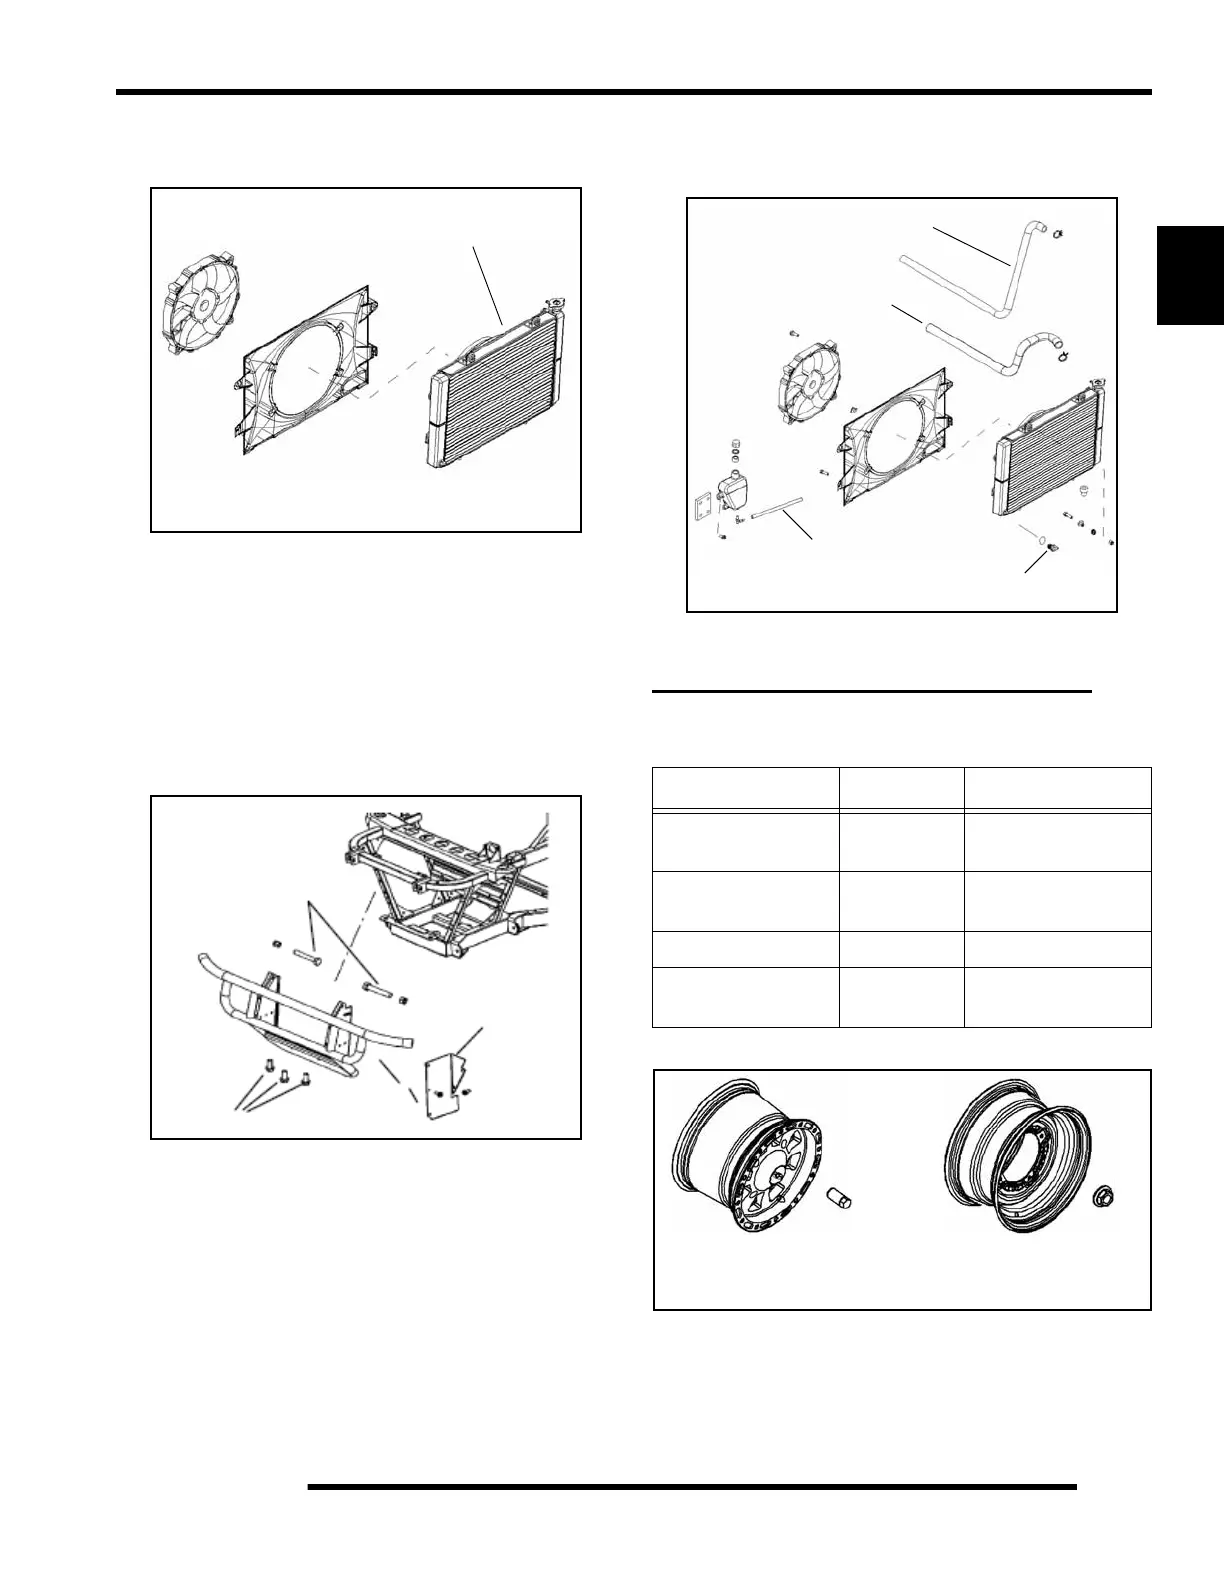
FINAL DRIVE / WHEEL AND TIRE
Wheel, Hub, and Spindle Torque Table
A
Bolts
Wheel Well
Bolts
Item Nut Type Specification
Aluminum Wheels
(Cast)
Lug Nut (1) 90 ft. lbs. (122 Nm)
Steel Wheels
(Black / Camo)
Flange Nut (2) 35 ft. lbs. (47 Nm)
Front Spindle Nut - 70 Ft. Lbs. (95 Nm)
Rear & Center Hub
Retaining Nut
- 110 Ft. Lbs. (150 Nm)
Inlet Radiator Hose
Surge Tank Hose
Outlet Radiator Hose
Plug
Steel Wheel
(Standard Models)
35 ft. lbs. (47 Nm)
Aluminum Wheel
(LE Models)
90 ft. lbs. (122 Nm)
#1
#2
 Loading...