Setting Description
Camera Sleep Mode Specifies a sleep mode for your camera.
Fast Wake Up: The camera provides an image as soon as the
monitor wakes. While asleep, the camera faces forward.
• When you set sleep Display to Black, an image more quickly
displays, but be aware that this uses maximum power.
• When you set sleep Display to No Signal, the display
synchronizes with the system. This can take a few seconds
but may conserve energy depending on the monitor.
Save Energy: Puts the camera into standby mode to save power
(the camera spins to the rear and faces down).
• When you set sleep Display to Black, it takes a few seconds
for the camera to send an image.
• When you set sleep Display to No Signal, the camera is
already sending an image by the time the display
synchronizes with the system.
Camera Sleep Mode other: Don’t configure sleep settings in Partner Mode.
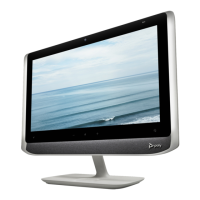
Current People Camera Select the camera or HDMI input to be used for conferencing.
Enable User Camera Selection Allow the user to select primary camera from the TC8 or the
local interface.
3 Select Save.
Reset Camera Settings to Defaults
After changing camera settings, you can quickly reset all camera settings to the default configuration.
Task
1 In the system web interface, go to Audio/Video > Video Inputs.
2 Select Reset to Defaults.
3 Select Continue.
Camera settings reset to the default configuration.
Calibrate EagleEye Producer Group Framing
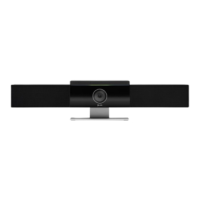
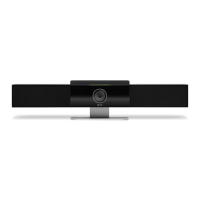
Calibrate your EagleEye Producer camera to align with your EagleEye camera using the RealPresence Group Series
remote (the RealPresence Group Series remote is different from the remote that came with your system). Calibrating the
cameras ensures the best view of the room for group framing.
Verify that the EagleEye camera is properly attached to the EagleEye Producer as described in the Polycom EagleEye
Producer Setup Sheet.
The EagleEye Producer camera must align with the EagleEye IV camera. If the alignment changes, group framing isn’t
accurate.
Task
1 In the local interface, go to Menu > Camera > Select Camera.
2 Select EagleEye Producer as the primary camera.
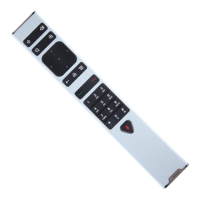
3 On the RealPresence Group Series remote, press the Home button for five seconds.
The EagleEye Producer LED changes to a fast blue blink.
4 Using the video preview on your monitor, press the Up and Down arrow buttons on the RealPresence Group Series
remote control to align the EagleEye Producer camera with the EagleEye camera.
88
 Loading...