Chapter 2: Installing the Chassis
Install Drives Into the QXS-456 Drive Chassis
QX and QXS Setup Guide 62
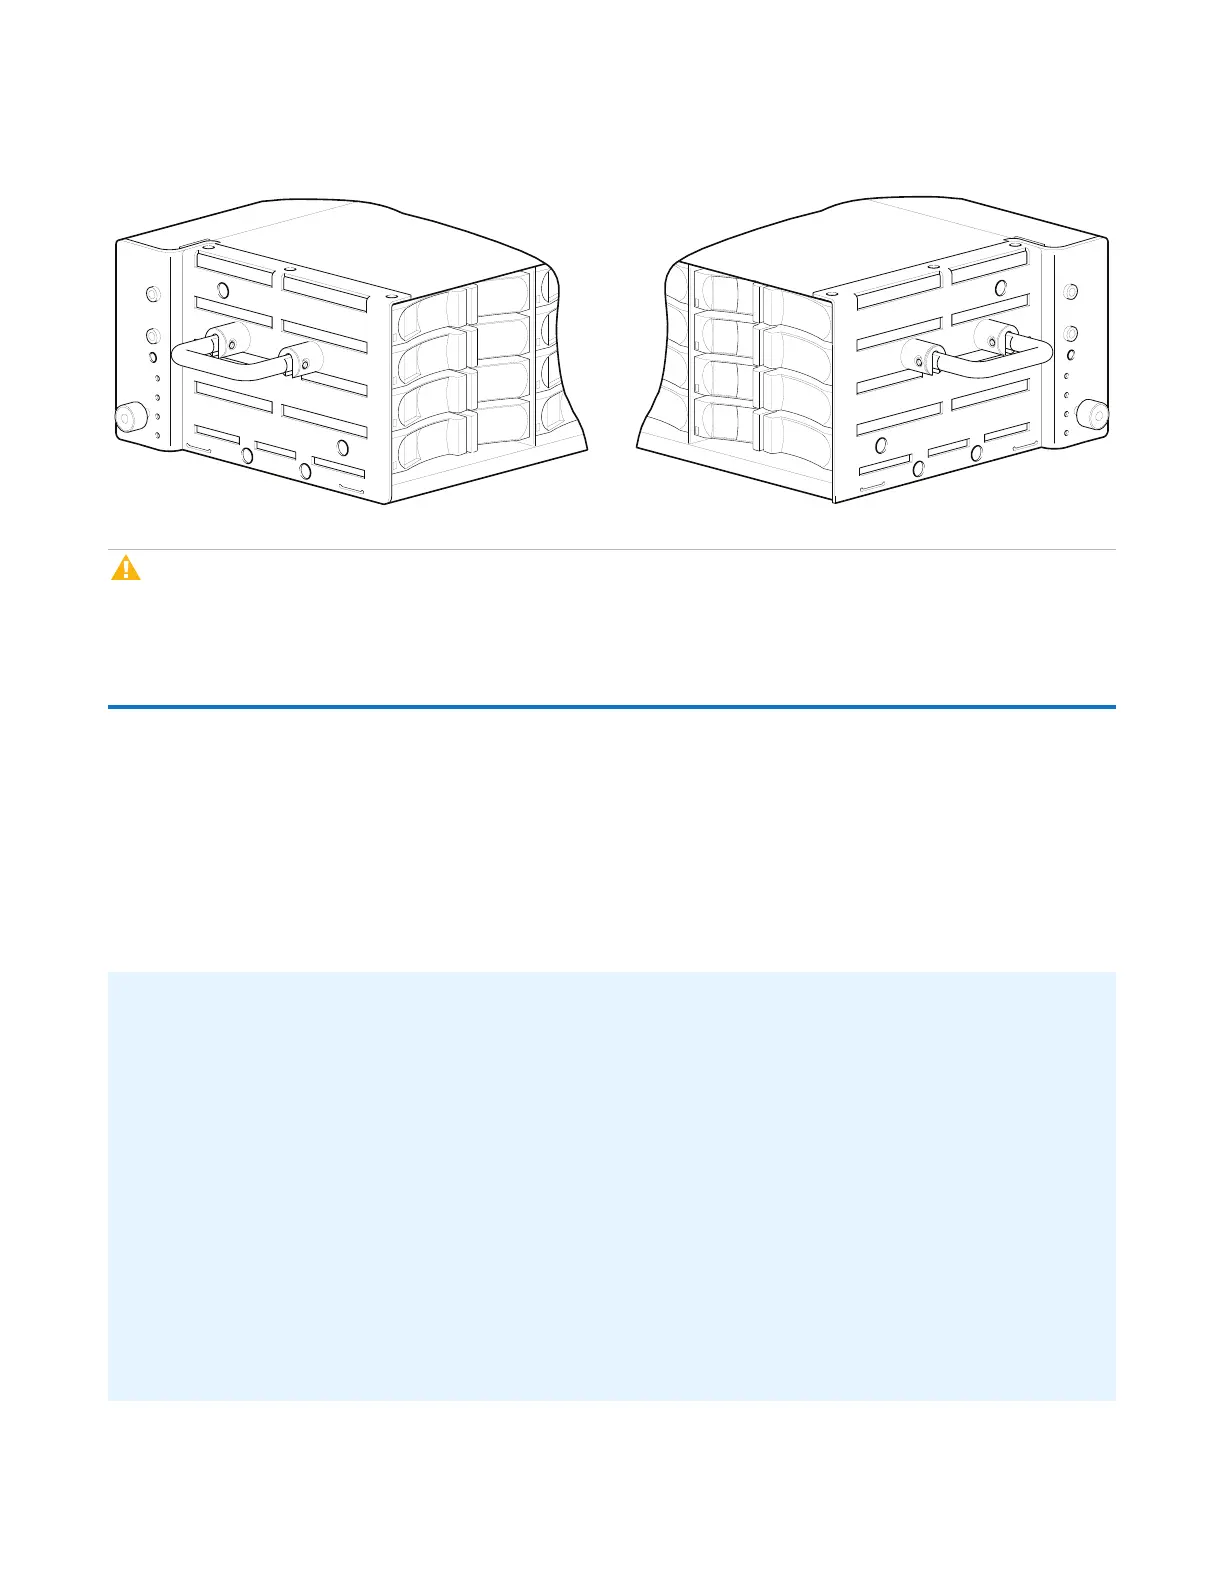
Figure70:Securing Drive in Drive Bay
Caution:When replacing drives in an operating chassis, only one drive can be replaced at a time (see
“Replacing a drive” within the CRU Installation and Replacement Guide).
Install Drives Into the QXS-456 Drive Chassis
The 4U56 chassis — RAID chassis and / or expansion chassis — are shipped pre-assembled with pre-
installed drawers. You must manually install the drives into the drawers.
To install drives into a 4U56 chassis, you must first open the drawer to access the drive bays. The chassis
uses a sledded drive positioned to stand on end, allowing for insertion into the drawer. Each LFF drive is
mated to its connector on the drawer PCBA.
ImportantConsiderations
l You must populate the 4U56 chassis with a minimum of 14 drives.
o
Install 7 drives in drawer 0, slots 0-6.
o
Install 7 drives in drawer 1, slots 28-34.
l Distribute additional drives between the two drawers to mitigate potential performance bottlenecks.
l Due to weight and / or lifting constraints, ensure the 4U56 chassis is installed within the applicable
rack before populating the chassis with drives.
l Before the initial installation of drives, ensure that the rack is stabilized — that the leveling screws
down and locked. This stabilization will prevent the possibility of the rack tipping over when populating
the QXS-456.
 Loading...