Chapter 2: Installing the system 19
countersunk screws supplied. Tighten each screw to 20 pound inches (2.26 New-
ton metres).
7. Ensuring that the keyways are aligned, slide the taper adaptor (supplied) onto the
stub shaft, as far as it will go.
8. Insert the larger of the woodruff keys supplied into the keyway on the stub shaft. If
necessary, use a small hammer to lightly tap the key into position
9. Slide the steering wheel onto the stub shaft, so that the woodruff key inserted at
step 8 engages with the keyway in the wheel.
10. Place the original steering wheel washer on the stub shaft, then secure the wheel
with the original wheel-securing nut.
11. Replace the wheel hub cover.
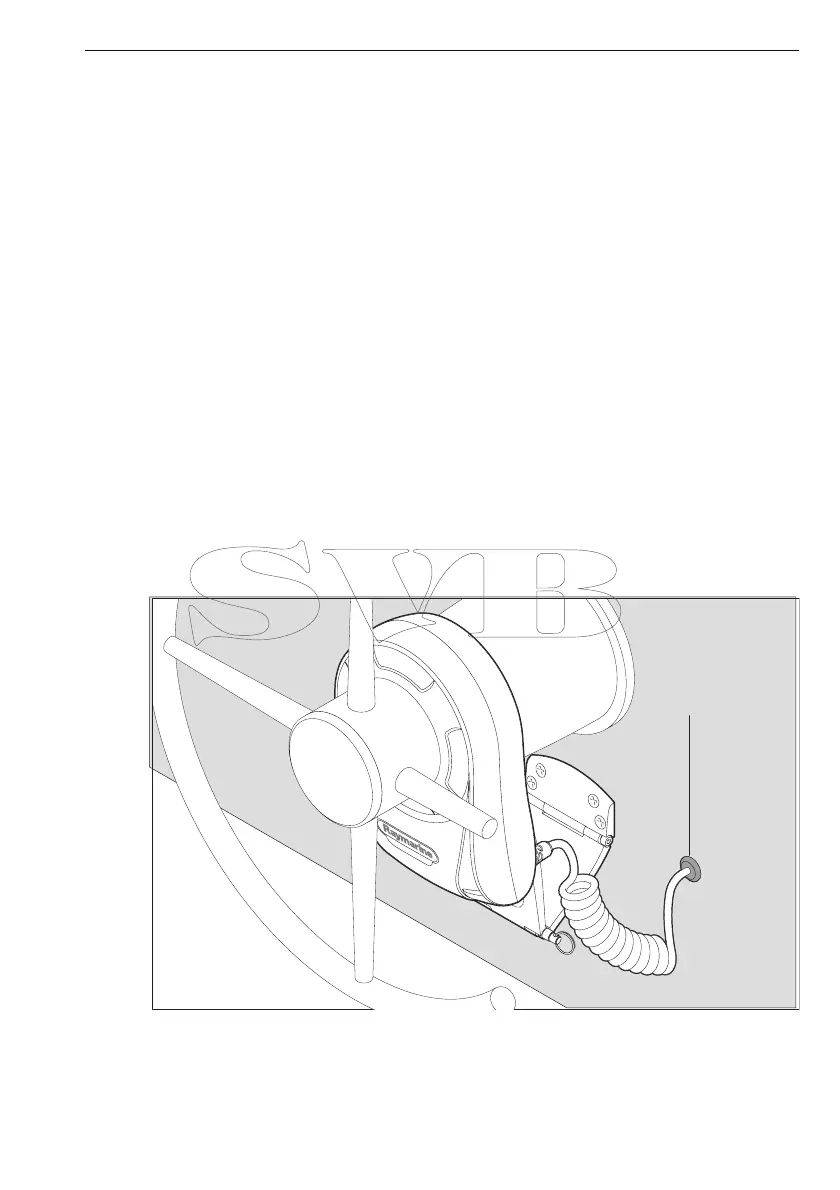
Drive cable routing
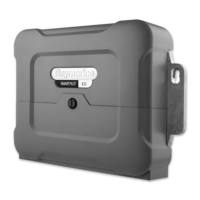
We recommend that the entry point for the cable from the SPX-5R Drive is positioned
so that the chances of water entering through the cable entry point are minimized. A
watertight grommet is supplied, but if this is not suitable for the thickness of the
surface through which you intend routing the cable, obtain another grommet of
suitable size, then:
1. In a suitable location drill a hole for the cable grommet.
2. Remove any rough edges from the hole then fit the grommet.
3. Feed the free end of the cable through the grommet, leaving the coiled part of the
cable outside.
D10671-2
Watertight
grommet
 Loading...