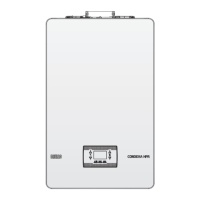
COMMISSIONING
42
3.16 Adjustments
The boiler was adjusted by the manufacturer at the time
of production. If the adjustments need to be made again
however, for example after extraordinary maintenance, the
replacement of the gas valve or conversion from methane gas
to LPG or viceversa, follow the procedures explained below.
The adjustments of the maximum and minimum output,
heating maximum and slow ignition, must necessarily be
made in the sequence indicated, and by qualified person-
nel only.
power the boiler
acce
ss the parameters as explained in paragraph
“1.17
Accessing the parameters”
select menu P3 and confirm with
use the arrows to visualise the parameter required -
see table -
P3.06 minimum fan speed
P3.07 maximum fan speed
P3.08 slow ignition
P3.09 maximum fan speed - heating
P3.13 reignition speed
enter the sub-menu by pressing
set the required values with the and buttons,
referring to the following tables
make sure P3.09=P3.10
table 1
MAXIMUM NO. FAN
ROTATIONS
METHANE GAS
(G20)
LIQUID GAS
(G31)
35 Risc. 7.300 7.100 rpm
45 Risc. 9.100 8.900 rpm
55 Risc. 6.800 6.300 rpm
70 Risc. 8.200 7.800 rpm
table 2
MINIMUM NO. FAN
ROTATIONS
METHANE GAS
(G20)
LIQUID GAS
(G31)
35
1.750 1.650 rpm
45
1.750 1.650 rpm
55
1.850 1.750 rpm
70
1.850 1.750 rpm
table 3
NO. FAN ROTATIONS
(SLOW IGNITION)
METHANE
GAS (G20)
LIQUID
GAS (G31)
35
4.000 4.000 rpm
45
4.000 4.000 rpm
55
3.000 2.400 rpm
70
3.000 2.400 rpm
conrm the values with
Enter
.
3.17 Gas valve calibration
Run the CO2 check procedure as explained in paragraph
“3.15 Combustion check”. If the values need to be
modified, proceed as follows:
check the CO2 values with the casing closed
remove the casing as explained in paragraph “2.10
Removing the casing”
check the CO2 values again, with the casing open
bearing in mind the difference between the values
measured with the casing closed and open, if nec-
essary adjust the CO2 to the value shown in the table
- (minus) the difference noted. Example:
CO2 value measured with the casing closed = 8.5%
CO2 value measured with the casing open = 8.3%
value to be set for CO2 with casing open = 8.8%
value that must be measured for CO2 with casing
closed = 9.0%
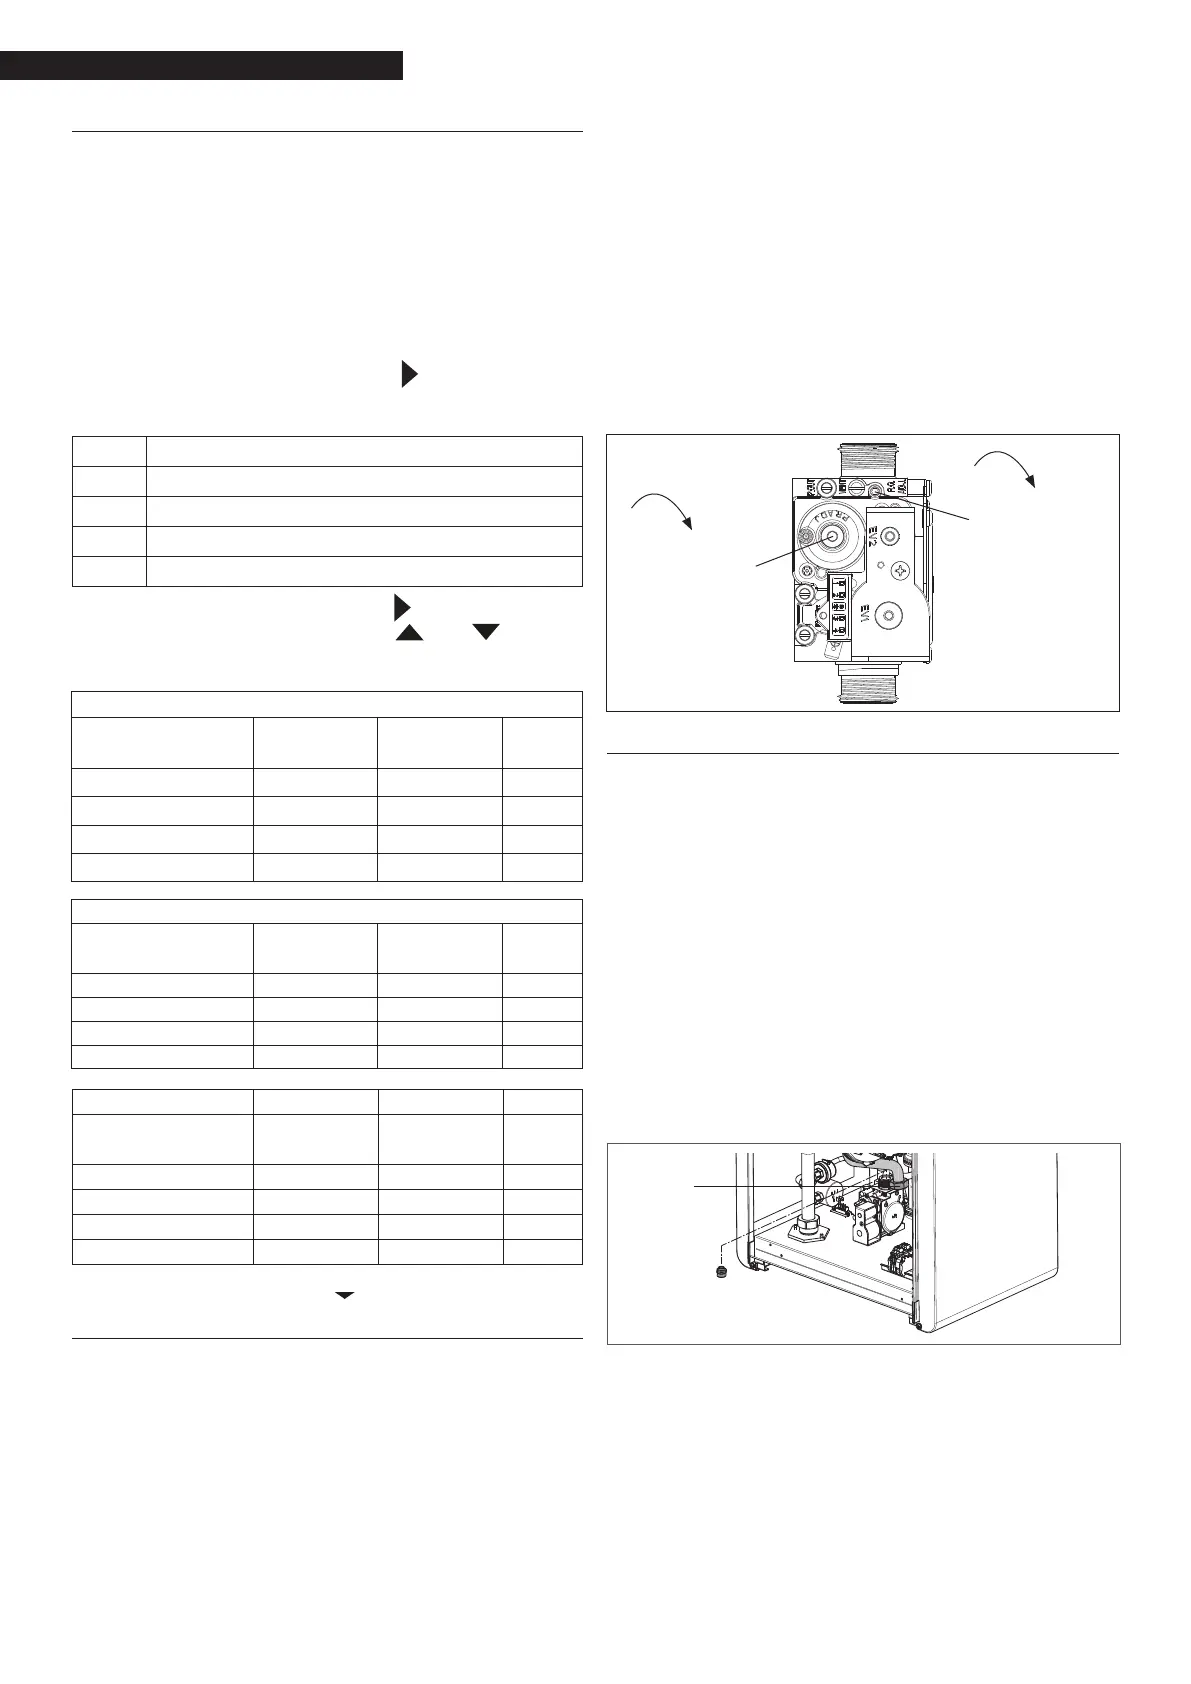
for the CO2 value adjustments:
rotate the maximum output adjustment screw clock-
wise to reduce the value, or anti-clockwise to in-
crease it
rotate the minimum output adjustment screw clock-
wise to increase the value, or anti-clockwise to re-
duce it
with the casing open, and after adjusting the CO2 val-
ue at the minimum output, check the CO2 value at the
maximum output again
after completing the adjustments, ret the casing and
check the CO2 value corresponds to the one shown in
the table
CO
2
-
CO
2
+
Minimum output
adjustment screw
Maximum output
adjustment screw
3.18 Gas conversion
It is easy to make the conversion from one gas to another
even after the boiler has been installed.
This operation must be carried out by professionally
qualified personnel. The boiler is designed to operate
with methane gas (G20) according to the product label.
It is possible to convert the boiler to LPG with the aid of
the relative kits.
For disassembly refer to instructions below:
disconnect the boiler from the electricity supply and
turn off the gas tap
remove the casing as explained in paragraph “2.10
Removing the casing”
release the instrument panel and rotate it forwards.
For CONDEXA HPR 35-45 models
Loosen the nut of the gas train (A).
Remove the nozzle (B) inside the gas valve, and re-
place it with the one in the kit.
A
B
For CONDEXA HPR 55-70 models
Disconnect the gas train (A) of the mixer.
Loosen the 3 screws (B) fastening the mixer to the fan,
and remove it.
Loosen the 2 screws (C) fastening the plastic Venturi
tube to the aluminium body, then lever it off with the
aid of a screwdriver (do not apply excessive force, as
the plastic teeth may get damaged).
Take out the Venturi tube.
Replace the mixer+ nozzle assembly (D) with the one
in the kit.
 Loading...