4
Setup and Preparations
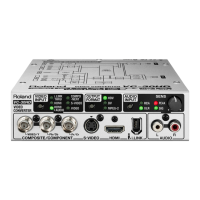
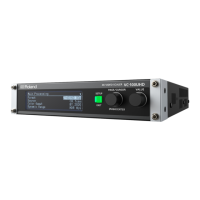
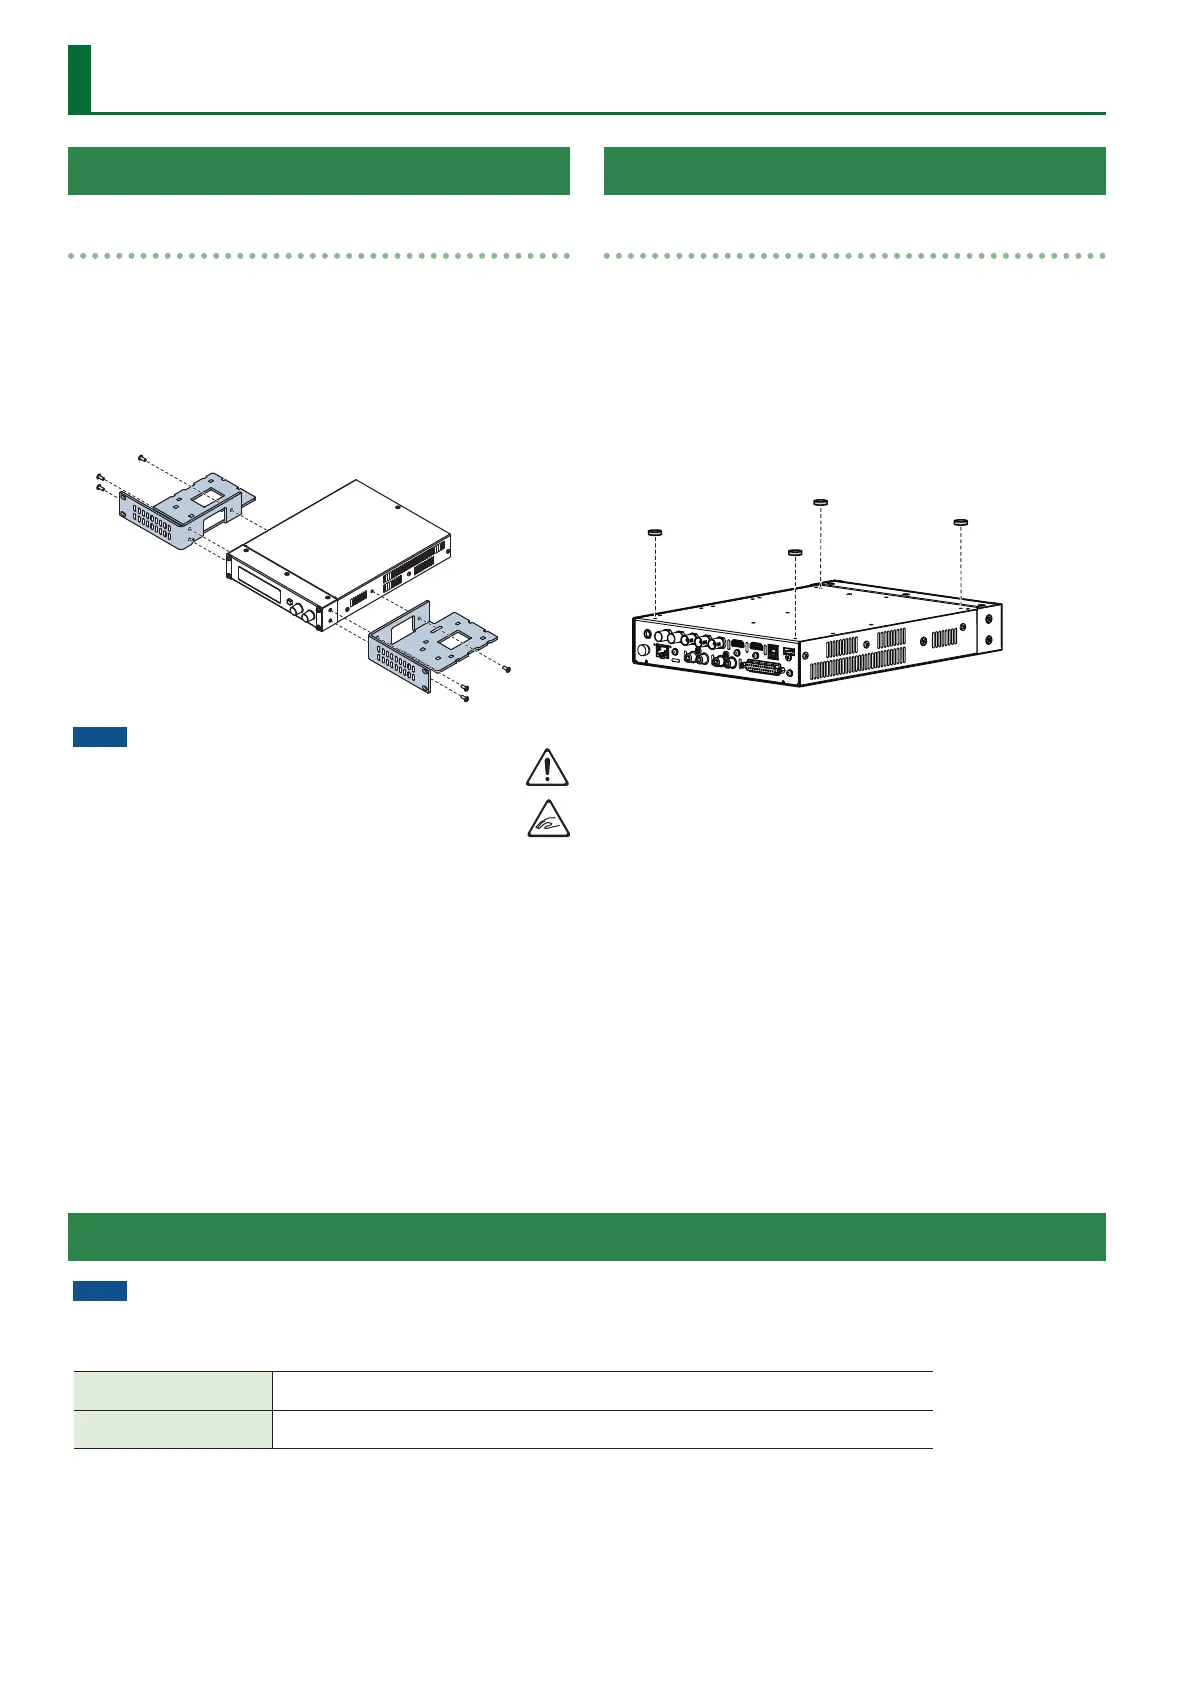
Rack-Mounting
Attaching the rack-mount angles
By attaching the included rack-mount angles to this unit, you can
mount it in a rack.
1. Remove the screws from the side panels.
2. Using the screws that you removed, attach the rack-
mount angles as shown in the illustration.
NOTE
5 Install in a well-ventilated location.
5 Do not block the cooling vents located on the unit’s side
panels.
5 Avoid mounting the unit in a sealed-type rack. Warm air
within the rack cannot escape and is sucked into the unit,
making ecient cooling impossible.
5 If the back of the rack cannot be opened, install an exhaust port or
ventilation fan at the top back surface of the rack, where warm air
collects.
5 When using the unit while mounted in a movable case
(portable rack), remove the front and rear rack covers so that the
front and back of the unit are not obstructed.
5 Take care not to pinch your ngers etc. while mounting the unit in
a rack.
Free-Standing Use
Attaching the rubber feet
If you will be placing this unit on a desk or shelf for use, attach the
included rubber feet (4 pcs.). This prevents the unit from slipping or
from scratching the surface on which it is placed.
1. Remove the rubber feet from the sheet.
2. Peel the double-sided tape o the rubber feet, and
ax the feet so that they cover the four guide holes on
the bottom of the unit.
Turning the Power On/O
NOTE
This unit does not have a power switch.
We recommend that you use a commercially available power supply control device to control the AC power of this unit.
When powering up
Turn on the power in the order of VC-100UHD0source devices0output devices.
When powering down
Turn o the power in the order of output devices0source devices0VC-100UHD.
 Loading...