7 - 25
7 Transmission Repair
7B Eaton 750 / 751
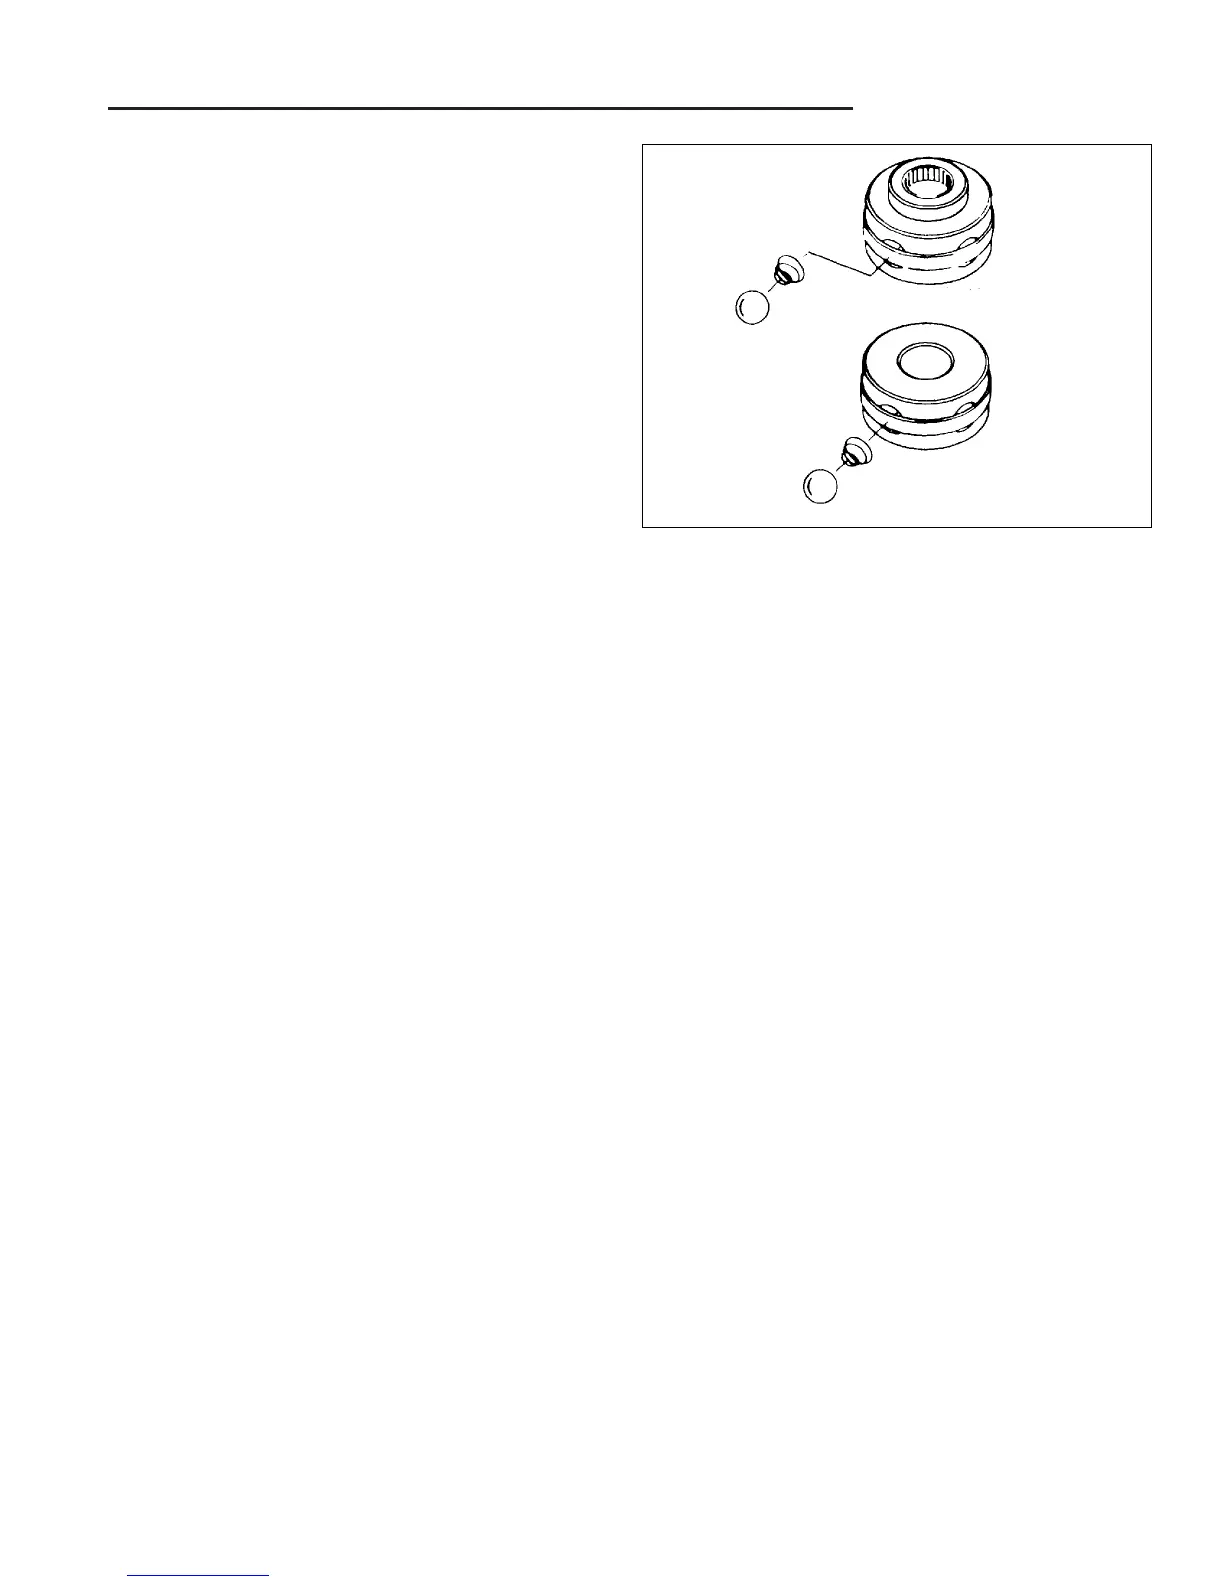
Figure B–58. Inspect rotor assemblies
Rotor Disassembly and Inspection
1. Inspect the rotor assemblies in the following manner.
Remove the piston balls from the rotor, one at a time,
working clockwise from the letter stamped in the rotor
face. Place the piston balls in a prepared container.
NOTE: The balls must be replaced in the same bores
from which they were removed because they are all
select fit. Use a container such as an egg carton or ice
cube tray to hold the balls.
2. Check for broken or collapsed springs in the motor
rotor assembly.
Inspect the piston balls. They must be smooth and
completely free of any irregularities.
Inspect the rotor bores, rotor bushing and pintle jour-
nals for irregularities or excessive clearance. The ball
piston to rotor bore clearance is select fit electronical-
ly from .0002 to .0006”. When irregularities are noted,
replace the complete rotor assembly. Individual ball
and spring are not serviceable.
Install the piston balls in their matching bores. Hold
them in place with a rubber band or separate race.
General Reassembly Notes
Before reassembling the transaxle, clean all parts and
assemblies with clean solvent and blow dry with com-
pressed air. Inspect and replace all scratched or dam-
aged parts. Replace all gaskets, seals and seal rings.
Lubricate all seals and seal rings with petroleum jelly
(Vaseline) for retention during assembly. Freely lubricate
all bearings and finished part surfaces with clean
hydraulic fluid to provide lubrication at start-up.
To ensure correct installation, the axle housings are
marked with the letters A and B. Each side of the hous-
ing assembly is also marked with an A or B. Make sure
the axle housings are correctly assembled with the corre-
sponding letters on the housing assembly.
 Loading...