11 GB/IE
Preparing to sew
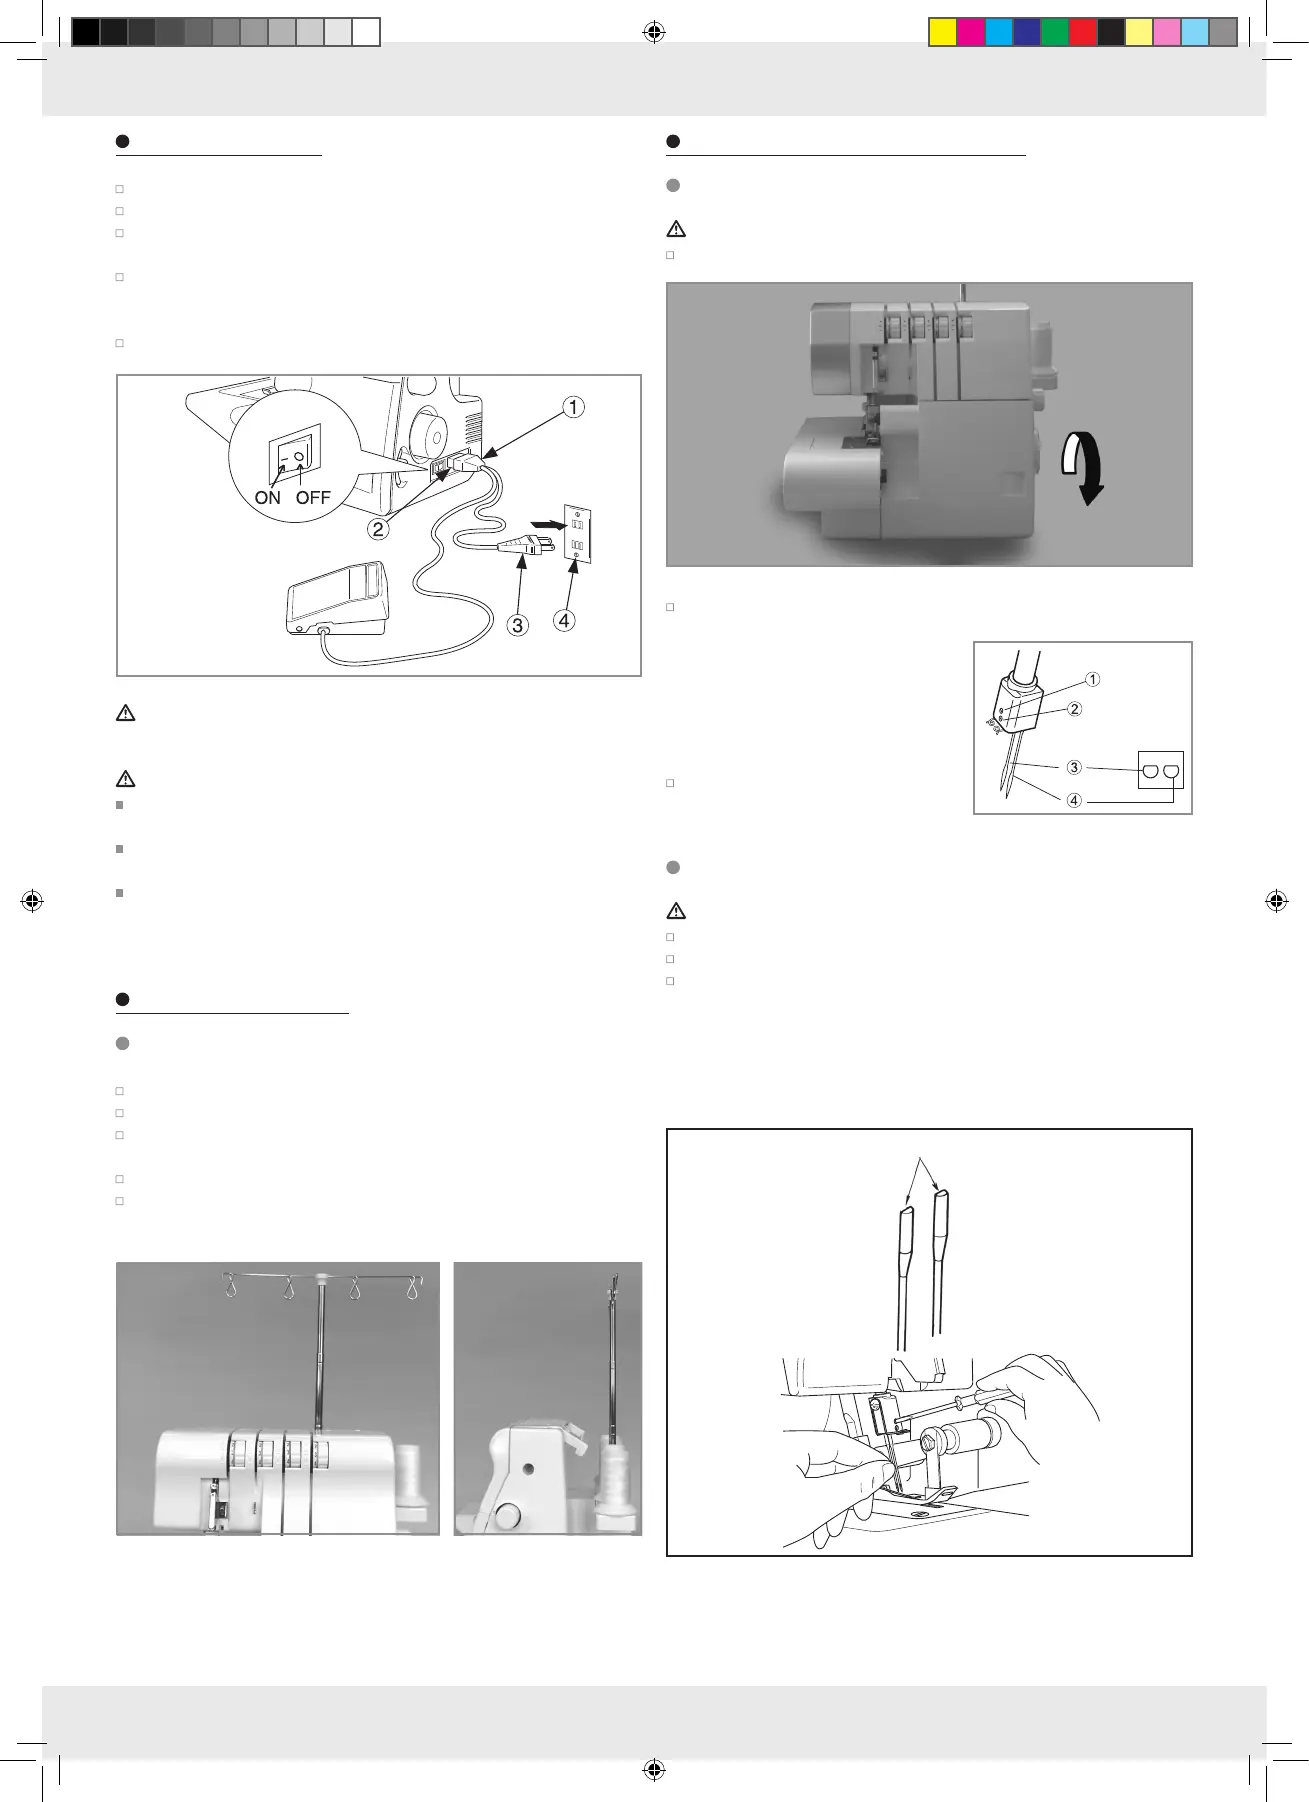
Plug the combo plug (1) into the machine socket (2).
Plug the power cable (3) into the mains socket (4).
Power switch: press the side marked „–“ to switch the machine on.
Press the side marked „0“ to switch the machine off.
Activate the foot control to start the machine and determine the speed.
The more pressure is applied to the controller, the faster the machine
will sew.
Take your foot off the controller to stop sewing.
ATTENTION! Only use the foot controller included with the machine.
Further, be sure to observe the following warnings.
ATTENTION!
The mains voltage (voltage of the socket connection) must match the
voltage of the motor.
Be careful when handling the foot control, do not drop it on the floor and
do not place objects on it.
Unplug from the socket when changing needles, presser foot or throat
plate, or when leaving the machine unattended. This will prevent the ma-
chine from starting if pressure is accidentally applied to the foot control.
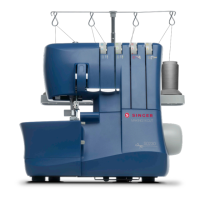
Preparing to thread
Attaching the thread guide
The machine‘s thread guide is pushed in at the time of delivery.
Carefully extend the thread guide all the way.
In the correct setting you will hear the two joint parts of the telescoping
rod lock into place.
Position the thread guides centred above the spool pins.
Place the thread onto the spool holders of the spool pins.
Note: Tighten the threads when threading the machine to prevent them
from becoming entangled.
Removing and inserting needles
Removing needle(s)
CAUTION! Unplug from the socket before removing the needle(s).
Turn the hand wheel toward you until the needle is at its highest position.
Loosen, but do not remove, the needle set screw using the small
screwdriver.
(1) Set screw left needle
(2) Set screw right needle
(3) Left needle
(4) Right needle
Remove the needle(s).
Inserting needle(s)
CAUTION! Unplug from the socket before inserting the needle(s).
Hold the needle with the flat side to the back.
Slide it all the way into the needle holder using the lint brush.
Firmly tighten the needle set screw.
Note: This machine requires no. 2022 needles. Please refer to „About the
needles“ for additional information.
Note: Removing the looper cover will make it easier to insert and remove
the needles.
Flat side to the back
347907_BE 11 24-Apr-2020
 Loading...