How to configure the OTS XTrain system*
Go to the menu item Import OTS library with the navigator and activate this menu item. The window illus-
trated is displayed.
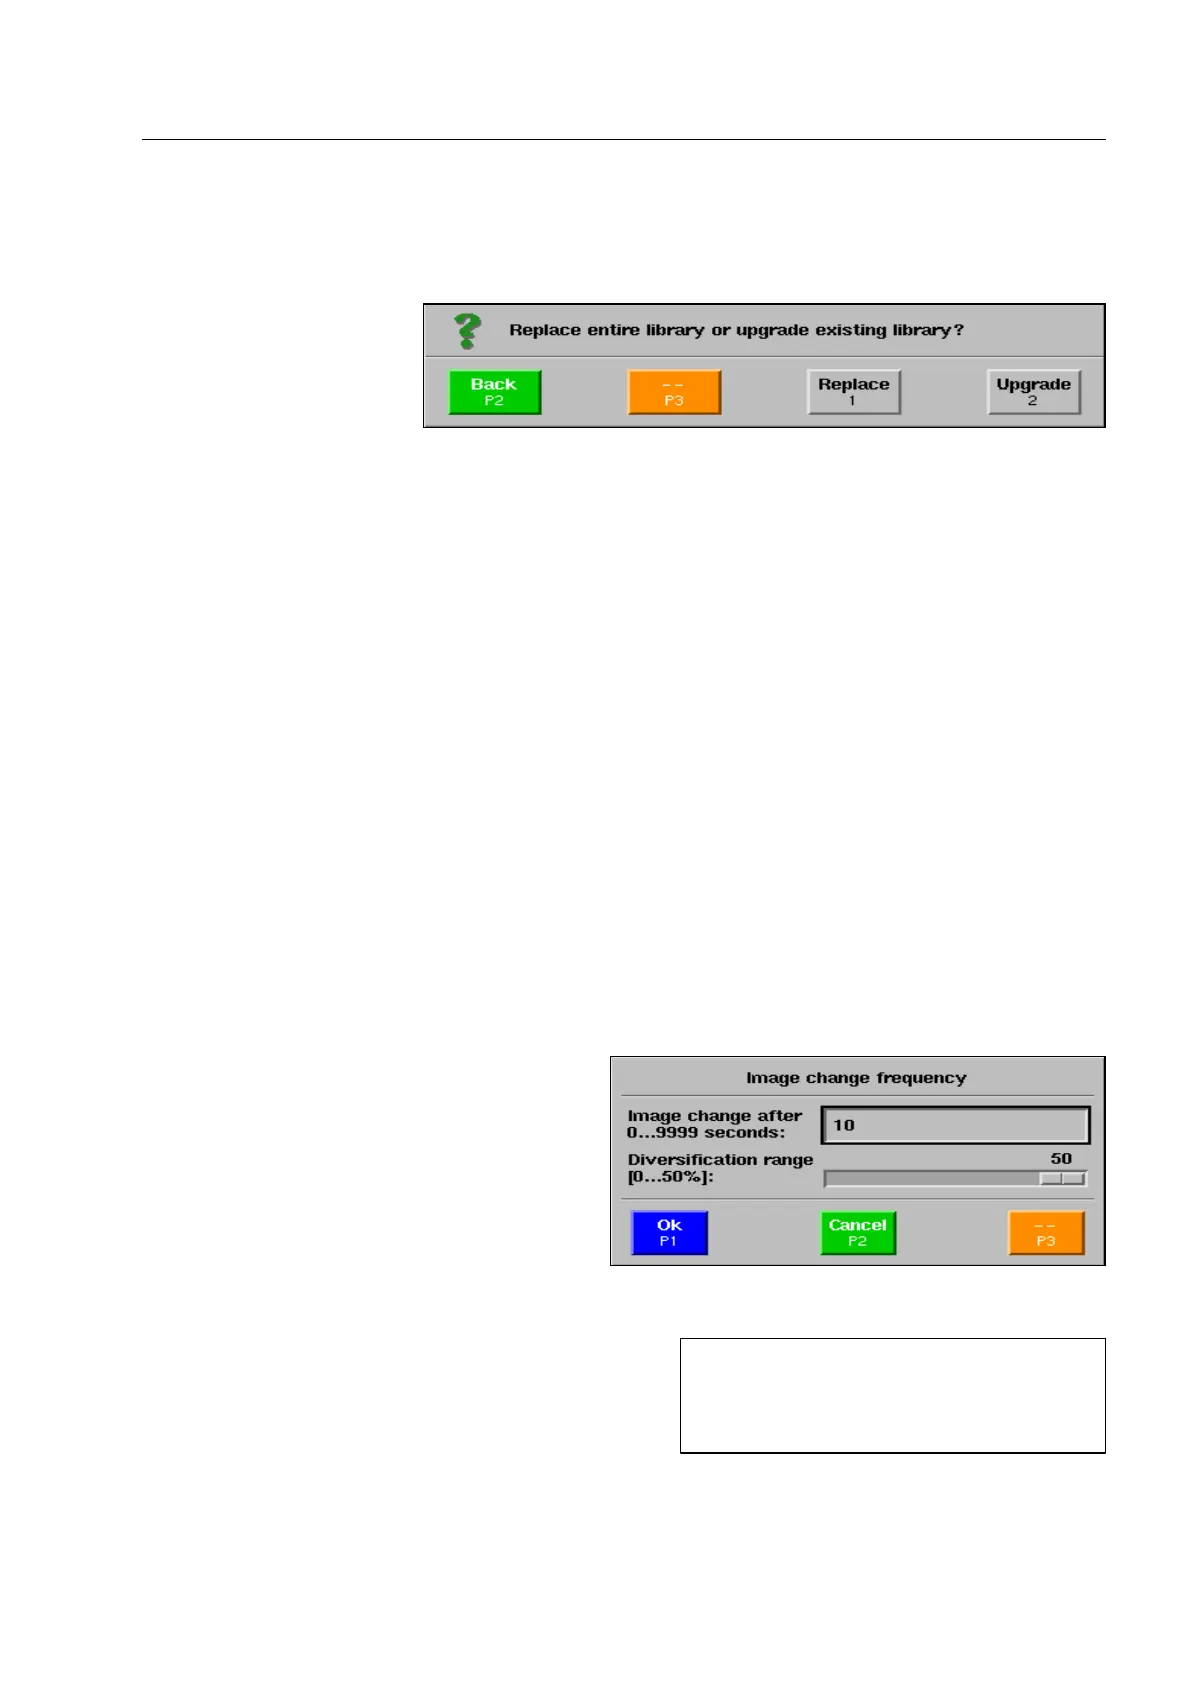
If the complete library is to be replaced, press key [1 abc]. If you acknowledge the following question with
r, the existing library will be deleted first, i.e. all sessions, basic images, threat image categories and
threat images created so far will be completely deleted.
If you only want to upgrade the existing library, press key [2 def].
Afterwards, sessions, basic images, threat image categories and threat images will be copied from the
first CD or ZIP disk or from the first USB memory. Then the message Read in further data carrier? is dis-
played.
After acknowledgement with
r you are requested to insert or connect the next CD, DVD*, or ZIP disk
or the next USB memory. (The order of CDs, DVDs*, ZIP disks or USB memories does not matter).
When all data carriers have been read in, terminate the import by pressing key
s.
The import being finished, the category organizing menu is automatically displayed. Here you can make the
settings for the imported categories (F 2-66). If you leave it, the menu for managing the training sessions is
displayed subsequently for the same reason (F 2-63).
How to set the image change frequency
Use the navigator to go to menu item Image
change frequency and activate the menu item.
The menu opposite is displayed.
In the first menu item Image change after
1...9999 seconds you set the intervals in which
the basic images scroll in on the screen during
the active session. At the best, select a value
which fits the real baggage flow on the X-ray
unit.
In the second menu item Diversification range you set
the time diversification of image changes around the
previously set value.
95587413 01/01/09 © Smiths Heimann
I
If, for example, the diversification range
is 50% at an image change interval of 10
seconds, the image change will occur
between the 5th and the 15th second.
2-65
 Loading...