1-3
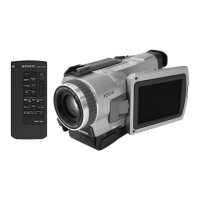
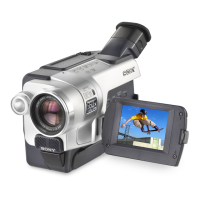
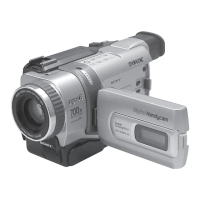
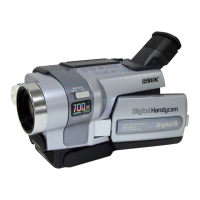
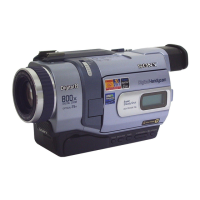
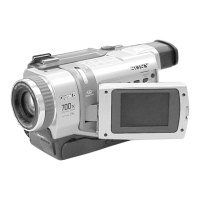
DCR-TRV240/TRV340
14
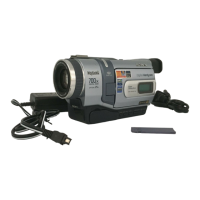
Step 1 Preparing the power supply
Note
Prevent metallic objects from coming into contact with the metal parts on the DC plug
of the AC power adaptor. This may cause a short-circuit, damaging the AC power
adaptor.
When the battery pack is charged fully
The LCD backlight of the display window is turned off.
Remaining battery time indicator
The remaining battery time indicator in the display window roughly indicates the
recording time when recording using the viewfinder.
Until your camcorder calculates the actual remaining battery time
“– – – – min” appears in the display window.
While charging the battery pack
No indicator appears or the indicator flashes in the display window in the following
cases:
– The battery pack is not installed correctly.
– Something is wrong with the battery pack.
If the power may go off although the remaining battery time indicator indicates
that the battery pack has enough power to operate
Charge the battery pack fully again so that the indication on the remaining battery time
indicator is correct.
When you use the AC power adaptor
Place the AC power adaptor near a wall outlet. If any trouble occurs with this unit,
disconnect the plug from the wall outlet as soon as possible to cut off the power.
Recommended charging temperature
We recommend charging the battery pack in an ambient temperature of between 10°C
to 30°C (50°F to 86°F).
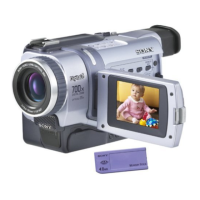
What is ”InfoLITHIUM”?
The “InfoLITHIUM” is a lithium ion battery pack that can exchange data such as
battery consumption with compatible electronic equipment. This unit is compatible
with the “InfoLITHIUM” battery pack (M series). Your camcorder operates only with
the “InfoLITHIUM” battery. “InfoLITHIUM” M series battery packs have the
SERIES
TM
mark.
“InfoLITHIUM” is a trademark of Sony Corporation.
15
Getting Started
Step 1 Preparing the power supply
Charging time
Battery pack Full charge (Normal charge)
NP-FM30 (supplied) 145 (85)
NP-FM50 150 (90)
NP-FM70 240 (180)
NP-QM71 260 (200)
NP-FM90 330 (270)
NP-QM91/FM91 360 (300)
The charging time may increase if the battery’s temperature is extremely high or low
because of the ambient temperature.
Approximate number of minutes to charge an empty battery pack at 25°C (77°F)
Recording time
Recording with Recording with
Battery pack the viewfinder the LCD screen
Continuous* Typical** Continuous* Typical**
NP-FM30 (supplied) 100 55 80 45
NP-FM50 165 95 130 75
NP-FM70 345 200 270 155
NP-QM71 400 230 315 180
NP-FM90 520 300 410 235
NP-QM91/FM91 605 350 475 275
Approximate number of minutes when you use a fully charged battery
* Approximate continuous recording time at 25°C (77°F). The battery life will be
shorter if you use your camcorder in a cold environment.
** Approximate number of minutes when recording while you repeat recording start/
stop, zooming and turning the power on/off. The actual battery life may be shorter.
Playing time
Battery pack
Playing time Playing time
on LCD screen with LCD closed
NP-FM30 (supplied) 80 110
NP-FM50 130 180
NP-FM70 270 370
NP-QM71 315 430
NP-FM90 410 560
NP-QM91/FM91 475 645
Approximate number of minutes when you use a fully charged battery
Approximate continuous playing time at 25°C (77°F). The battery life will be shorter if
you use your camcorder in a cold environment.
Note
The table shows the playing time for tapes recorded in the Digital8
system. The
playing time of tapes recorded in the Hi8/standard 8 system is reduced by about 20%.
16
Connecting to a wall outlet
When you use your camcorder for a long time, we recommend that you power it from a
wall outlet using the AC power adaptor.
(1) Open the DC IN jack cover, and connect the AC power adaptor to the DC IN
jack on your camcorder with the plug’s v mark facing up.
(2) Connect the power cord to the AC power adaptor.
(3) Connect the power cord to a wall outlet.
PRECAUTION
The set is not disconnected from the AC power source (house current) as long as it is
connected to the wall outlet, even if the set itself has been turned off.
Notes
•The AC power adaptor can supply power even if the battery pack is attached to your
camcorder.
•The DC IN jack has “source priority”. This means that the battery pack cannot supply
any power if the power cord is connected to the DC IN jack, even when the power
cord is not plugged into a wall outlet.
Using a car battery
Use Sony DC Adaptor/Charger (optional).
2, 3
1
Step 1 Preparing the power supply
17
Getting Started
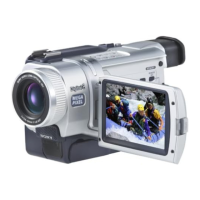
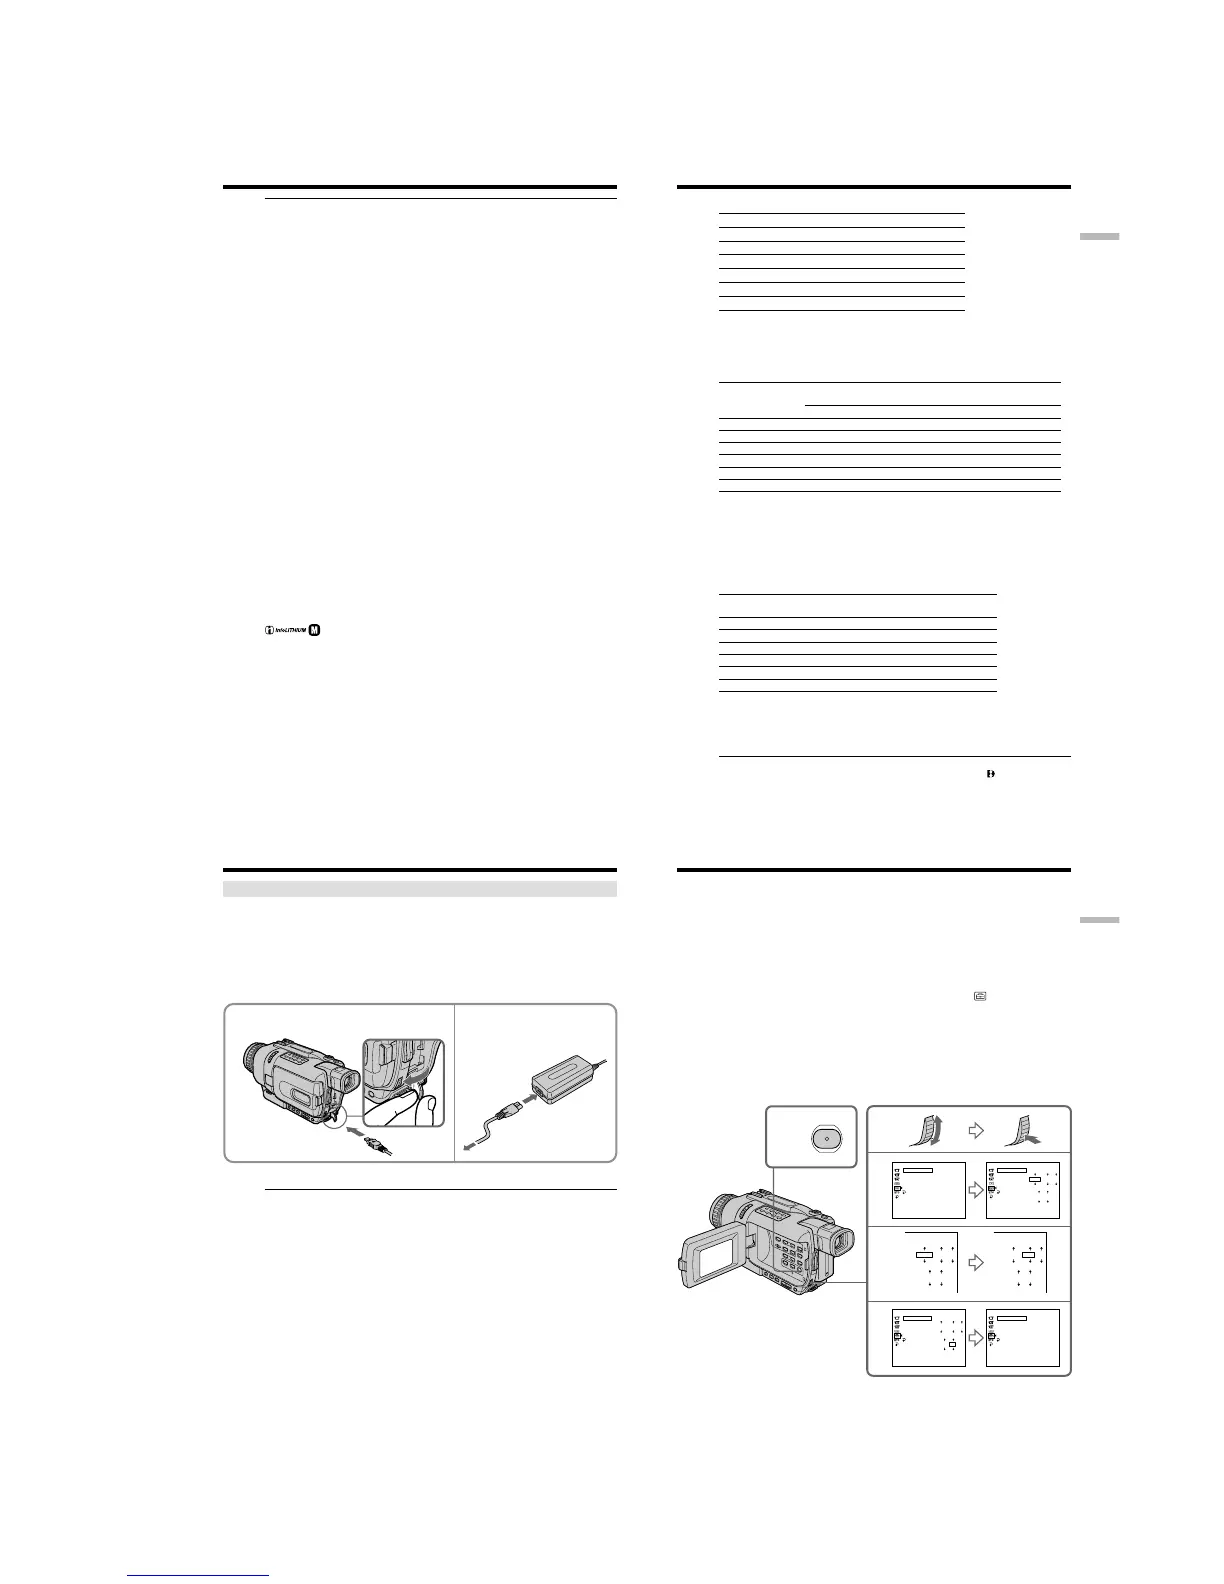
Step 2 Setting the date and time
Set the date and time settings when you use your camcorder for the first time.
“CLOCK SET” will be displayed each time that you set the POWER switch to
CAMERA/MEMORY (DCR-TRV340 only) unless you set the date and time settings.
If you do not use your camcorder for about half a year, the date and time settings may
be cleared from memory (bars may appear) because the built-in rechargeable battery
installed in your camcorder will have been discharged (p. 194).
Set the year, then the month, the day, the hour and then the minute.
(1) Set the POWER switch to CAMERA or MEMORY (DCR-TRV340 only), and
then press MENU to display the menu settings.
(2) Turn the SEL/PUSH EXEC dial to select CLOCK SET in
, then press the
dial.
(3) Turn the SEL/PUSH EXEC dial to adjust the desired year, then press the dial.
(4) Set the month, day and hour by turning the SEL/PUSH EXEC dial and
pressing the dial.
(5) Set the minute by turning the SEL/PUSH EXEC dial and pressing the dial by
the time signal. The clock starts to move.
(6) Press MENU to make the menu settings disappear.
1,6
MENU
2
3
5
SETUP MENU
CLOCK SET
USB STREAM
LTR SIZE
LANGUAGE
DEMO MODE
RETURN
– –
:
– –
:
– –
[
MENU
]
:
END
SETUP MENU
CLOCK SET
USB STREAM
LTR SIZE
LANGUAGE
DEMO MODE
RETURN
2002 JAN 1
12 00 AM
[
MENU
]
:
END
SETUP MENU
CLOCK SET
USB STREAM
LTR SIZE
LANGUAGE
DEMO MODE
RETURN
2002 JUL 4
5 30 PM
[
MENU
]
:
END
SETUP MENU
CLOCK SET
USB STREAM
LTR SIZE
LANGUAGE
DEMO MODE
RETURN
JUL 4 2002
5
:
30
:
00 PM
[
MENU
]
:
END
2002 JAN 1
12 00 AM
2002 JAN 1
12 00 AM
 Loading...