1-49
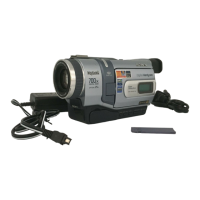
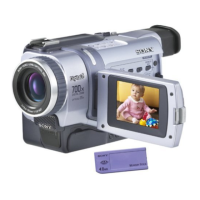
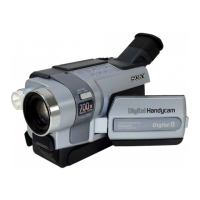
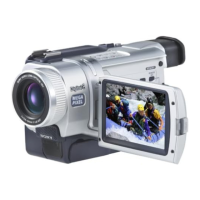
DCR-TRV240/TRV340
200
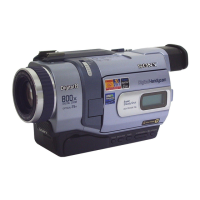
qa SUPER NS/COLOR SLOW S button
(p. 28)
qs Focus ring (p. 53)
qd Lens
qf Microphone
qg Camera recording lamp (p. 20)
qh Infrared rays emitter (p. 28)
qj Video control buttons (p. 33, 35)
x STOP (stop)
m REW (rewind)
N PLAY (playback)
M FF (fast-forward)
X PAUSE (pause)
z REC (recording)
qk NIGHTSHOT switch (p. 28)
ql Display window (p. 206)
w; FOCUS button (p. 53)
wa FADER button (p. 44)
ws BACK LIGHT button (p. 27)
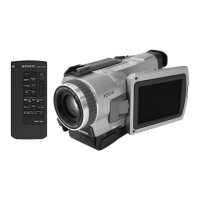
wd Remote sensor
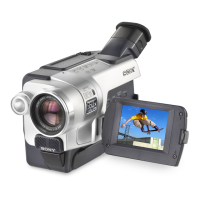
Identifying parts and controls
qh
qf
qd
qg
qa
qs
qk
ql
ws
wa
w;
wd
qj
REW
REC
FF
PAUSE
STOP
PLAY
201
Quick Reference
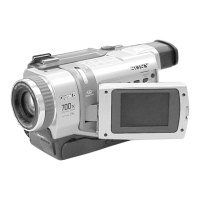
Identifying parts and controls
wf RESET button (p. 181)
wg EDITSEARCH button (p. 31)
wh MEMORY operation buttons*
MEMORY PLAY button (p. 148)
MEMORY – button (p. 148)
MEMORY + button (p. 148)
MEMORY MIX button (p. 128)
MEMORY DELETE button (p. 169)
MPEG u button (p. 151)
MEMORY INDEX button (p. 150)
wk
wf
wg
wh
wj
wl
e;
PLAY
MEMORY
MIX
DELETE MPEG INDEX
MEMORY
* DCR-TRV340 only
Attaching the lens cap
Attach the lens cap to the grip strap as illustrated.
wj DISPLAY button (p. 34)
wk MENU button (p. 104)
wl SEL/PUSH EXEC dial (p. 104)
e; EXPOSURE button (p. 52)
202
Identifying parts and controls
ea Power zoom lever (p. 23)
es Intelligent accessory shoe
ed Speaker
ef PB ZOOM button (p. 64, 164)
eg TITLE button (p. 57)
eh PHOTO button (p. 38, 122)
ej “Memory Stick” slot* (p. 117)
ek Access lamp* (p. 117)
el END SEARCH button (p. 31, 36)
eg
ea
es
ef
ek
eh
el
ej
ed
* DCR-TRV340 only
Notes on the intelligent accessory shoe
•The intelligent accessory shoe supplies power to optional accessories such as a video
light or microphone or printer (DCR-TRV340 only).
•The intelligent accessory shoe is linked to the POWER switch, allowing you to turn the
power supplied by the shoe on and off. Refer to the operating instructions of the
accessory for further information.
•The intelligent accessory shoe has a safety device for fixing the installed accessory
securely. To connect an accessory, press down and push it to the end, and then tighten
the screw.
•To remove an accessory, loosen the screw, and then press down and pull out the
accessory.
203
Quick Reference
rj rl
t;
rk
rh
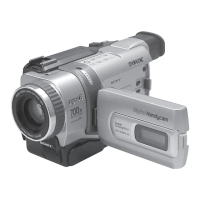
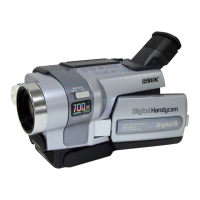
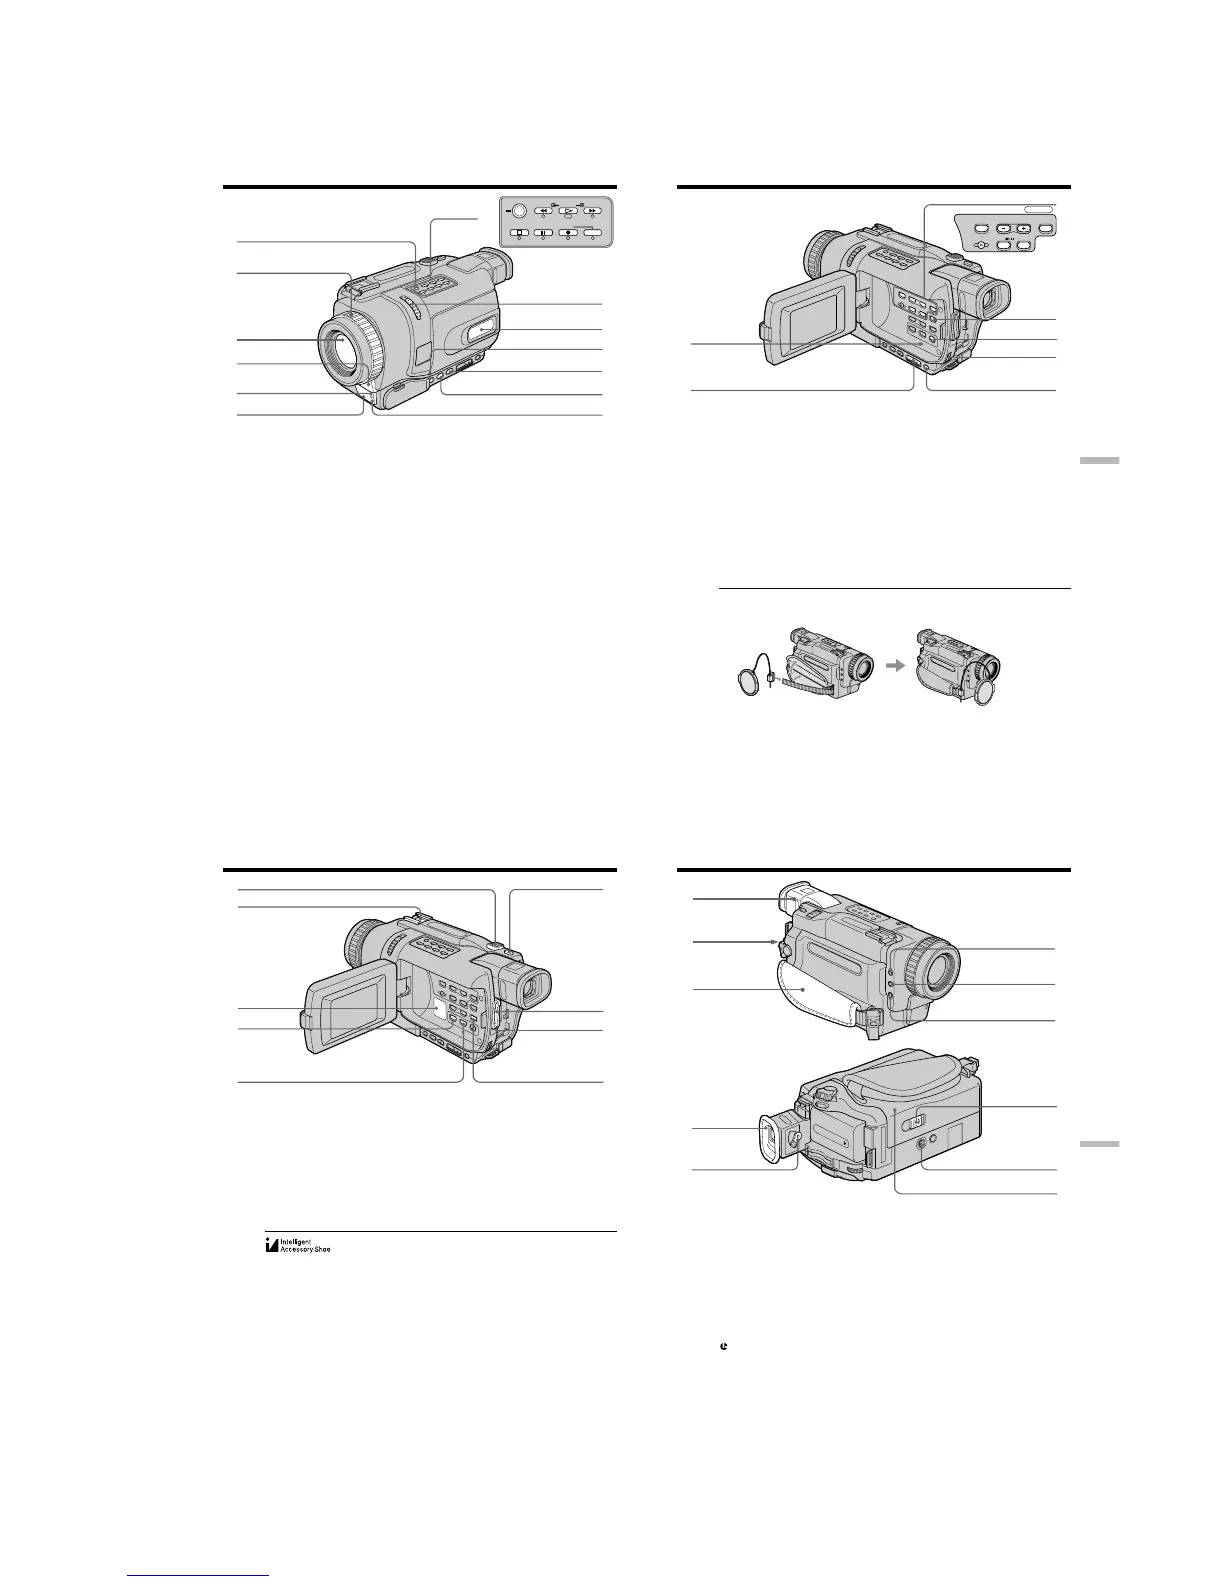
Identifying parts and controls
r; Viewfinder (p. 24)
ra LOCK switch* (p. 20)
rs Grip strap
rd MIC (PLUG IN POWER) jack
Connect an external microphone
(optional). This jack also accepts
a “plug-in-power” microphone.
rf i (headphones) jack
rg LANC
jack
LANC stands for Local Application
Control Bus System. The LANC control
jack is used for controlling the tape
transport of video equipment and other
peripherals connected to the video
equipment. This jack has the same
function as the jack indicated as
CONTROL L or REMOTE.
rs
ra
r;
rf
rd
rg
rh Eyecup
rj Viewfinder lens adjustment lever
(p. 24)
rk OPEN/EJECT switch (p. 19)
rl Tripod receptacle (base)
Make sure that the length of the tripod
screw is less than 5.5 mm (7/32 inch).
Otherwise, you cannot attach the tripod
securely and the screw may damage
your camcorder.
t; Cassette compartment (p. 19)
* DCR-TRV340 only
 Loading...