108
4 Select the language for the application
to be installed, then click [OK].
5 When the install wizard screen appears,
click [Next].
6 Confirm the license agreement, and if
you accept the terms, click [Next].
7 Select the drive or folder to install the
application, then click [Next].
8 Select the option to create the desk-top
shortcut, then click [Next].
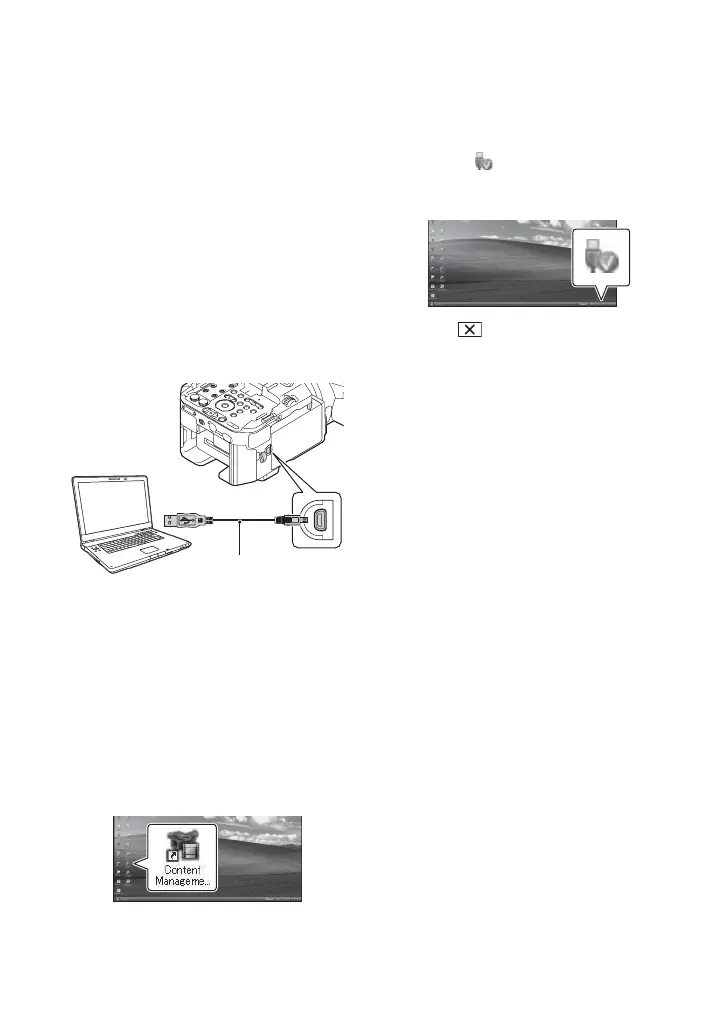
9 Turn on your camcorder, then connect
the camcorder to the computer using the
supplied USB cable.
The [USB CONNECT] screen appears
on the camcorder screen automatically.
0 Click [Next].
qa Follow the on-screen instructions to
install the software.
• Restart the computer if required to complete
the installation.
When the installation is completed, the
following icon will appear, depending
on the selection in step 8.
qs Remove the CD-ROM from the
computer.
To disconnect your camcorder from
the computer
1 Click the icon at the bottom right of
the desktop of the computer t [Safely
remove USB Mass Storage Device].
2 Touch t [YES] on the camcorder
screen.
3 Disconnect the USB cable.
b Notes
• Use the supplied “Content Management Utility”
software when you import long movies or edited
images from the camcorder to a computer. If
you use other software, the images may not be
imported correctly.
• If file size exceeds 2 GB during a long
recording, a new file is created automatically,
resulting in the movie being divided into
multiple files when you view the recording
media directly from your computer after
recording.
• If you imported images without using the
supplied “Content Management Utility”
software, an image divided into multiple files
during recording after exceeding 2 GB may not
be concatenated properly. When using other
editing software, use the supplied “Content
Management Utility” software to import images
to a computer. The files will be concatenated
and imported.
USB cable
(supplied)
Saving images with a computer (Continued)
 Loading...