21
Getting Started
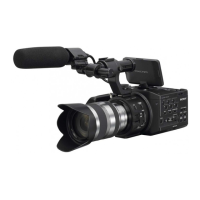
Step 3: Attaching the lens
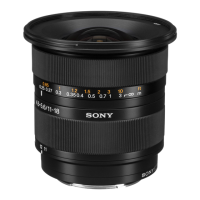
This manual explains how to attach a lens
using the E 18-200mm F3.5-6.3 OSS lens
that comes with NEX-FS700UK/FS700EK/
FS700K.
Hold the camcorder body with the front end
downward, and quickly change the lens
somewhere away from dusty locations so as
to keep dust or debris from getting inside
the camcorder body.
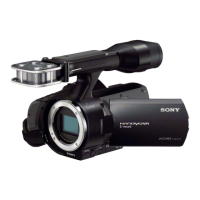
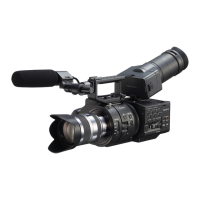
1 Remove the body cap from the
camcorder body and the rear lens
cap from the lens.
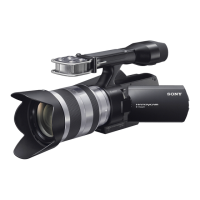
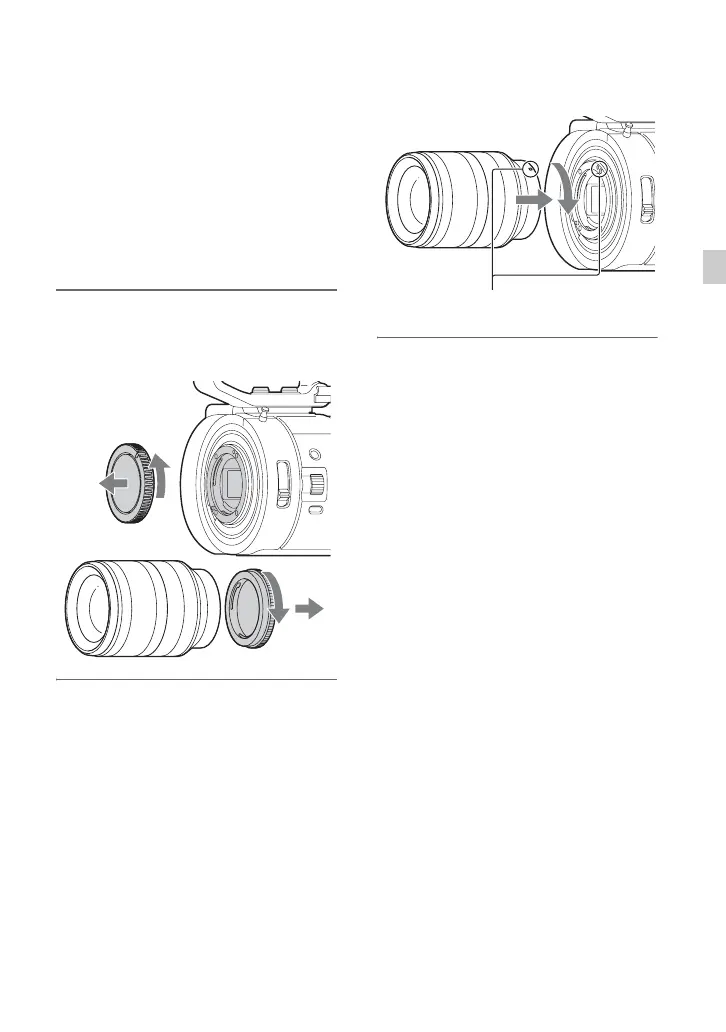
2 Mount the lens by aligning the
mounting indexes (white) on the
lens and the camcorder body.
While pushing the lens lightly
toward the camcorder body, turn
the lens clockwise.
The lens is mounted when it clicks into
the locked position.
b Notes
• When attaching a lens, do not press the lens
release button.
• Attach the lens to the camcorder squarely,
without excessive force. Mounting the lens
forcibly may result in a malfunction or damage
of the lens mount and ND filter.
• There may be a gap between the lens and the
lens mount, depending on the lens attached.
This is normal.
z Tips
• When you have changed the lens, it is
recommended to adjust the black balance (p. 48)
before recording. When you adjust the black
balance, make sure that the front lens cap is
attached.
Mounting indexes (white)
Continued ,
 Loading...