444
Setting a Network AUX
Remote Panel
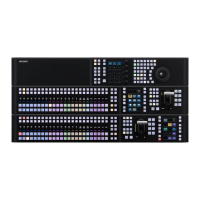
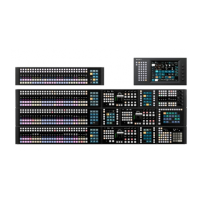
Network AUX remote panel
A network AUX remote panel is a function that provides
a simple connection of an MKS-R3210/R1620 Remote
Control Panel with a switcher, without using LSM (Live
System Manager), for using the MKS-R3210/R1620 as a
switcher remote panel. You can control the switching of
cross-points on the switcher from a remote panel on the
network.
Network AUX remote panel restrictions
• Up to 16 remote panels can be configured for a single
co
ntrol panel.
• The network AUX remote panel function is not
avai
lable if the MKS-R3210/R1620 Remote Control
Panel is connected to LSM.
• The network AUX remote panel function is not
avai
lable if control using the NS-Bus External Control
protocol is enabled.
• The following function and settings restrictions apply
to a
remote panel.
• To use the same cross-point settings as the switcher on
a
remote panel, cross-point assign table settings must be
copied to the remote panel.
For details, see “Copying a Table to a Remote Panel”
(page 383).
Setting the MKS-R3210/R1620 Remote Control
Panel
On the Network Settings page of the web menu of the
remo
te control panel, configure the network (LAN1).
For details about setup, refer to the operat
ing instructions
for the MKS-R3210/R1620.
For details about connection, refer to the
ICP-X7000
Installation Manual or ICP-X1224/X1124/X1216/X1116
Installation Manual.
Enabling/Disabling a Network AUX
Remote Panel
1
Open the System Configuration > Configuration >
Aux Remote Panel > Common Settings menu
(20101.21).
2
Enable/disable using the [Aux Remote Interface]
button.
On: En
able the network AUX remote panel function.
Off: Disable
the network AUX remote panel
function.
Configuring a Remote Panel
You can select and set a remote panel from the list of
remote panels connected to the network.
Setting the control panel to connect
1
Open the System Configuration > Configuration >
Aux Remote Panel > Assign menu (20101.22).
The remote panel name, IP ad
dress of the remote
panel, and the connected control panels are displayed.
You can press [Name] to sort the display of remote
pan
els by name. Pressing [Name] switches between
ascending and descending order each time it is
pressed, and [v] (ascending) or [V] (descending) is
displayed on the right side of [Name].
2
Select the target remote panel to set.
To select and set multiple remote panels, place a
che
ck mark beside the target remote panels to set.
To select and set all remote panels, place a check
m
ark in the Select All checkbox.
3
In the [Panel] group, select a control panel to connect.
Panel 1: C
ontrol panel 1
Panel 2: C
ontrol panel 2
No Assign: Not assigned
4
Press the [Apply] button in the [Assign] group.
To return to the previous setting
Press the [Clear] button in the [Assign] group.
5
Check the message, then press [OK].
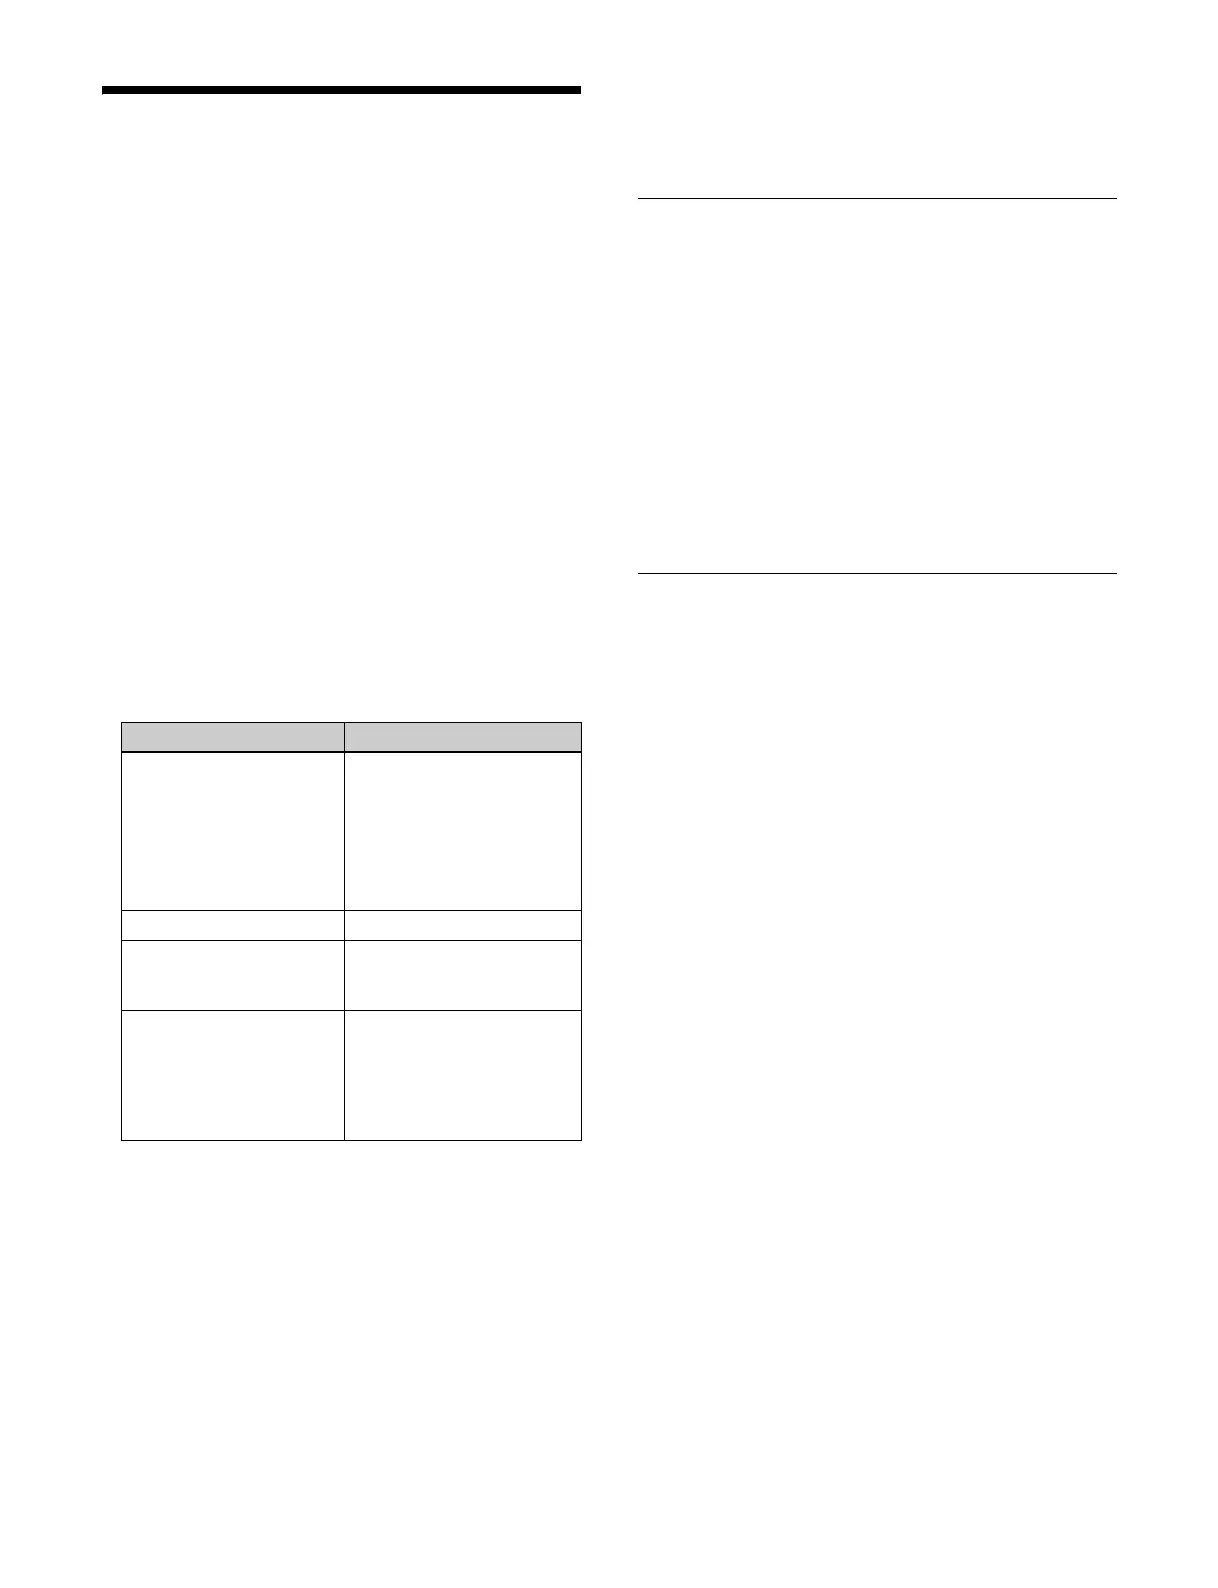
Item Restrictions
Functions The following functions are
not avail
able.
• Global salvo
•Protect
•Monitor
•Retrace
•Linkage
Levels Only 1 to 8 are available.
Operation button colors Set to “Local”
(Color Settings on the
Displ
ay Settings page)
Source/destination names Source names set on the
switcher,
and fixed bus
names
Alias name selection not
suppo
rted
(Alias Name Lists page)
 Loading...