20
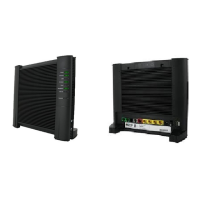
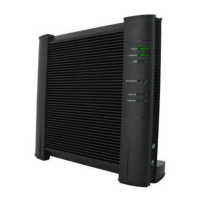
2 Setting up your DGA4130
DMS3-CTC-25-420 v1.0. Copyright © 2017 Technicolor. All rights reserved.
This document contains Technicolor proprietary and confidential information. Passing on and copying of this document, use, extraction and
communication of its contents, is not permitted without written authorization from Technicolor.
2.5 Configure your DGA4130 services
Step1: Browse to the DGA4130 web interface
Proceed as follows:
1 Browse to http://192.168.1.1
(this is the default IP address of your DGA4130) on a computer or device that is currently
connected to your DGA4130 (either wired or wirelessly).
2 The DGA4130 web interface appears. By default, you are logged in as guest. This means that some items may be hidden.
To view all items, click Sign In and enter admin as user name and the ACCESS KEY printed on the product label of your
DGA4130 as password.
Step2: Check you Internet connection
Under Internet Access, check the status of your Internet connection. If it is not connected, click Internet Access, enter the
Username and Password for your Internet connection and then click Save.
Step3: Configure your wireless access point
1 Click Wireless. The Wireless page appears.
2 By default, the 2.4 GHz access point is selected in the menu on the left. Change the following settings under Access
Point:
a In the SSID name box, type the network name that you want to use for this access point (if you do not want to use the
default one).
b In the Security Mode list under Access Point, select the security mode that you want to use for this access point. We
recommend to use WPA+WPA2-PSK.
c In the Wireless Password box, type the wireless key that you want to use for this access point. The key must consist of
8 to 63 alphanumeric characters.
d Click Save.
3 In the menu on the left, click the 5 GHz access point, configure the 5 GHz wireless Access Point settings (as in step 2).
4 (Re)connect your wireless client(s) to the DGA4130 using the new wireless settings.
• Do not use WEP or None, since they are not secure.
• WPS will be disabled if you select WEP.
 Loading...