85
8 Support
DMS3-CTC-25-420 v1.0. Copyright © 2017 Technicolor. All rights reserved.
This document contains Technicolor proprietary and confidential information. Passing on and copying of this document, use, extraction and
communication of its contents, is not permitted without written authorization from Technicolor.
8.4 Reset to factory defaults
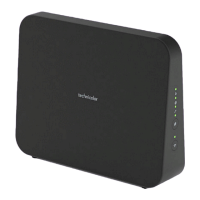
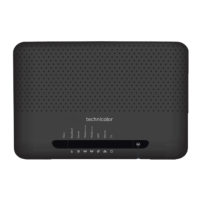
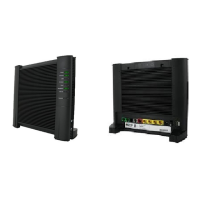
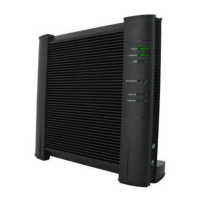
Resetting your DGA4130
If at some point you can no longer connect to the DGA4130 or you want to make a fresh install, it may be useful to perform
a reset to factory defaults.
Methods
You can choose between:
• Resetting the DGA4130 via the web interface
• Reset the DGA4130 via the Reset button
Resetting the DGA4130 via the web interface
Proceed as follows:
1 Browse to the DGA4130 web interface.
For more information, see “4.1.1 Accessing the DGA4130 web interface from your local network” on page 40.
2 Click Gateway. The Gateway page appears.
3 Click Reset.
4 The DGA4130 restores the factory default configuration and restarts.
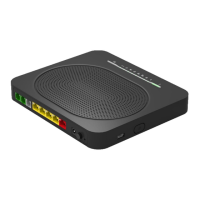
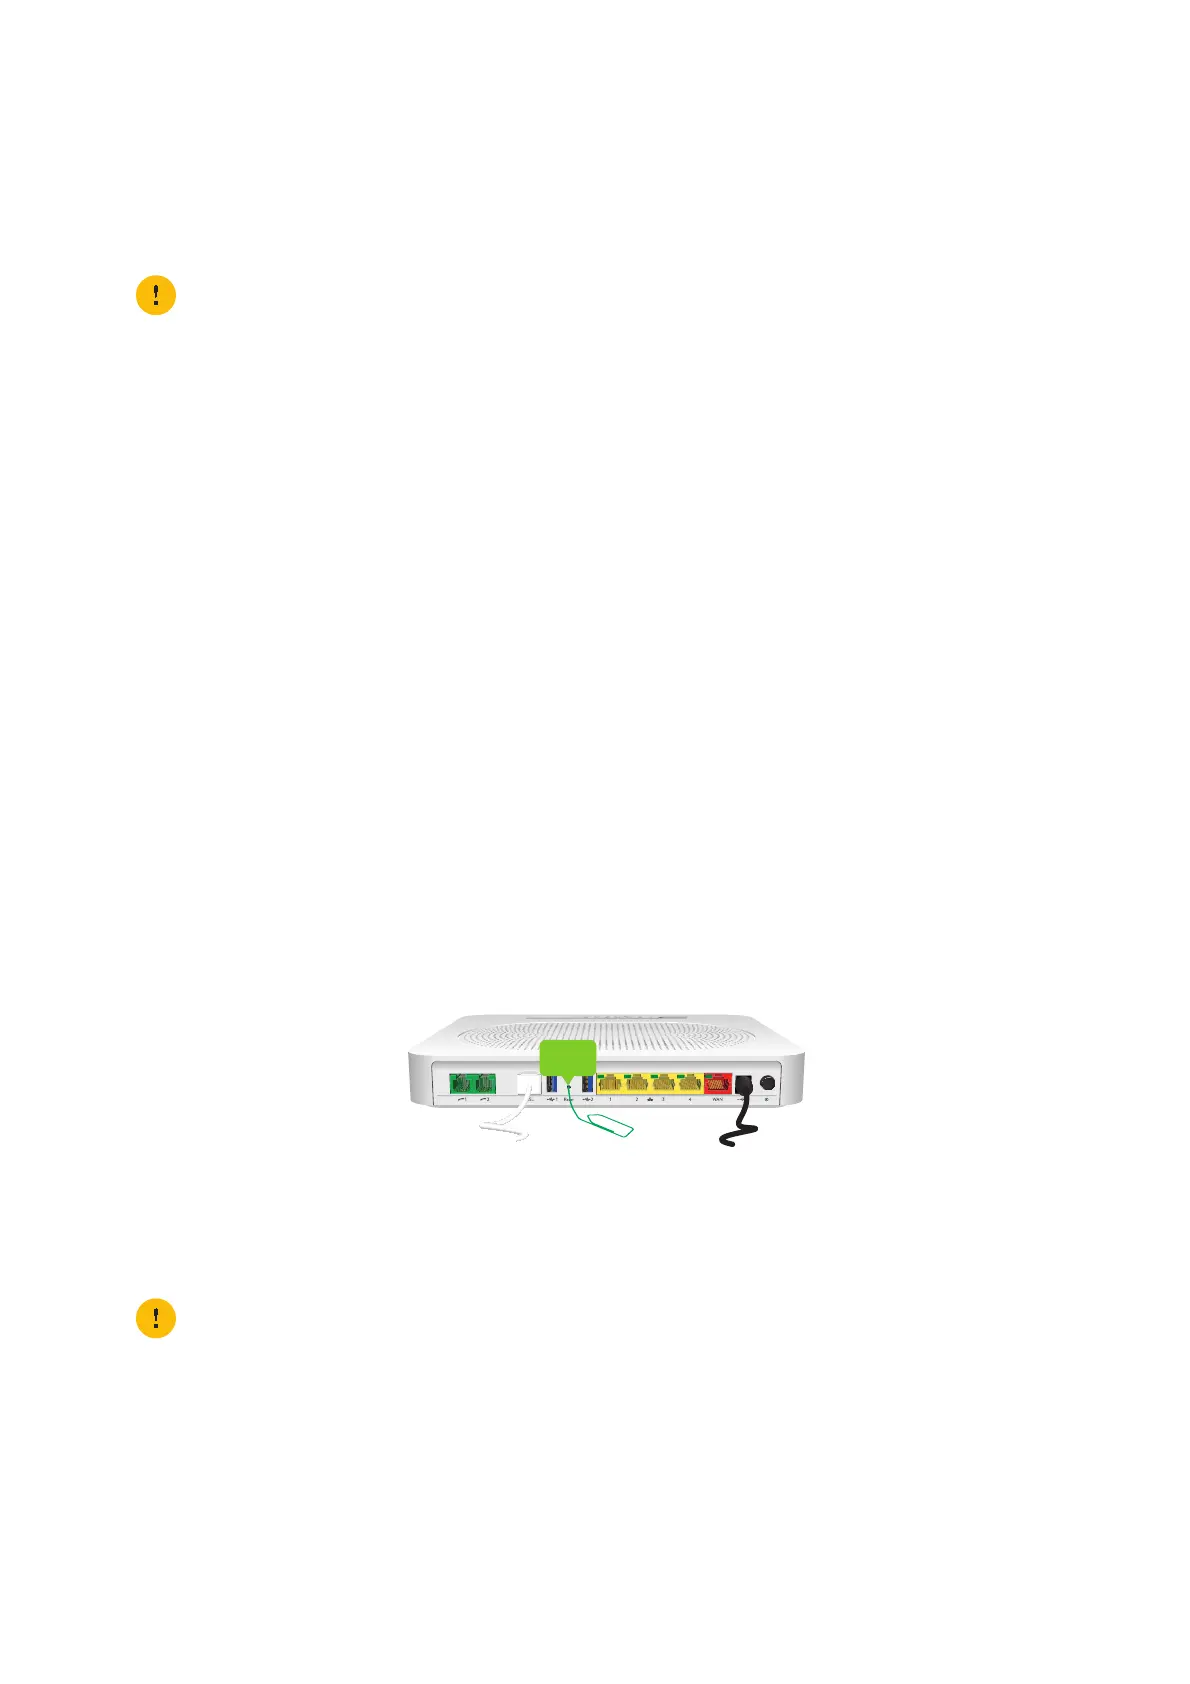
Reset the DGA4130 via the Reset button
Proceed as follows:
1 Make sure the DGA4130 is turned on.
2 Push the Reset button for at least 7 seconds and then release it.
3 The DGA4130 restarts.
Restore your settings
If you previously backed up your configuration, you can now restore this configuration on your DGA4130.
For more information, see “4.4 Backing up/restoring your configuration” on page 63.
A reset to factory default settings deletes all configuration changes you made. Therefore, after the reset a
reconfiguration of your DGA4130 will be needed.
Also your wireless clients will have to be re-associated, as described in “3 Wireless networking” on page 25.
Your system administrator may have disabled the physical reset button of the DGA4130. In this case, a hardware
reset to defaults is not possible.
 Loading...