#!"" # !
#!"" # !
5Ć10
11. Continue to press the button and adjusting the dot to center
screen with the General Purpose Knob until the dot stays centered while
pressing the button.
12. Select when you have the appropriate display.
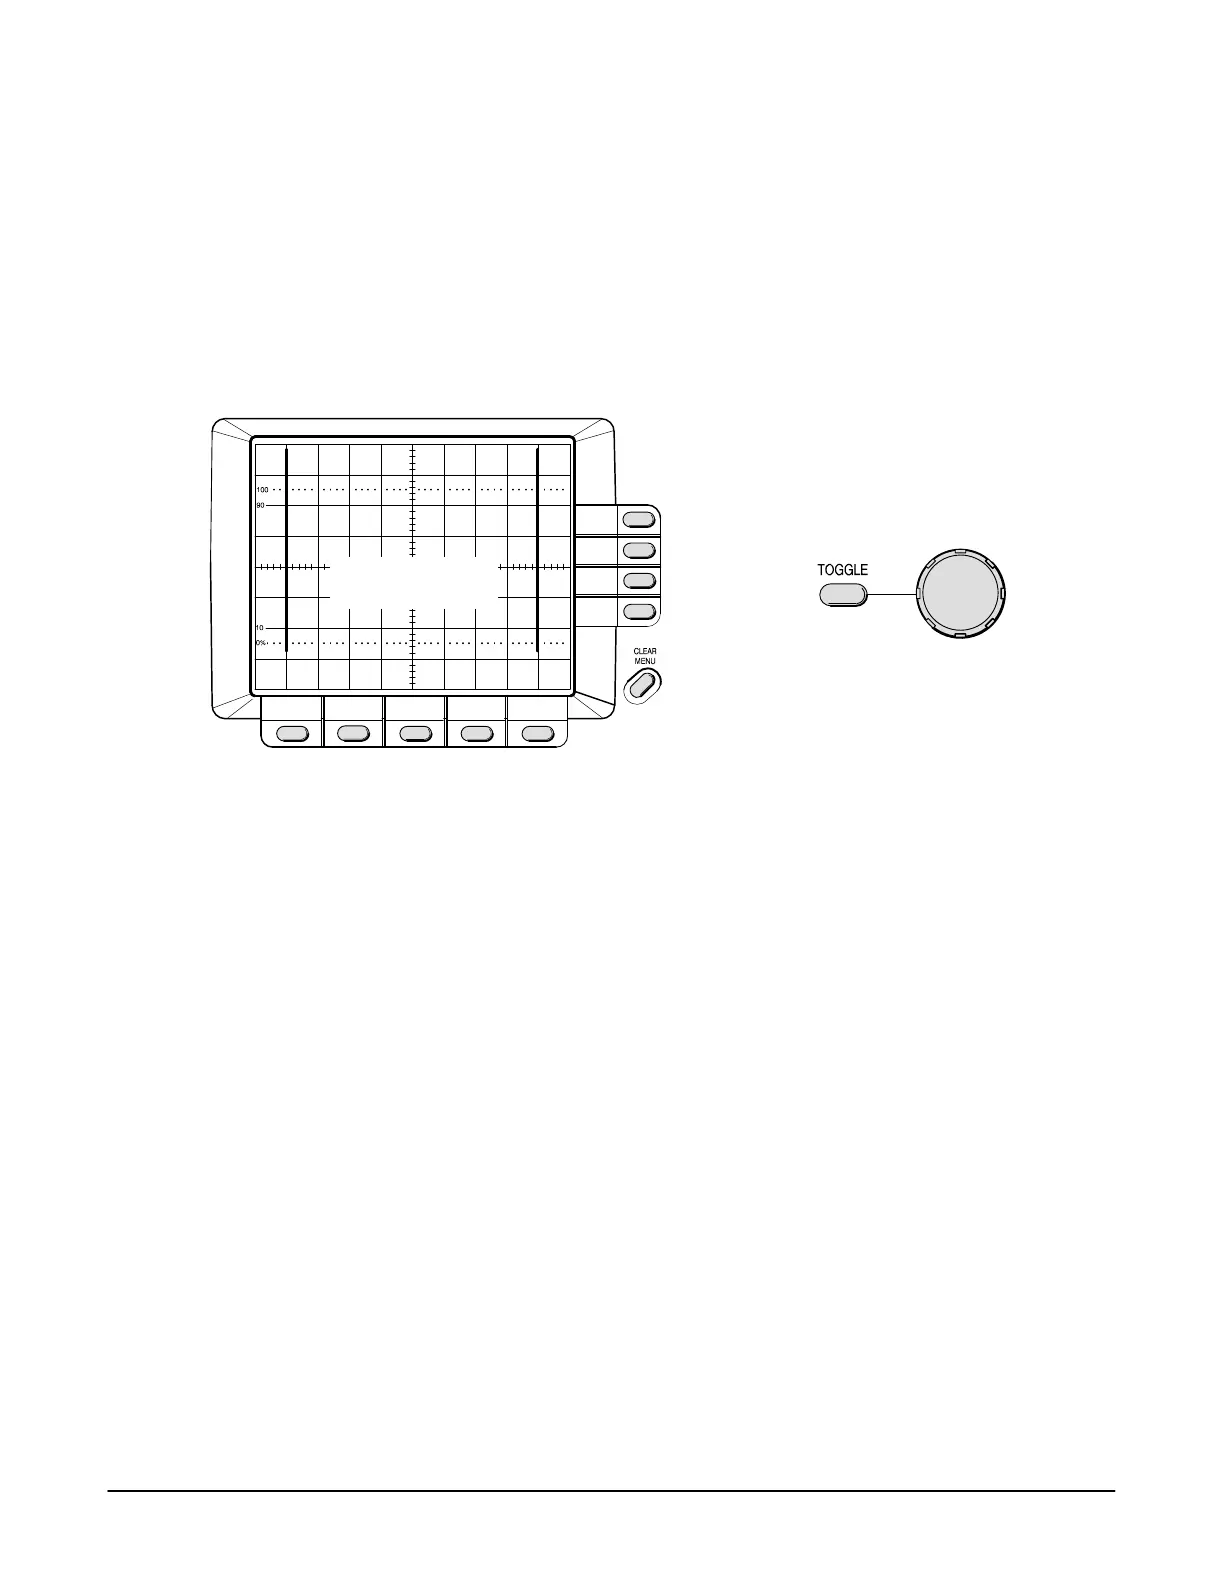
13. Two vertical cursor lines are displayed.
14. Use a combination of the button and the General Purpose
Knob to position the vertical lines 8 divisions apart, centered horizontally
(see Figure 5Ć6).
Gain and Position
Adjustment
Toggle Between
Gain and Position
Adjustment
Lines Eight Divisions
Apart, Centered
Horizontally
# &% $" #!""!
15. Select with the menu button when you have the appropriate
display.
NOTE
At this time, the calibration routine can be terminated by selecting
Abort instead of Done. The abort option appears through the
remainder of this Factory Horizontal Cal routine.
16. Select to continue or " to terminate the calibration routine.
17. Connect the output of the time mark generator to the input as
shown in Figure 5Ć7.

 Loading...
