Appendix F: Ethernet Setup
This appendix describes how to
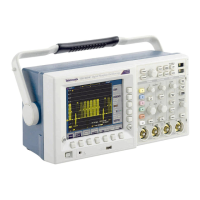
set up the TDS3000C Series o scilloscope
for netw ork hard copy printing, and remote programmability or access.
The TDS3000C requires a straight-through 10BaseT cab le with an
RJ-45 connector to connect to
a LAN, or a crossover cable to connect to
a PC equipped with an Ethernet card.
To connect to the oscillosc
ope through the Ethernet p ort, follow these
steps:
1. Power off the oscillosc
ope.
2. Connect an Ethernet cable to the Ethernet p ort on the oscilloscope.
3. Power on the oscilloscope.
Your Ethernet Network Information
To connect the oscilloscope to the network, you must first obtain
information f rom your network admin istrator. For your convenien ce,
use the fo rm at th
e end of this appendix.
Make two photocopies of the f orm and sen d them to your network
administrato
rtofill in. If you require remote access to the oscilloscope
for p rogram m ing or e*Scope access, then have the network
administrator fill in section 1. If you require your osci lloscope to
print screen
hard copies to a network printer, then have the network
administrator fill in sections 1 and 2. The administr ator can then return
one copy to you and keep the other copy.
NOTE. If the DHCP/BOOTP server assigns a dynamic I P addre ss, then the
value in the Instrument IP Address field may be different each time you
power on th e oscilloscope. This is not a problem if you are mostly sending
hard copy to a ne twork printer.
Howeve
r, if you intend to remotely control or acce ss the oscilloscope, have
the sy
stem administrator assign a static IP address s o that the oscilloscope
IP add
ress does not change. A static IP address makes it easier for remote
devi
ces to acc ess a specific oscilloscope.
TDS3000C Series O scilloscope User Manual 181
 Loading...