1.BEFORE USING EQUIPMENT
Placing Paper 19
1 BEFORE USING EQUIPMENT
6
Press [CLOSE] on the touch panel or the [USER FUNCTIONS] button on the control
panel.
Clearing the set paper type
Press the drawer button on the menu in step 4, and then press the paper type whose setting you want
to clear.
If both INSERT 1 and INSERT 2 are set and you clear the setting of only INSERT 1, the setting for
INSERT 2 automatically becomes the setting for INSERT 1.
Placing paper in the Large Capacity Feeder (optional)
Paper in the right-hand tray is used first. When it runs out, paper in the left-hand tray will be
moved automatically to the right-hand tray and fed.
A maximum of 2360 sheets (64 g/m
2
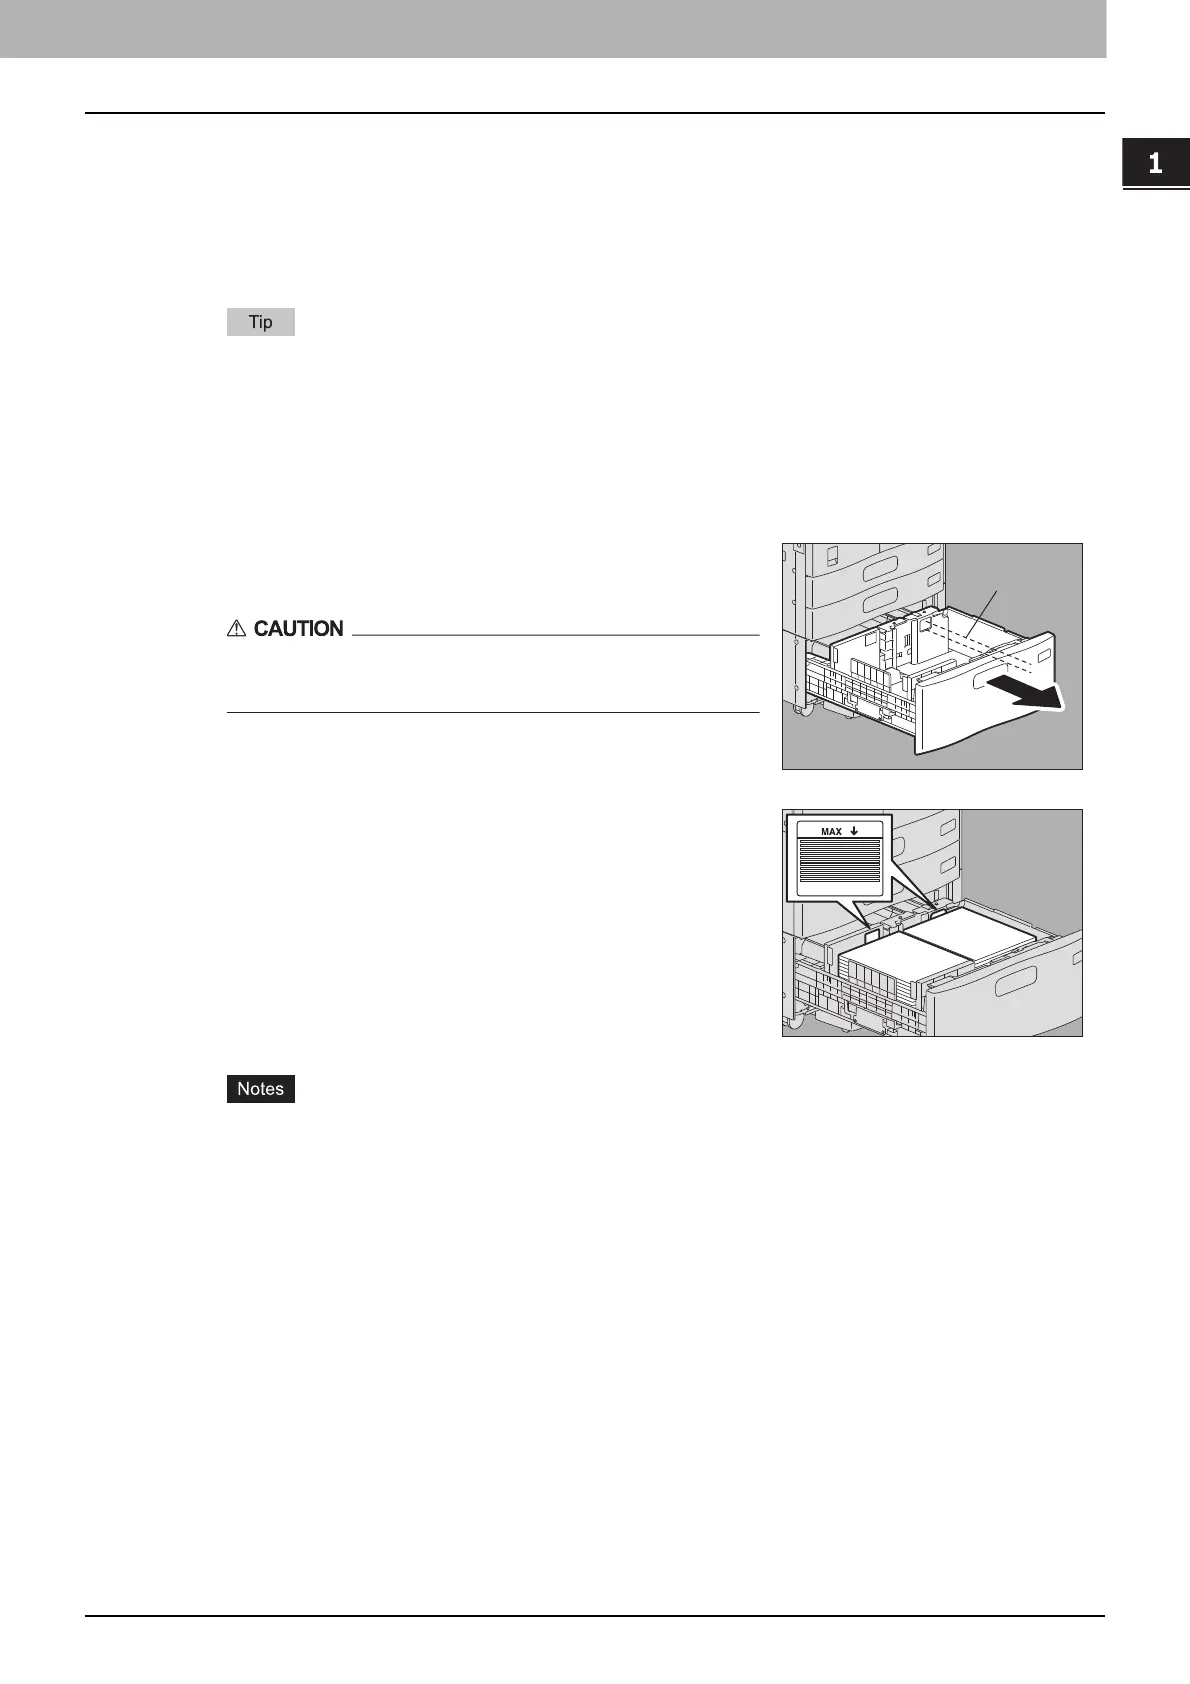
) (17 lb. Bond) can be placed in the 2 trays. However the
stack height of the paper must not exceed the line indicated inside the side guides.
P.11 “Acceptable copy paper”
The copy side may be noted on its wrapping paper.
Be careful not to cut your fingers when fanning the paper.
When placing paper, be sure that the center lever is not open. (See the label attached in the
drawer of the Large Capacity Feeder.)
1
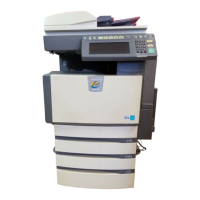
Pull out the drawer of the Large Capacity Feeder
carefully until it comes to a stop.
Be careful not to touch the slide rails (A in the figure).
This could injure you.
2
Place 2 stacks of paper in the right and left trays
correspondingly.
Fan and jog the paper well before placing it. Place it with its
copy side up. Place one stack of paper in the right-hand tray
(shown as “A” in the figure) with its side touching the right
corner of the tray, and place the other stack of paper in the left-
hand tray (shown as “B” in the figure) with its side touching the
left corner of the tray. Paper can be placed neatly if you divide
stacks into small bundles and pile them up on the two trays
alternately.
A

 Loading...