4 EDITING FUNCTIONS
112 Sheet Insertion
Sheet Insertion
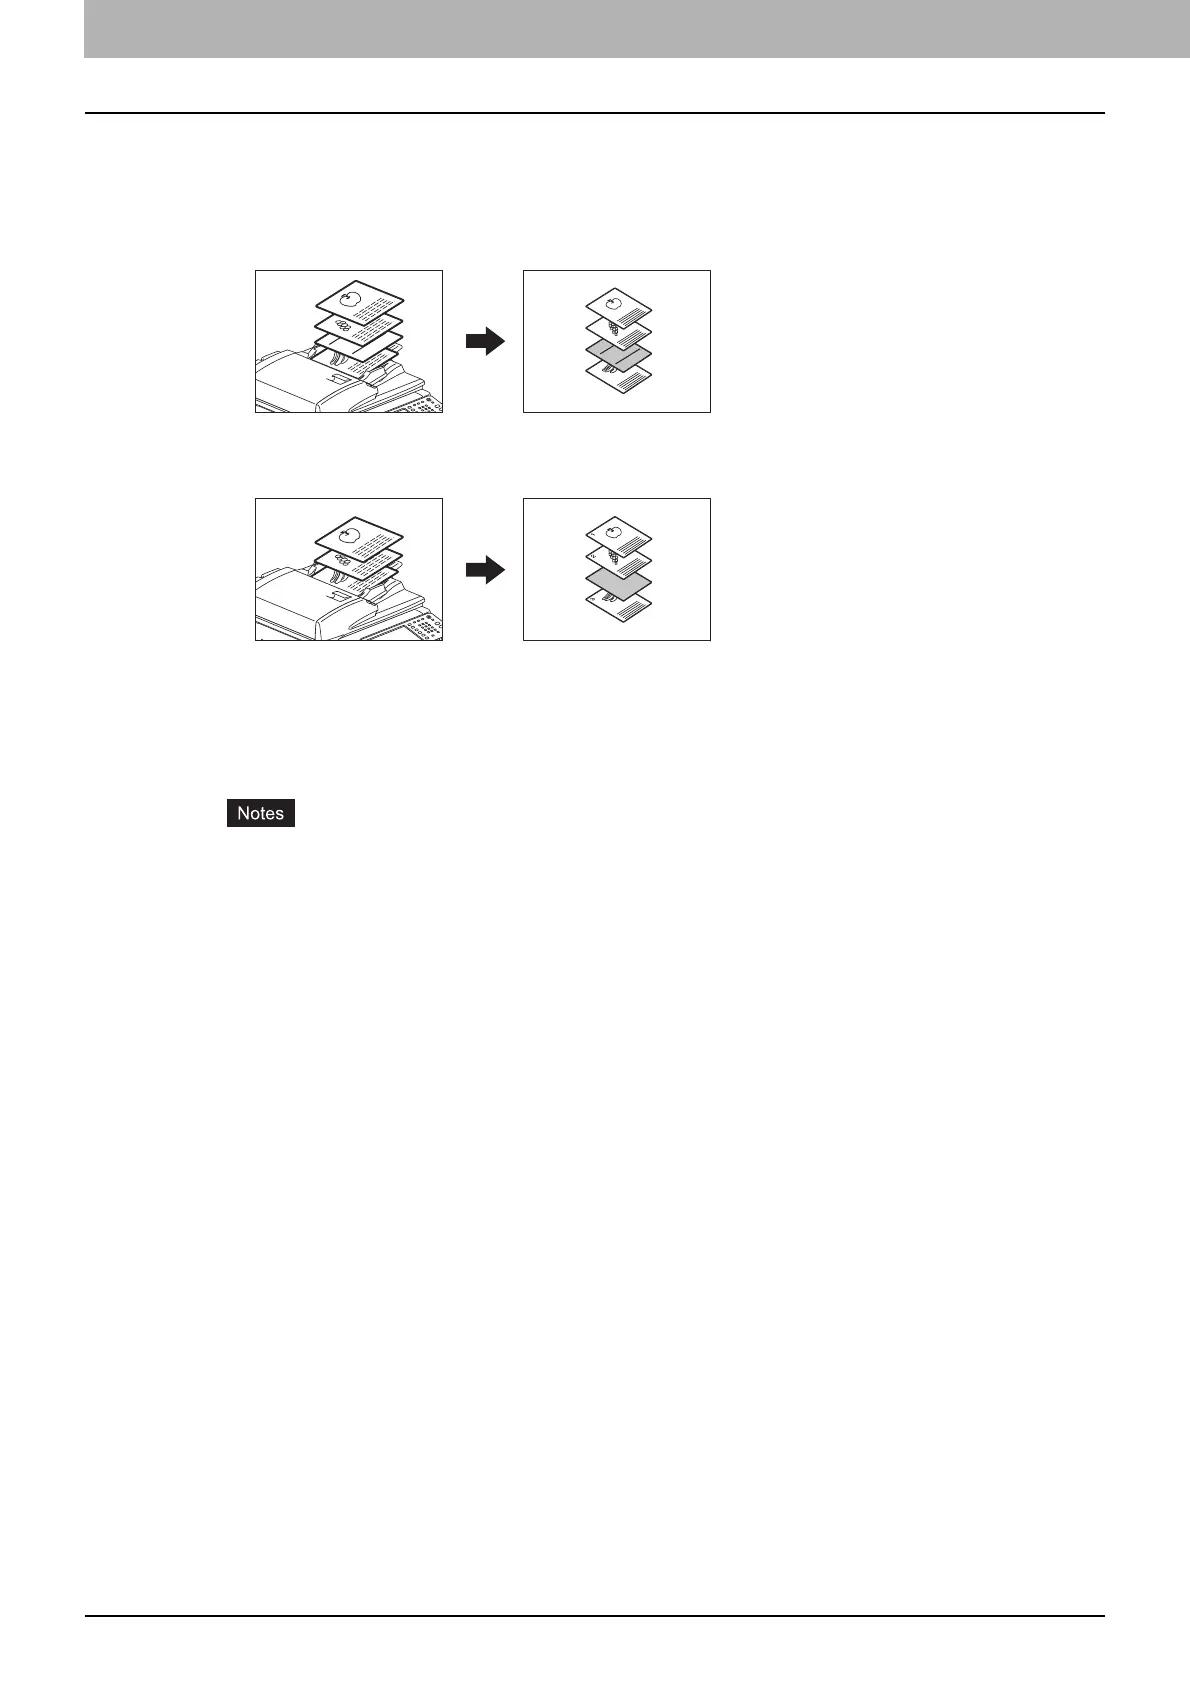
You can insert a special type of paper such as colored paper at the desired page. This function is called “sheet
insertion”. You can insert up to 2 types of sheets for a total of 50 pages. The sheet insertion mode has the
following 2 types:
COPIED: Inserts a copied sheet, replacing the specified page.
BLANK: Inserts a blank sheet before the specified page.
1
Place sheets for sheet insertion.
Place them on the bypass tray or in a drawer previously set for insertion sheets. The paper for the
insertion sheets must be placed in a different paper source than normal paper.
When placing paper in a drawer for sheet insertion, be sure to select “INSERT 1” or “INSERT 2”
as a paper type, and also set the paper size and thickness.
P.17 “Setting paper type”
When placing paper on the bypass tray, be sure to set the paper size and thickness.
P.36 “Bypass Copying”
Place the paper for insertion sheets of the same size as normal paper in the same direction.
2
Place the normal paper in the drawer(s).
3
Place the original(s).
When placing them on the original glass, they must be placed from the first page.
4
Press [SHEET INSERTION] on the EDIT menu.
4
REPORT
2003
2
3
1
3
2
1

 Loading...