smartPRINTER Operating Instructions
smartPRINTER Operating Instructions 003/10.2017 29
7.2.2 Installing and Removing the Roller
Contamination of or surface damage to the roller impairs the transport of the print material and has a
negative effect on the printing results. Dents, scoring or other faults in the rubberized surface
necessitate replacement of the roller. The roller also must be removed for cleaning.
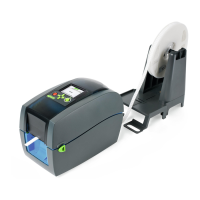
Removing the roller:
Open the smartPRINTER. Tilt the top of the printer (print mechanism and housing cover) up until it
locks firmly in place.
Remove any print material from the work area.
Fig. AD1
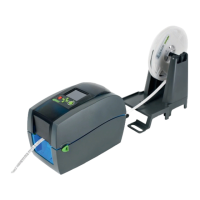
Insert a narrow screwdriver into the gap between the blue housing and the spindle surface of
the front panel (see gray arrow in the figure).
Press the screwdriver downwards. Use the leverage to loosen and remove the front panel.
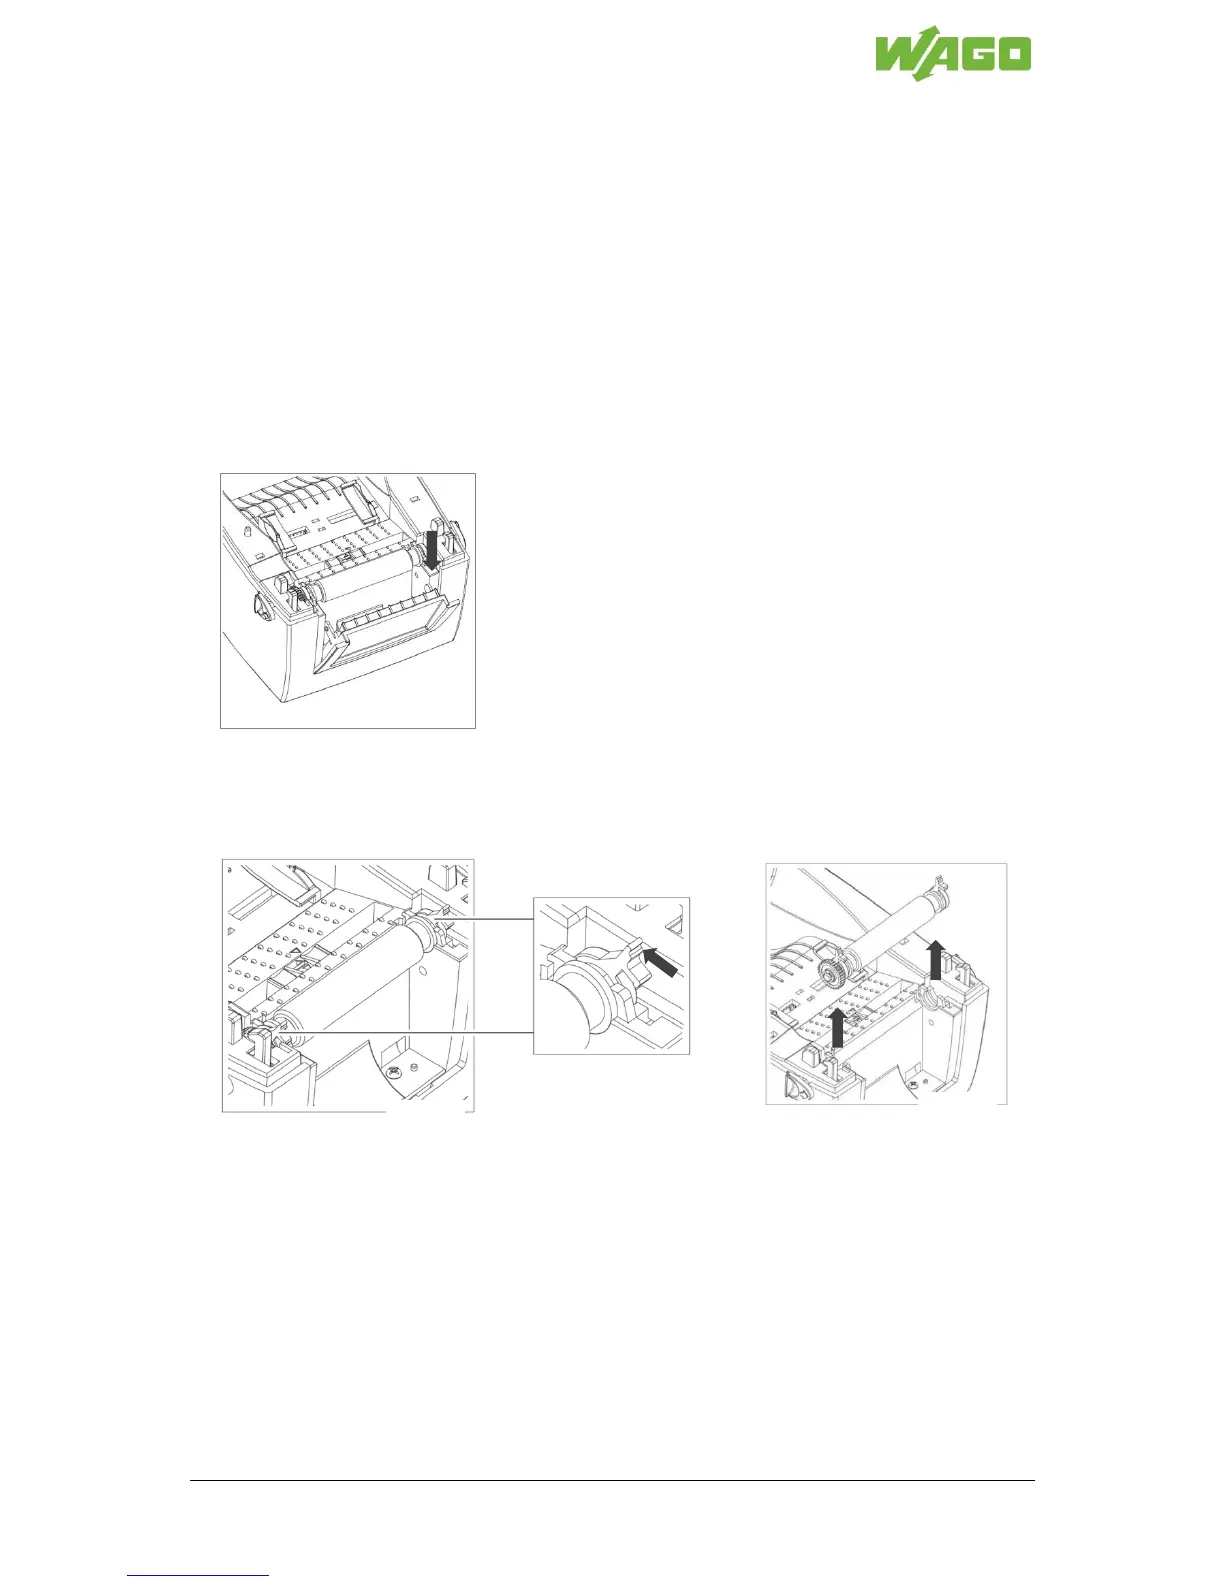
Fig. AD2 and Fig. AD3
Press the locking levers on the ends of the roller upwards to a vertical position.
Remove the roller upwards.
 Loading...