 Loading...


Do you have a question about the Yaesu FTDX10 and is the answer not in the manual?
| Type | HF/50 MHz Transceiver |
|---|---|
| Antenna Impedance | 50 Ohms |
| Supply Voltage | 13.8 V DC ±15% |
| IF DSP | Yes |
| Modes | AM, FM |
| RF Power Output | 100 W (HF) |
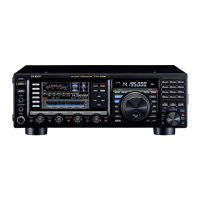
| Display | 5-inch Full-Color Touch Panel |
| Dimensions | 266 x 263 mm |
| Weight | 5.9 kg |
| IF Rejection | 70 dB or better |
| Image Rejection | 70 dB or better |
| Receiver Type | SDR (Software Defined Radio) |
Outlines critical safety information related to immediate hazards and potential injury.
Details potential hazards, minor injuries, or property damage warnings.
Guides on connecting antennas, coaxial cables, and the DC power cable.
Details connections for microphone, headphones, keyer, and FH-2 remote keypad.
Details attenuator levels and IPO modes for signal optimization.
Explains how to switch between different roofing filters.
Covers AGC time constants and auto-selection for optimal reception.
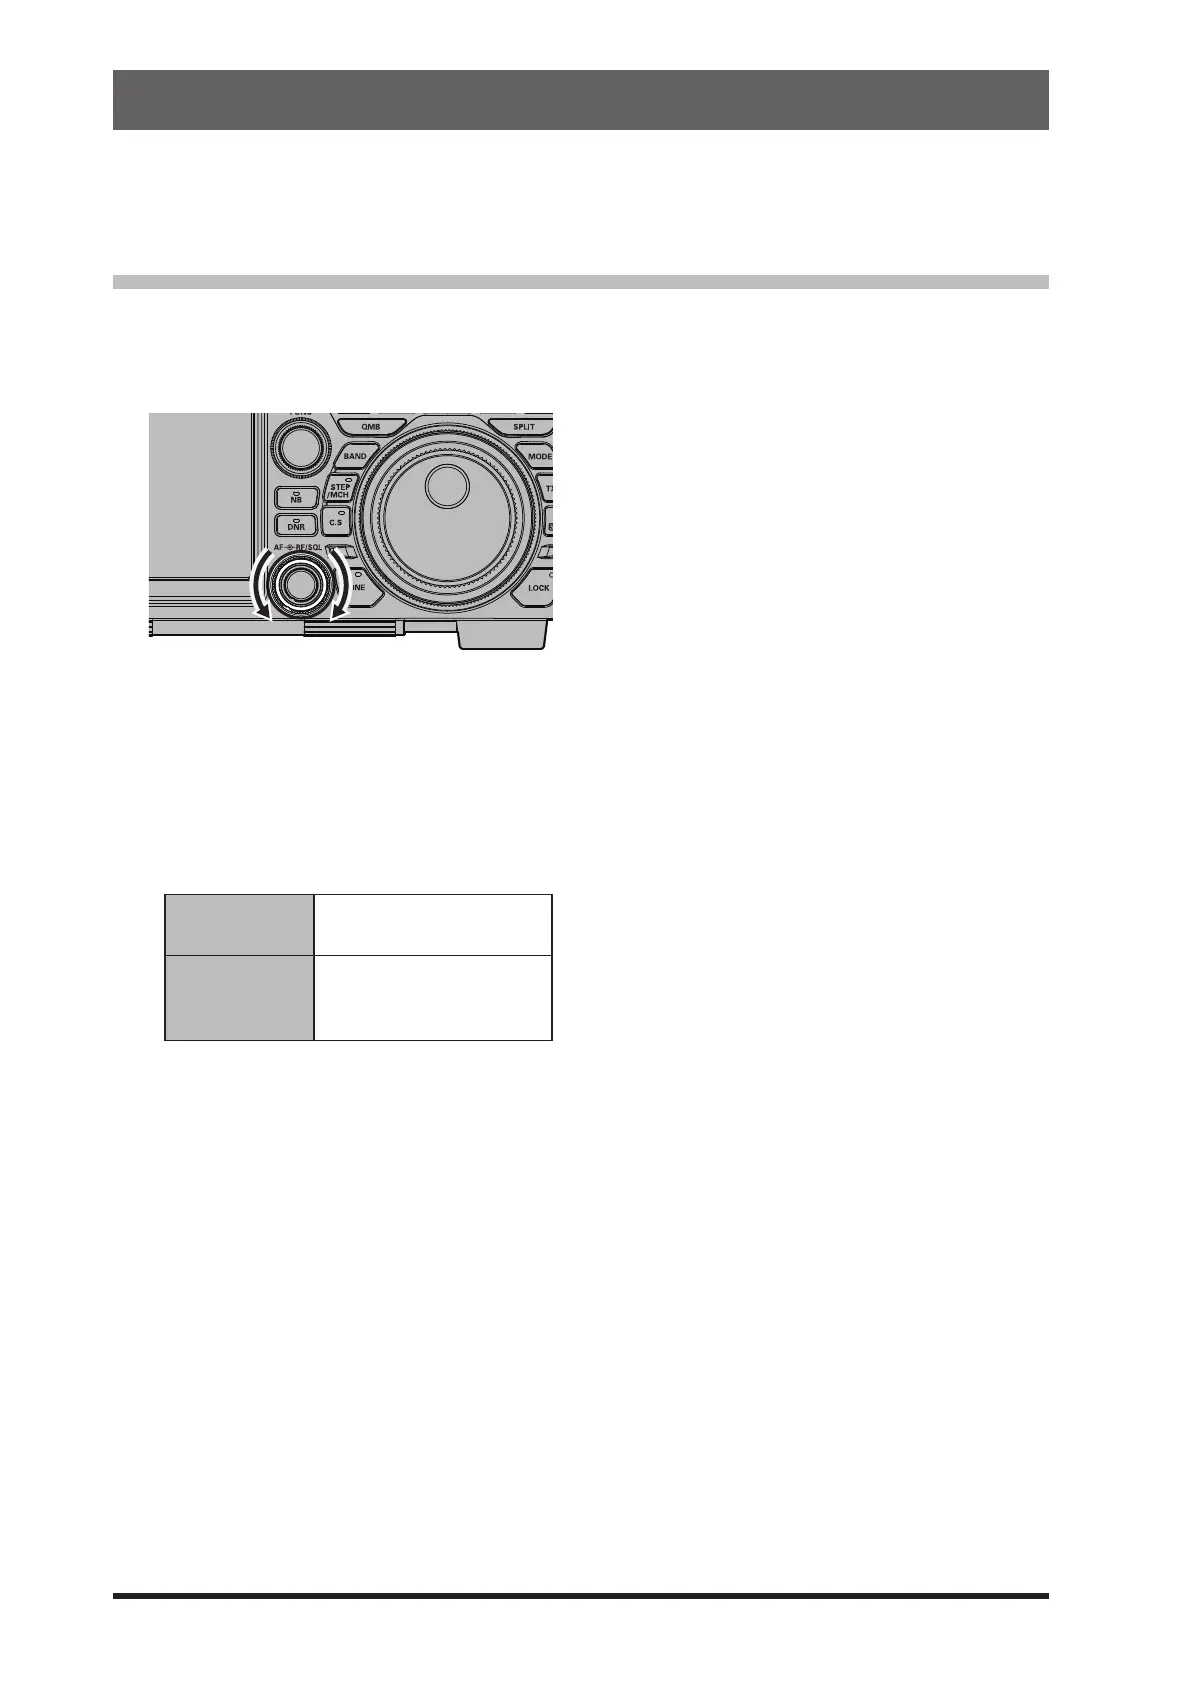
Details the ON/OFF, TUNE, and VOX controls.
Explains the IF Noise Blanker for reducing ignition noise.
Details the DNR system for reducing ambient noise.
VFO A/B switching and Quick Memory Bank operations.
Assigning functions to the C.S key for quick access.
How to select operating bands using the BAND key.
How to select operating modes using the MODE key.
Using FINE tuning for 1 Hz step frequency adjustment.
Detailed guide to Split operation using VFO-A and VFO-B.
Using FUNC knob for PROC LEVEL, RF POWER, and MONI LEVEL.
Enhancing talk power by increasing average SSB transmit output.
Adjusting the transmit RF power output.
Listening to transmitted signal quality and adjusting monitor level.
Procedure for setting up the three-band parametric equalizer.
Steps to activate the parametric microphone equalizer function.
Instructions for recording voice messages into memory.
How to check recorded messages and transmit them.
Steps for recording received audio onto the SD card.
How to play back and delete recorded audio files.
Adjusting high, mid, and low frequencies of received audio.
Steps for activating and performing automatic tuning with the ATU.
Steps for storing CW messages into memory using paddle or FH-2.
Entering and storing text messages for contest keying.
Setting the initial contest number for automatic incrementing.
Configuring the transceiver for repeater operation.
Setting up CTCSS tones for tone squelch.
Entering and storing PSK text messages.
Procedures for storing and erasing memory channels.
Procedure for scanning VFO frequencies or memory channels.
Guide to accessing and changing settings within the menu system.
Procedure to restore menu settings to factory defaults.
Adjusting dial step speed and MPVD ring step settings.
Configuring My Call, Screen Saver, and display brightness.
Adjusting scope resolution, center, and sensitivity.
Configuring external display output and pixel resolution.
Procedure for setting the transceiver's current date and time.
Procedures for resetting memory, menu, or all settings.
Details of the FC-40 tuner for wire antennas.
Configuring the transceiver to recognize the FC-40 tuner.
Steps for performing automatic tuning with the FC-40.