VR-160 OPERATING MANUAL12
Hi! I’m R. F. Radio, and I’ll be helping you along as you learn the many fea-
tures of the VR-160. I know you’re anxious to get on the air, but I encourage
you to read the “Operation” section of this manual as thoroughly as possible, so
you’ll get the most out of this fantastic new radio. Now. . .let’s get operating!
SWITCHING POWER ON AND OFF
1. Be sure the Battery Pack is installed, and that the battery is fully charged. Connect the
antenna to the top panel ANTENNA jack.
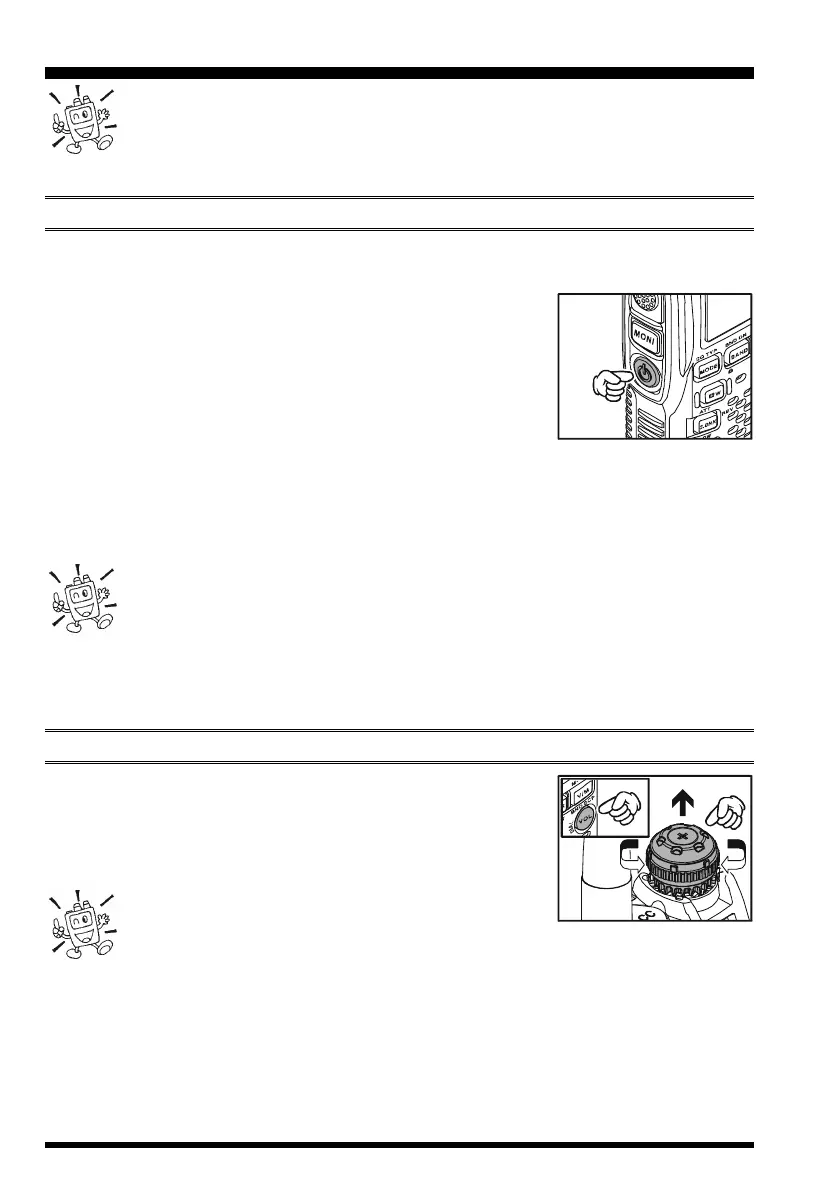
2. Press and hold in the orange POWER switch (on the left
side of the radio) for one second. Two beeps will be heard
when the switch has been held long enough, and the current
DC supply voltage will appear on the display for 2 seconds.
If you are using the FNB-82LI Battery Pack, the small “Lit”
icon at the top of the display confirms that the Lithium-Ion
Battery Pack has been detected. After this 2-second interval, the display will resume
its normal indication of the operating frequency.
3. To turn the VR-160 off, press and hold in the orange POWER switch again for one
second.
1) If you don’t hear the two “Beep” tones when the radio comes on, the Beeper
may have been disabled via the Set Mode Item 13: BEEP SELECT. See page
77, which tells you how to reactivate the Beeper.
2) You can change the Opening Message (DC supply voltage indication) to any desired
message (up to 6 characters) via Set Mode Item 37: OPEN MESSAGE; see page 82 for
details.
ADJUSTING THE VOLUME LEVEL
Pull the DIAL knob to unlock the mechanical dial lock, then
rotate the DIAL knob while pressing and holding the
[
VOL
]
key
to set the desired audio level. Clockwise rotation increases the
volume level.
1) You may set the Audio Output Level to the
Speaker, and the Earphone Output Level individu-
ally. The “SP” notation (which means Speaker) appears in the display while
adjusting the Speaker Output Level. The “HP” notation (which means Headphone)
appears in the display slot while adjusting the Earphone Output Level.
2) When pressing the [F/W] key followed by the [VOL] key, the DIAL knob function
changes to the Volume Level selection instead of the frequency control. In this case, the
“VOL” notation on the display blinks. Pressing the [F/W] key followed by the [VOL]
key again, the DIAL knob function returns to the frequency control. Furthermore, you
OPERATION
 Loading...