6
PERIODIC MAINTENANCE AND MINOR REPAIR
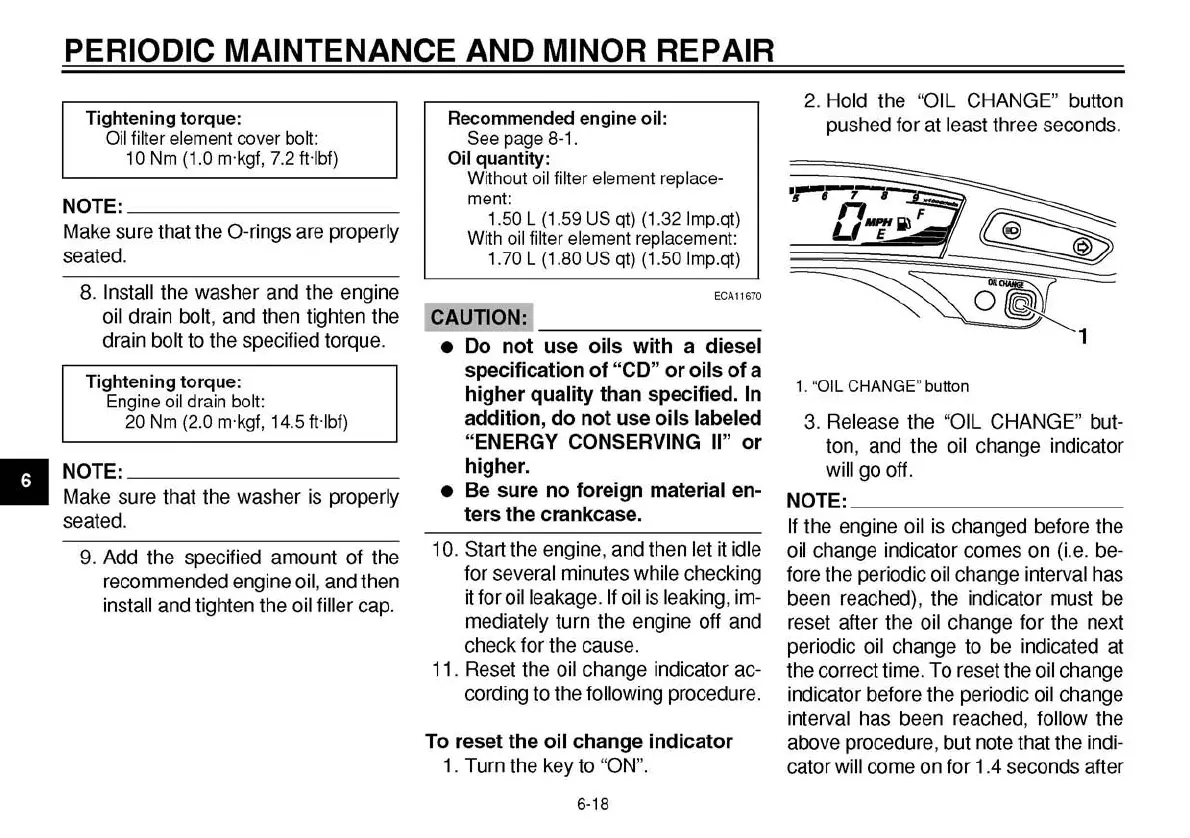
2.
Hold the “OIL CHANGE” button
pushed for at least three seconds.
Tightening torque:
Oil filter element cover bolt:
10 Nm (1.0 m·kgf, 7.2 ft·lbf)
NOTE:
Make sure that the
O-rings
are properly
seated.
8. Install the washer and the engine
oil drain bolt, and then tighten the
drain bolt to the specified torque.
Recommended engine oil:
See page 8-1.
Oil quantity:
Without oil filter element replace-
ment:
1.50 L (1.59 US qt) (1.32 Imp.qt)
With oil filter element replacement:
1.70 L (1.80 US qt) (1.50 Imp.qt)
Tightening torque:
Engine oil drain bolt:
20 Nm (2.0 m·kgf, 14.5 ft·lbf)
NOTE:
Make sure that the washer is properly
seated.
ECA11670
CAUTION:
• Do not use oils with a diesel
specification of “CD” or oils of a
higher quality than specified. In
addition,
do not use oils labeled
“ENERGY CONSERVING II” or
higher.
• Be sure no foreign material en-
ters the crankcase.
1.
“OIL CHANGE” button
3. Release the “OIL CHANGE” but-
ton,
and the oil change indicator
will go off.
NOTE:
If the engine oil is changed before the
9. Add the specified amount of the
recommended engine
oil,
and then
install and tighten the oil filler cap.
10.
Start the engine, and then let it idle oil change indicator comes on (i.e. be-
11.
for several minutes while checking
it for
oil
leakage. If oil is leaking, im-
mediately turn the engine off and
check for the cause.
Reset the oil change indicator ac-
cording to the following procedure.
To reset the oil change indicator
1.
Turn the key to “ON”.
6-18
fore the periodic oil change interval has
been reached), the indicator must be
reset after the oil change for the next
periodic oil change to be indicated at
the correct
time.
To reset the oil change
indicator before the periodic oil change
interval has been reached, follow the
above procedure, but note that the
indi-
cator will come on for 1.4 seconds after
 Loading...