PERIODIC MAINTENANCE AND MINOR REPAIR
6
clockwise.
I. Turn signal light bulb socket
9. Remove the defective bulb by
pushing it in and turning it counter-
clockwise.
10.
Insert a new bulb into the socket,
push it in, and then turn it clock-
wise until it stops.
II.
Install the socket (together
with
the
bulb) by turning it clockwise.
12.
Place the turn signal light unit in
the original position, and then in-
stall the screws.
13.
Place the panel in the original po-
sition,
and then install the screws.
14.
Connect the coupler, and then
place the rubber cover in the
origi-
nal position.
15.
Place the multi-function display
unit in the original position, and
then install the washers, bolts and
well nuts.
16.
Install the cowlings.
EAU34260
Replacing a rear turn signal
light bulb
1.
Place the scooter on the center-
stand.
2.
Remove cowling D for replacing
the left turn signal light bulb or
cowling G for replacing the right
turn signal light bulb. (See
page 6-8.)
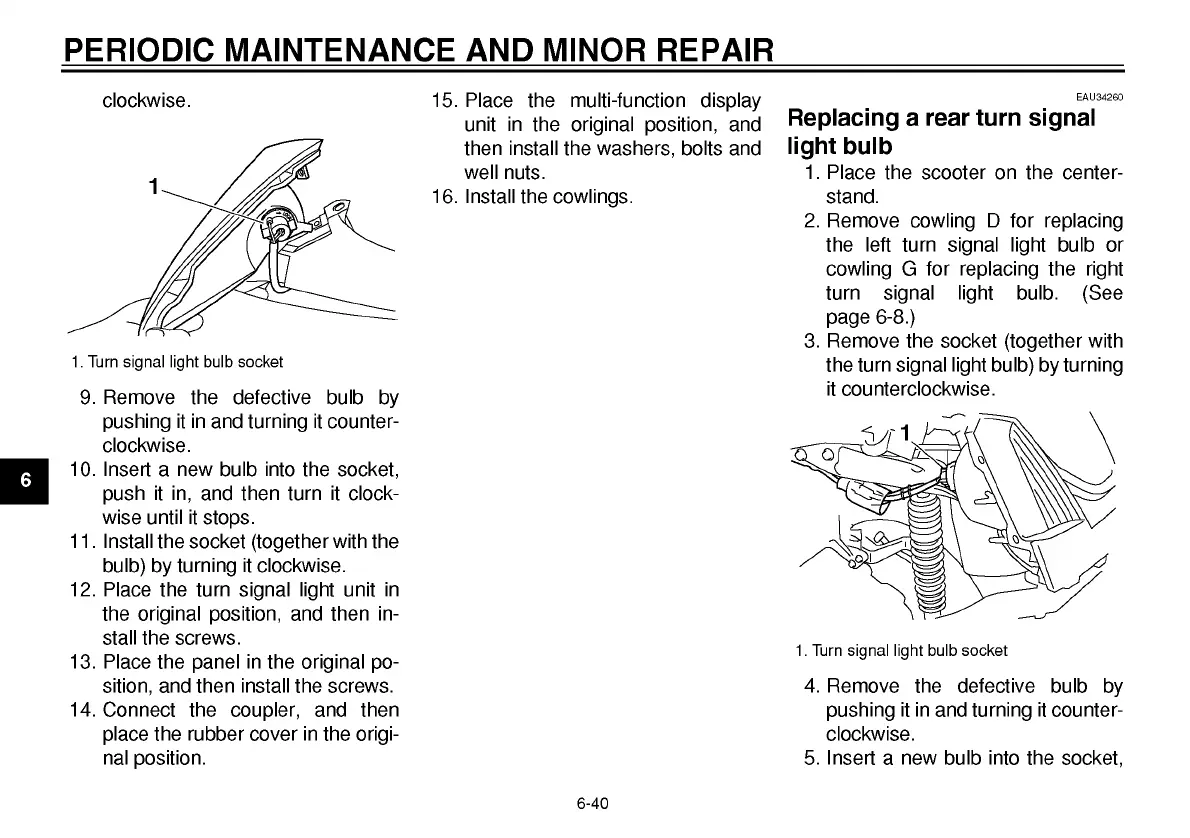
3. Remove the socket (together with
the turn signal light bulb) by turning
it counterclockwise.
1.
Turn signal light bulb socket
4.
Remove the defective bulb by
pushing it in and turning it counter-
clockwise.
5. Insert a new bulb into the socket,
6-40
 Loading...